Sewing: Sequin Time with Simple Sew’s – #017 Sophia (Update 3 of 4)

When I decided to cut out the sequin fabric with my rotary blade I had no idea how tough it was going to be, but that didn’t stop me from doing just that! Actually was that wise?

I did it.  But I’m sure my rotary blades will now a) need a sharpen with tin foil or b) need a new blade.  Oh well – a lesson learnt there.

Talking of rotary blades I may be purchasing a new one for ease of use. Spotted a fiskars blade that looks a little less fiddly in Biggar Stitches!


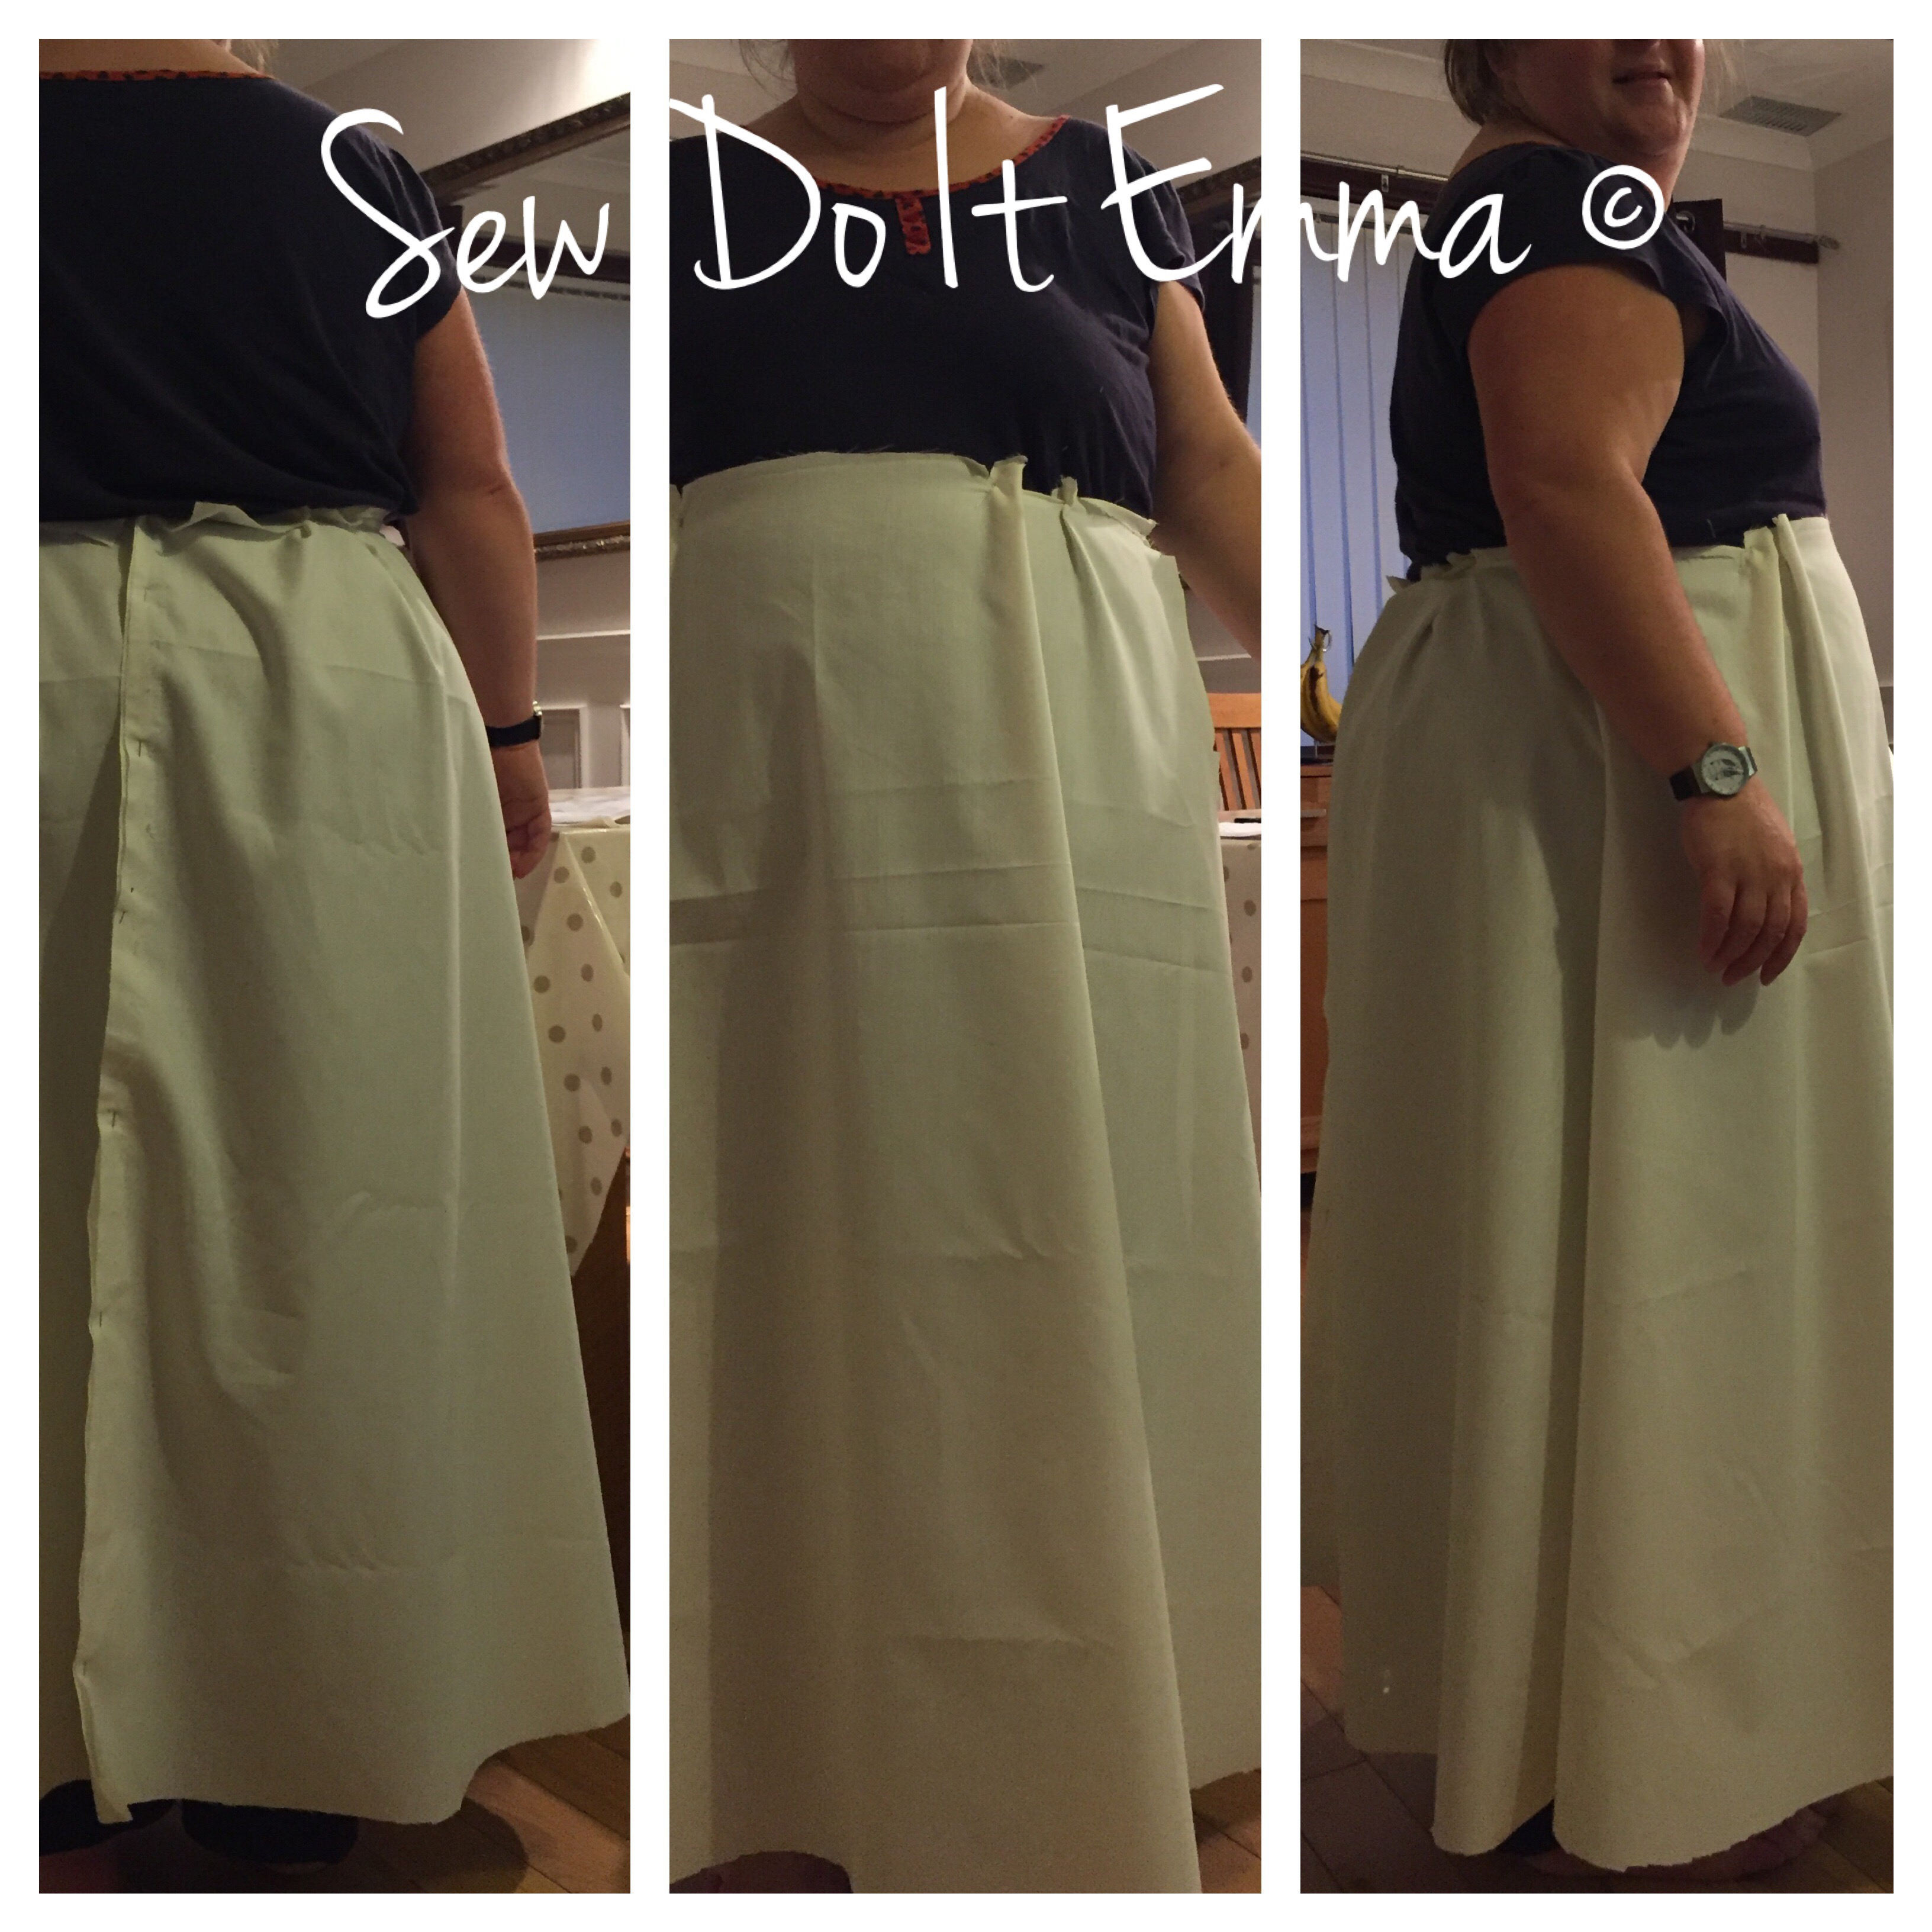
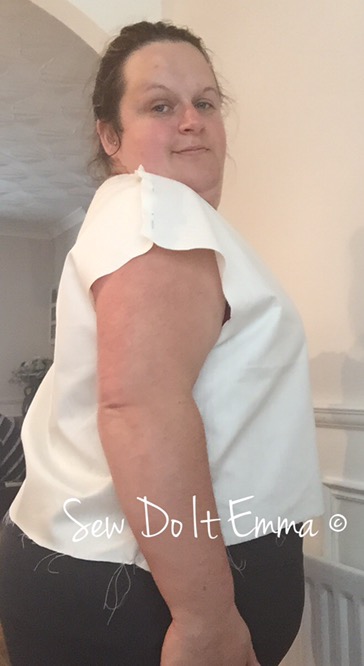
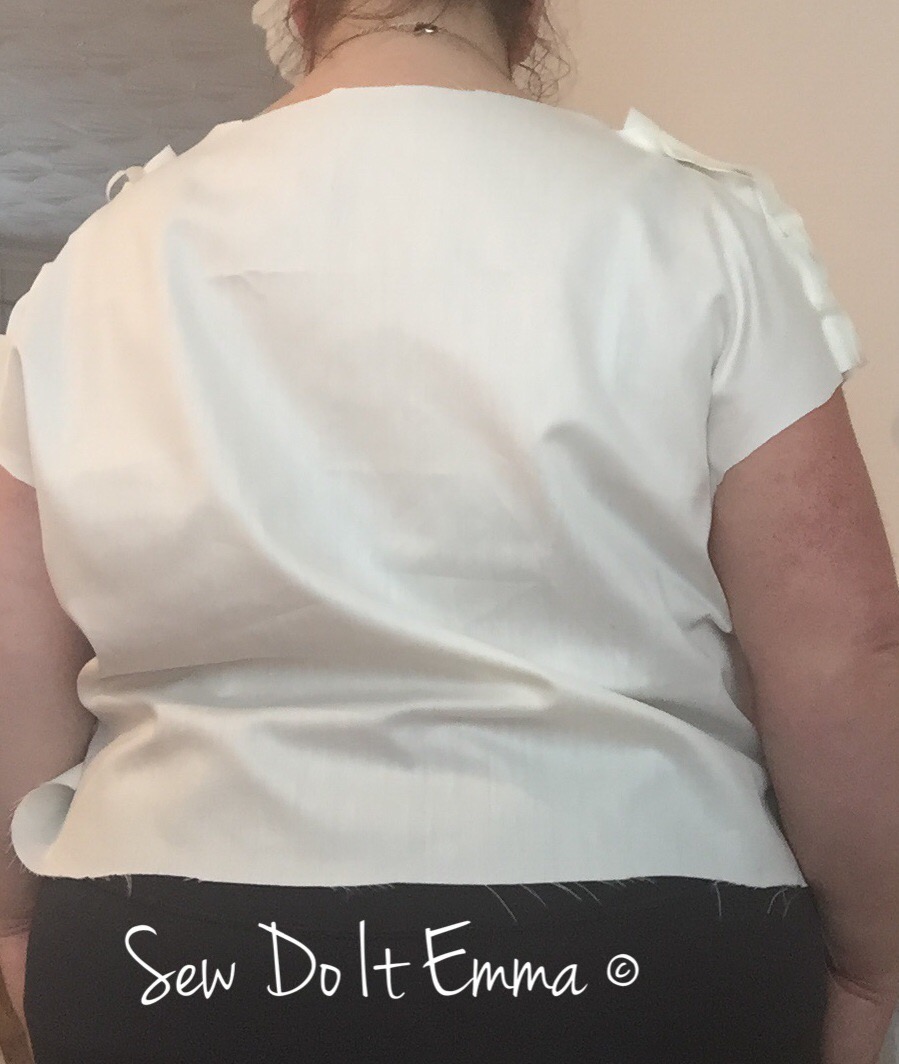
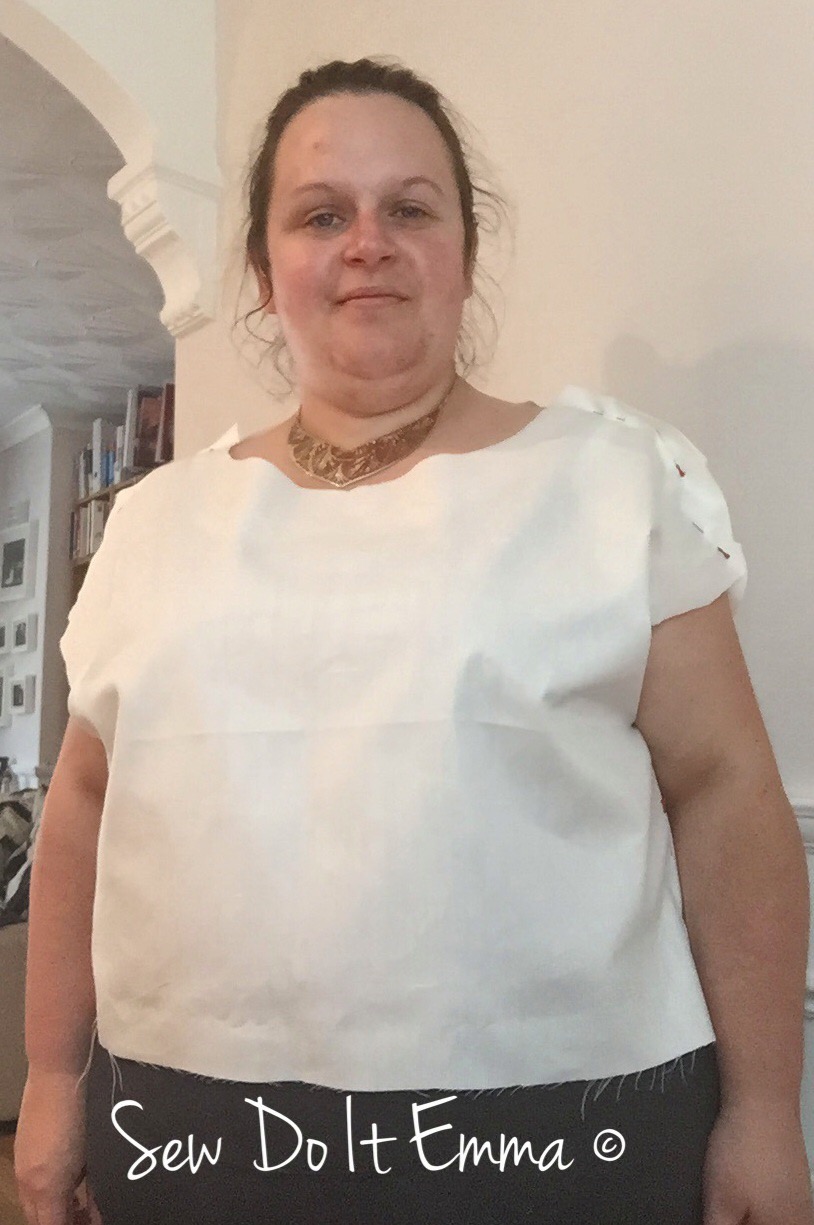
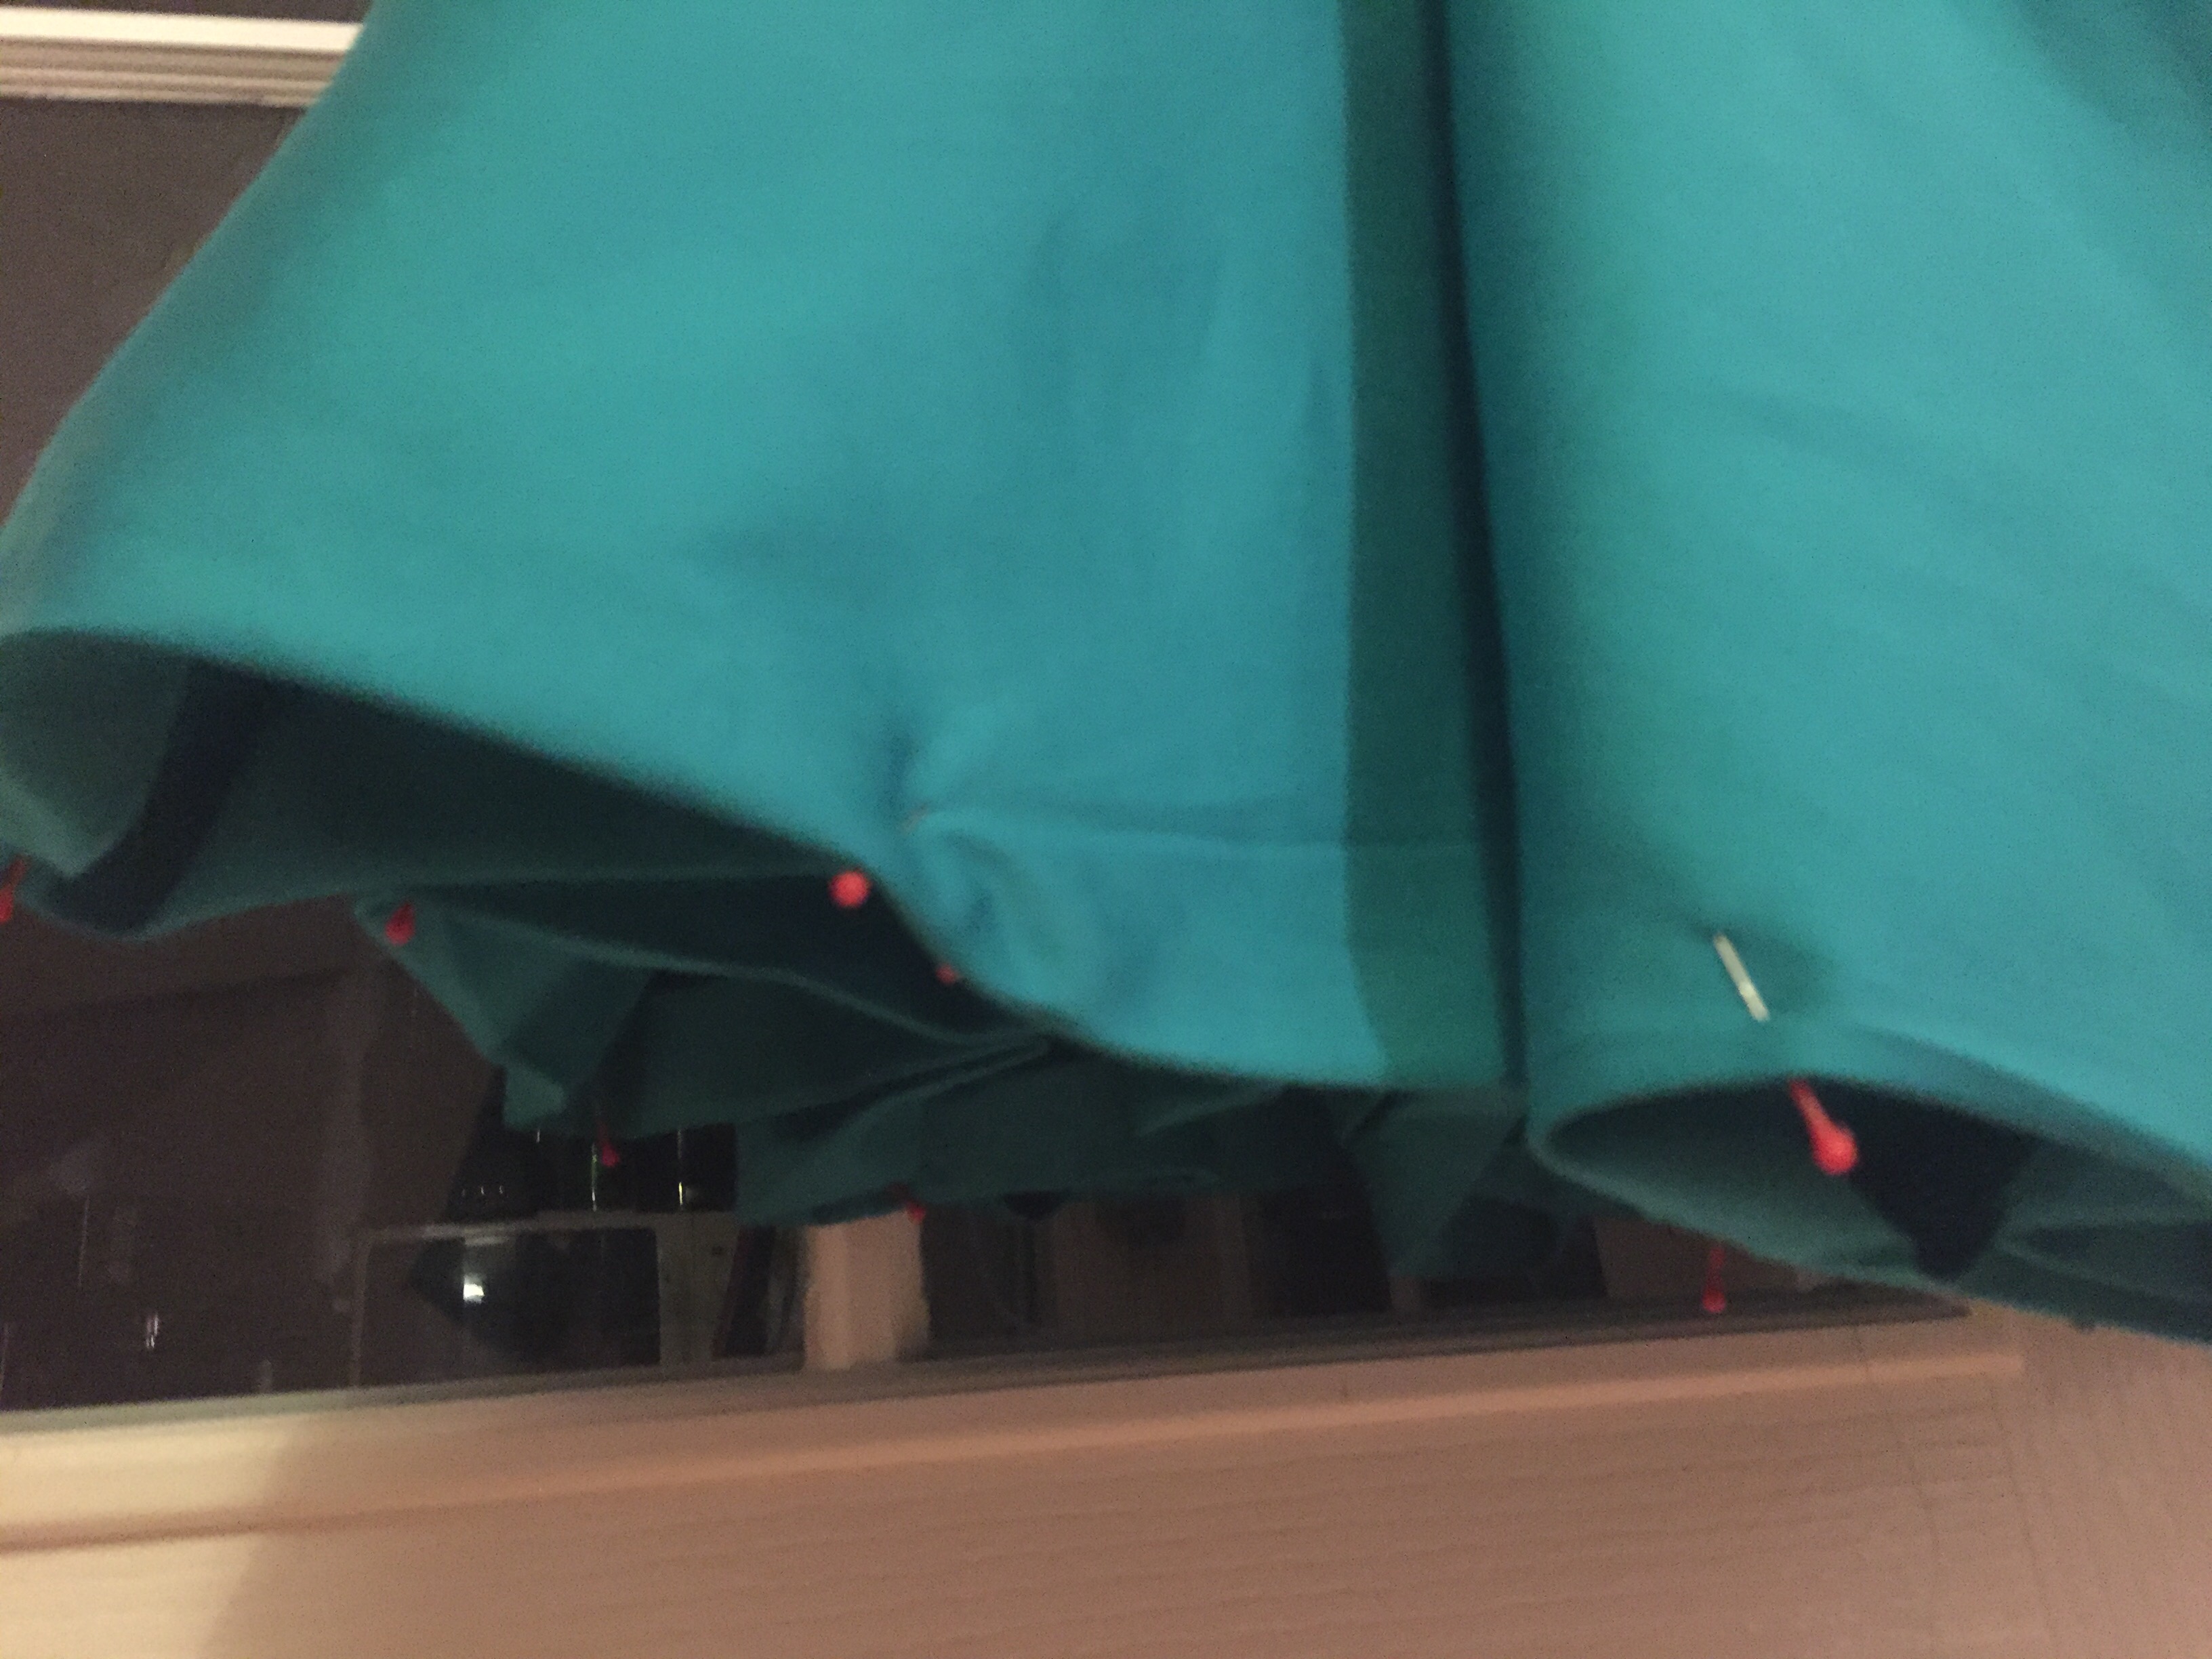
So after cutting out the front and back of the top I then pinned it all together and  tried it on.  I knew that I had to put darts in because I made up a toile earlier, so I did just that and then had to get my mum to straighten then up whilst I wore it!

Now I just wished I removed the sequins along the seams to ease the job for my machine (I’m sure it felt pain when stitching the sequins – I did).


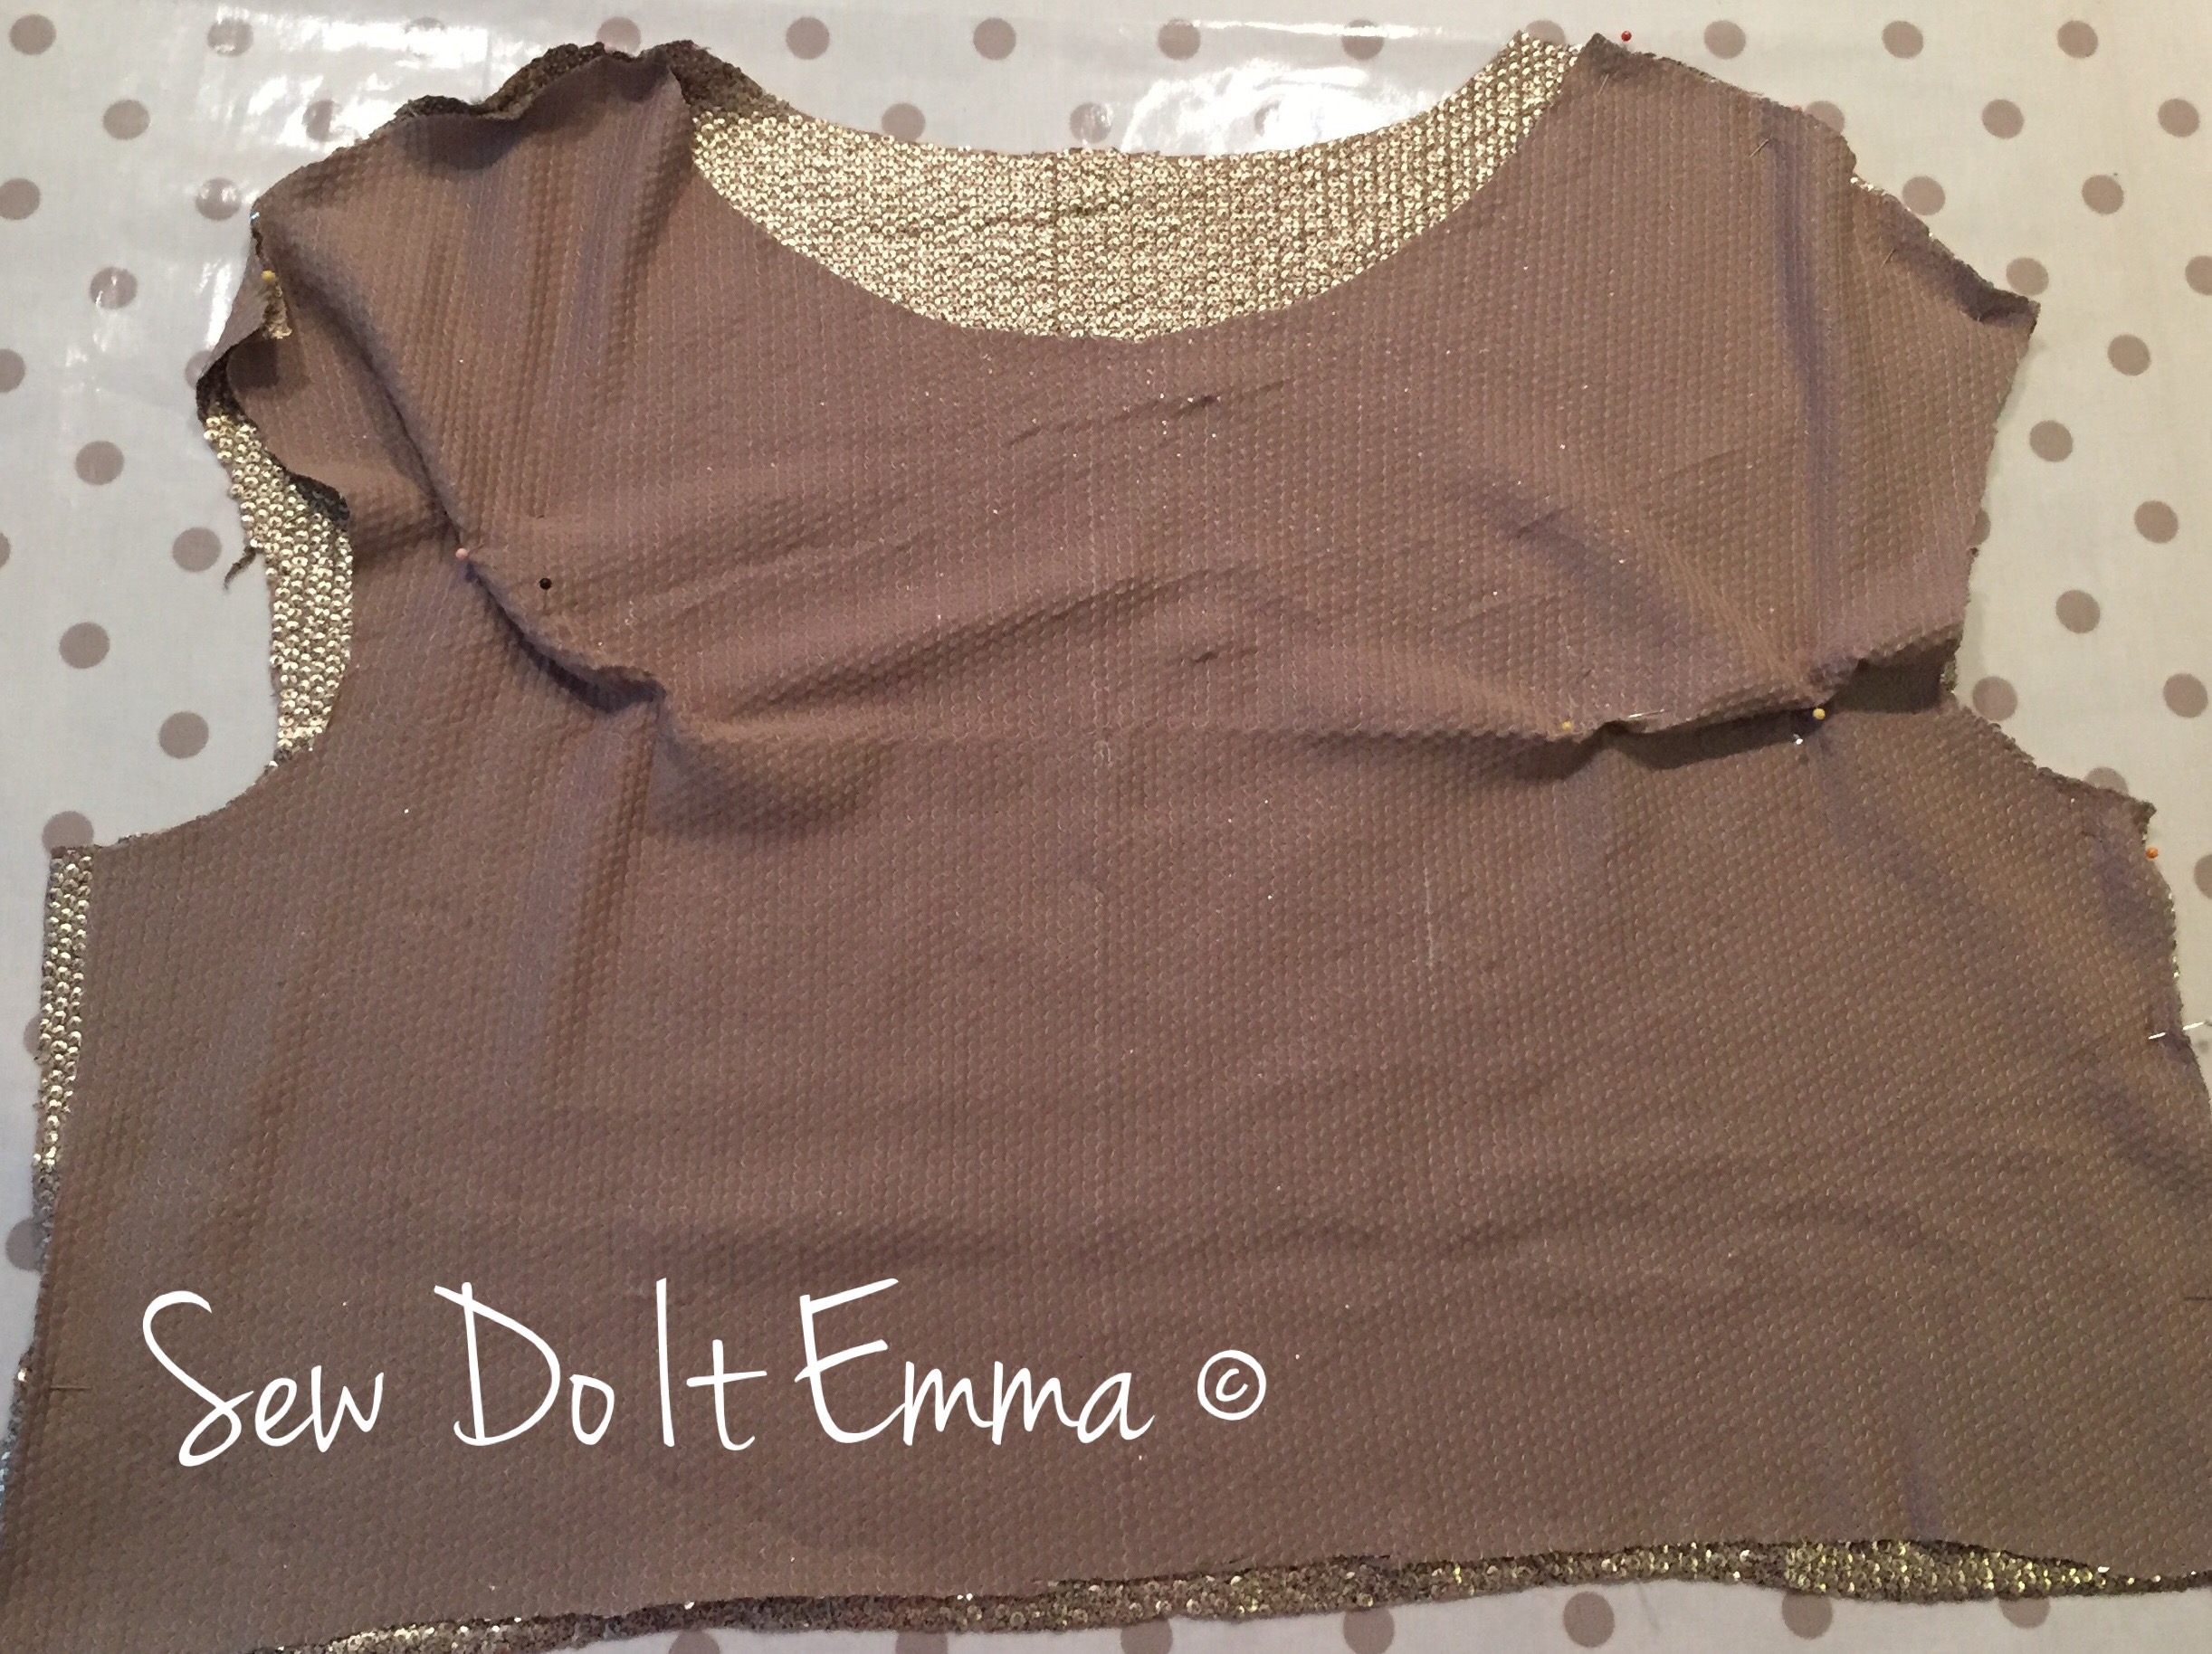
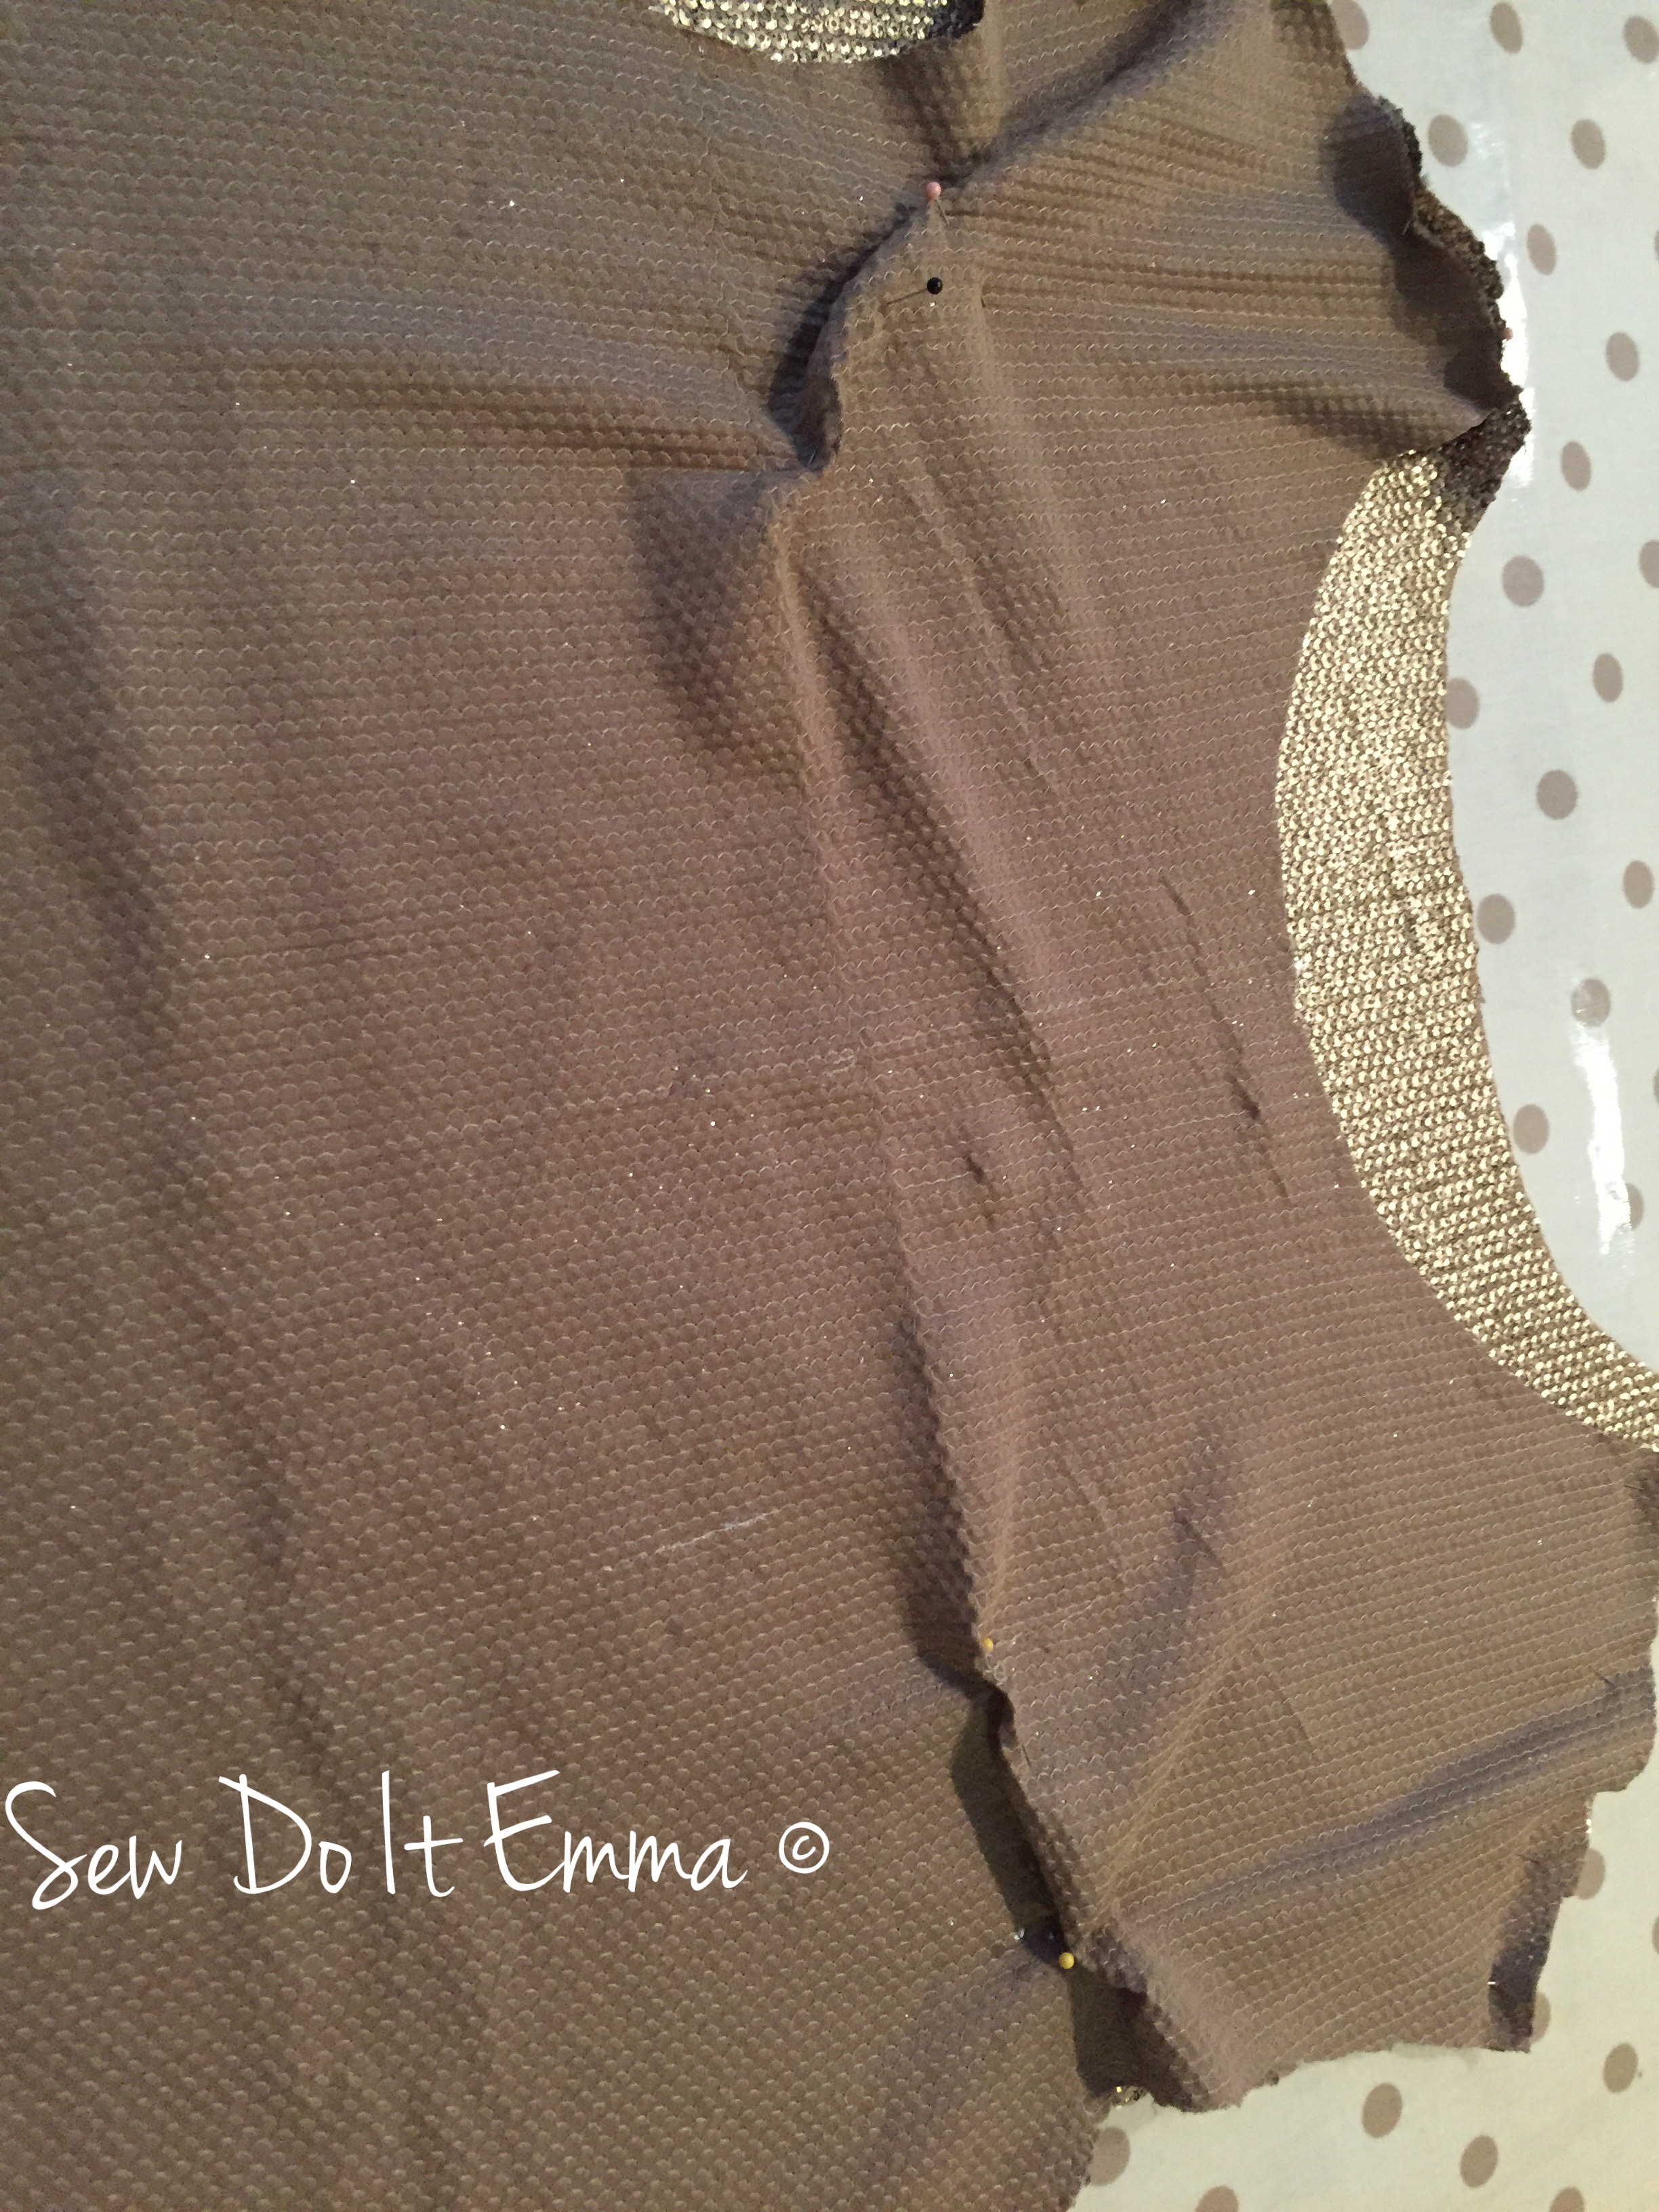
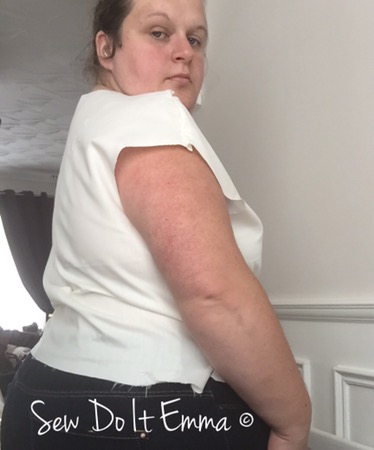
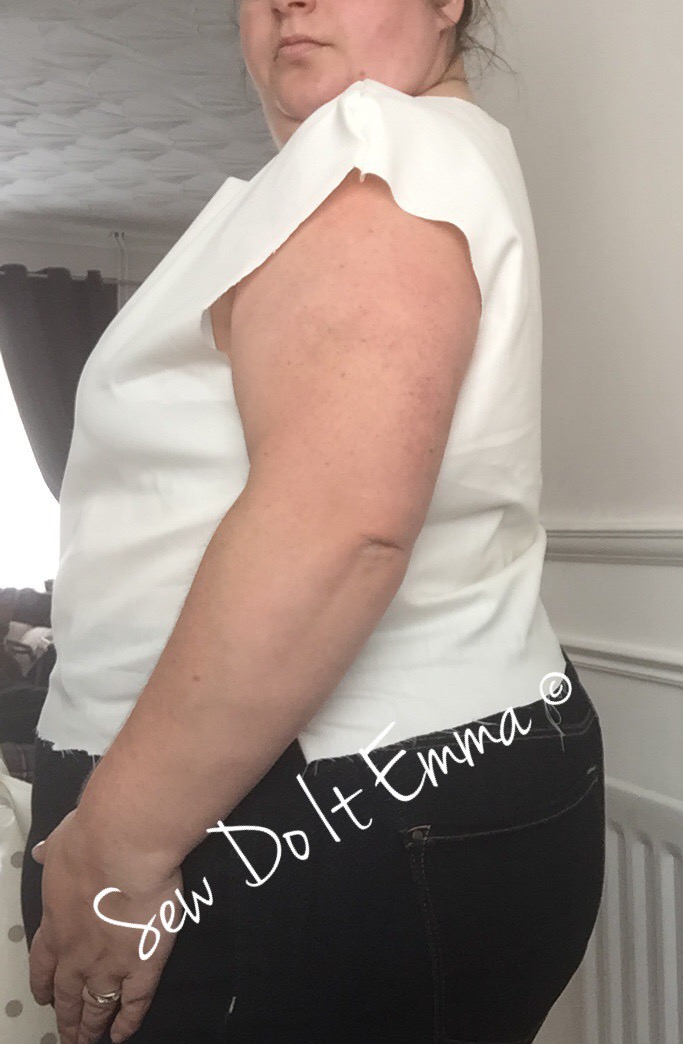
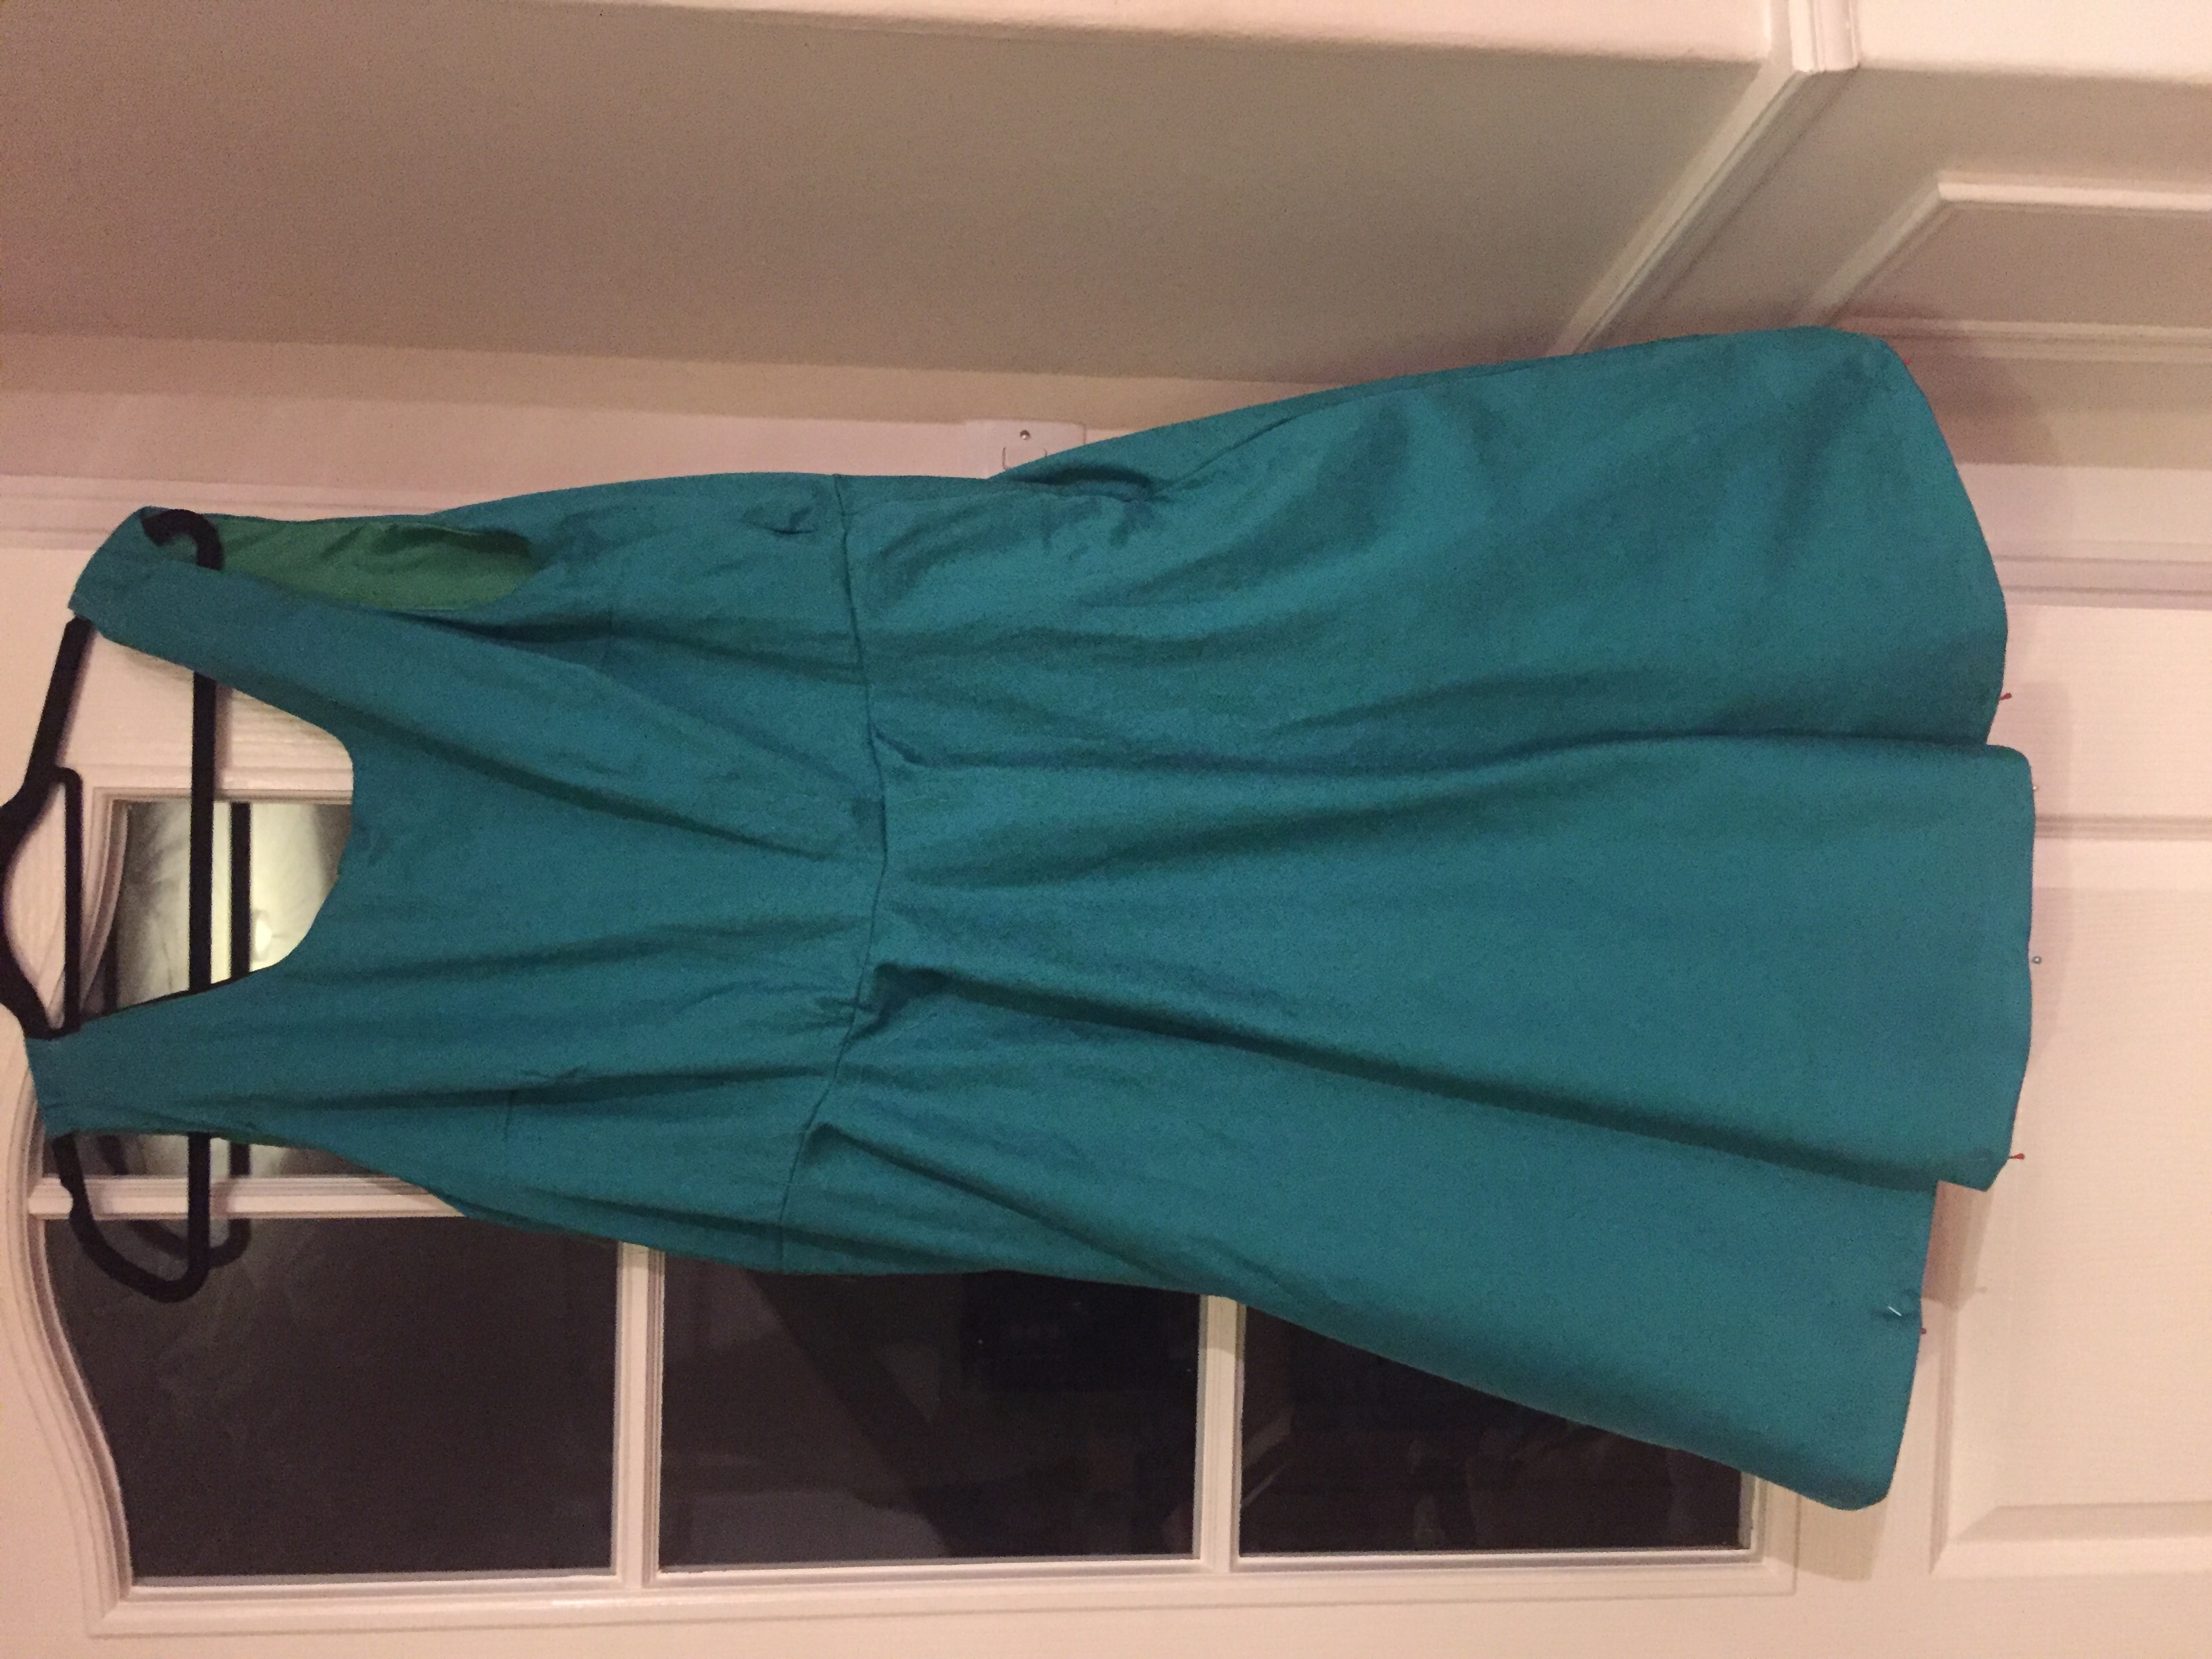
Sewing the sequins was nerve racking (my first time doing sequins).  My Brother did the job, the top does need a press as the darts haven’t got the finesse finish I wanted.


I’m glad I added the lining – less jaggy!

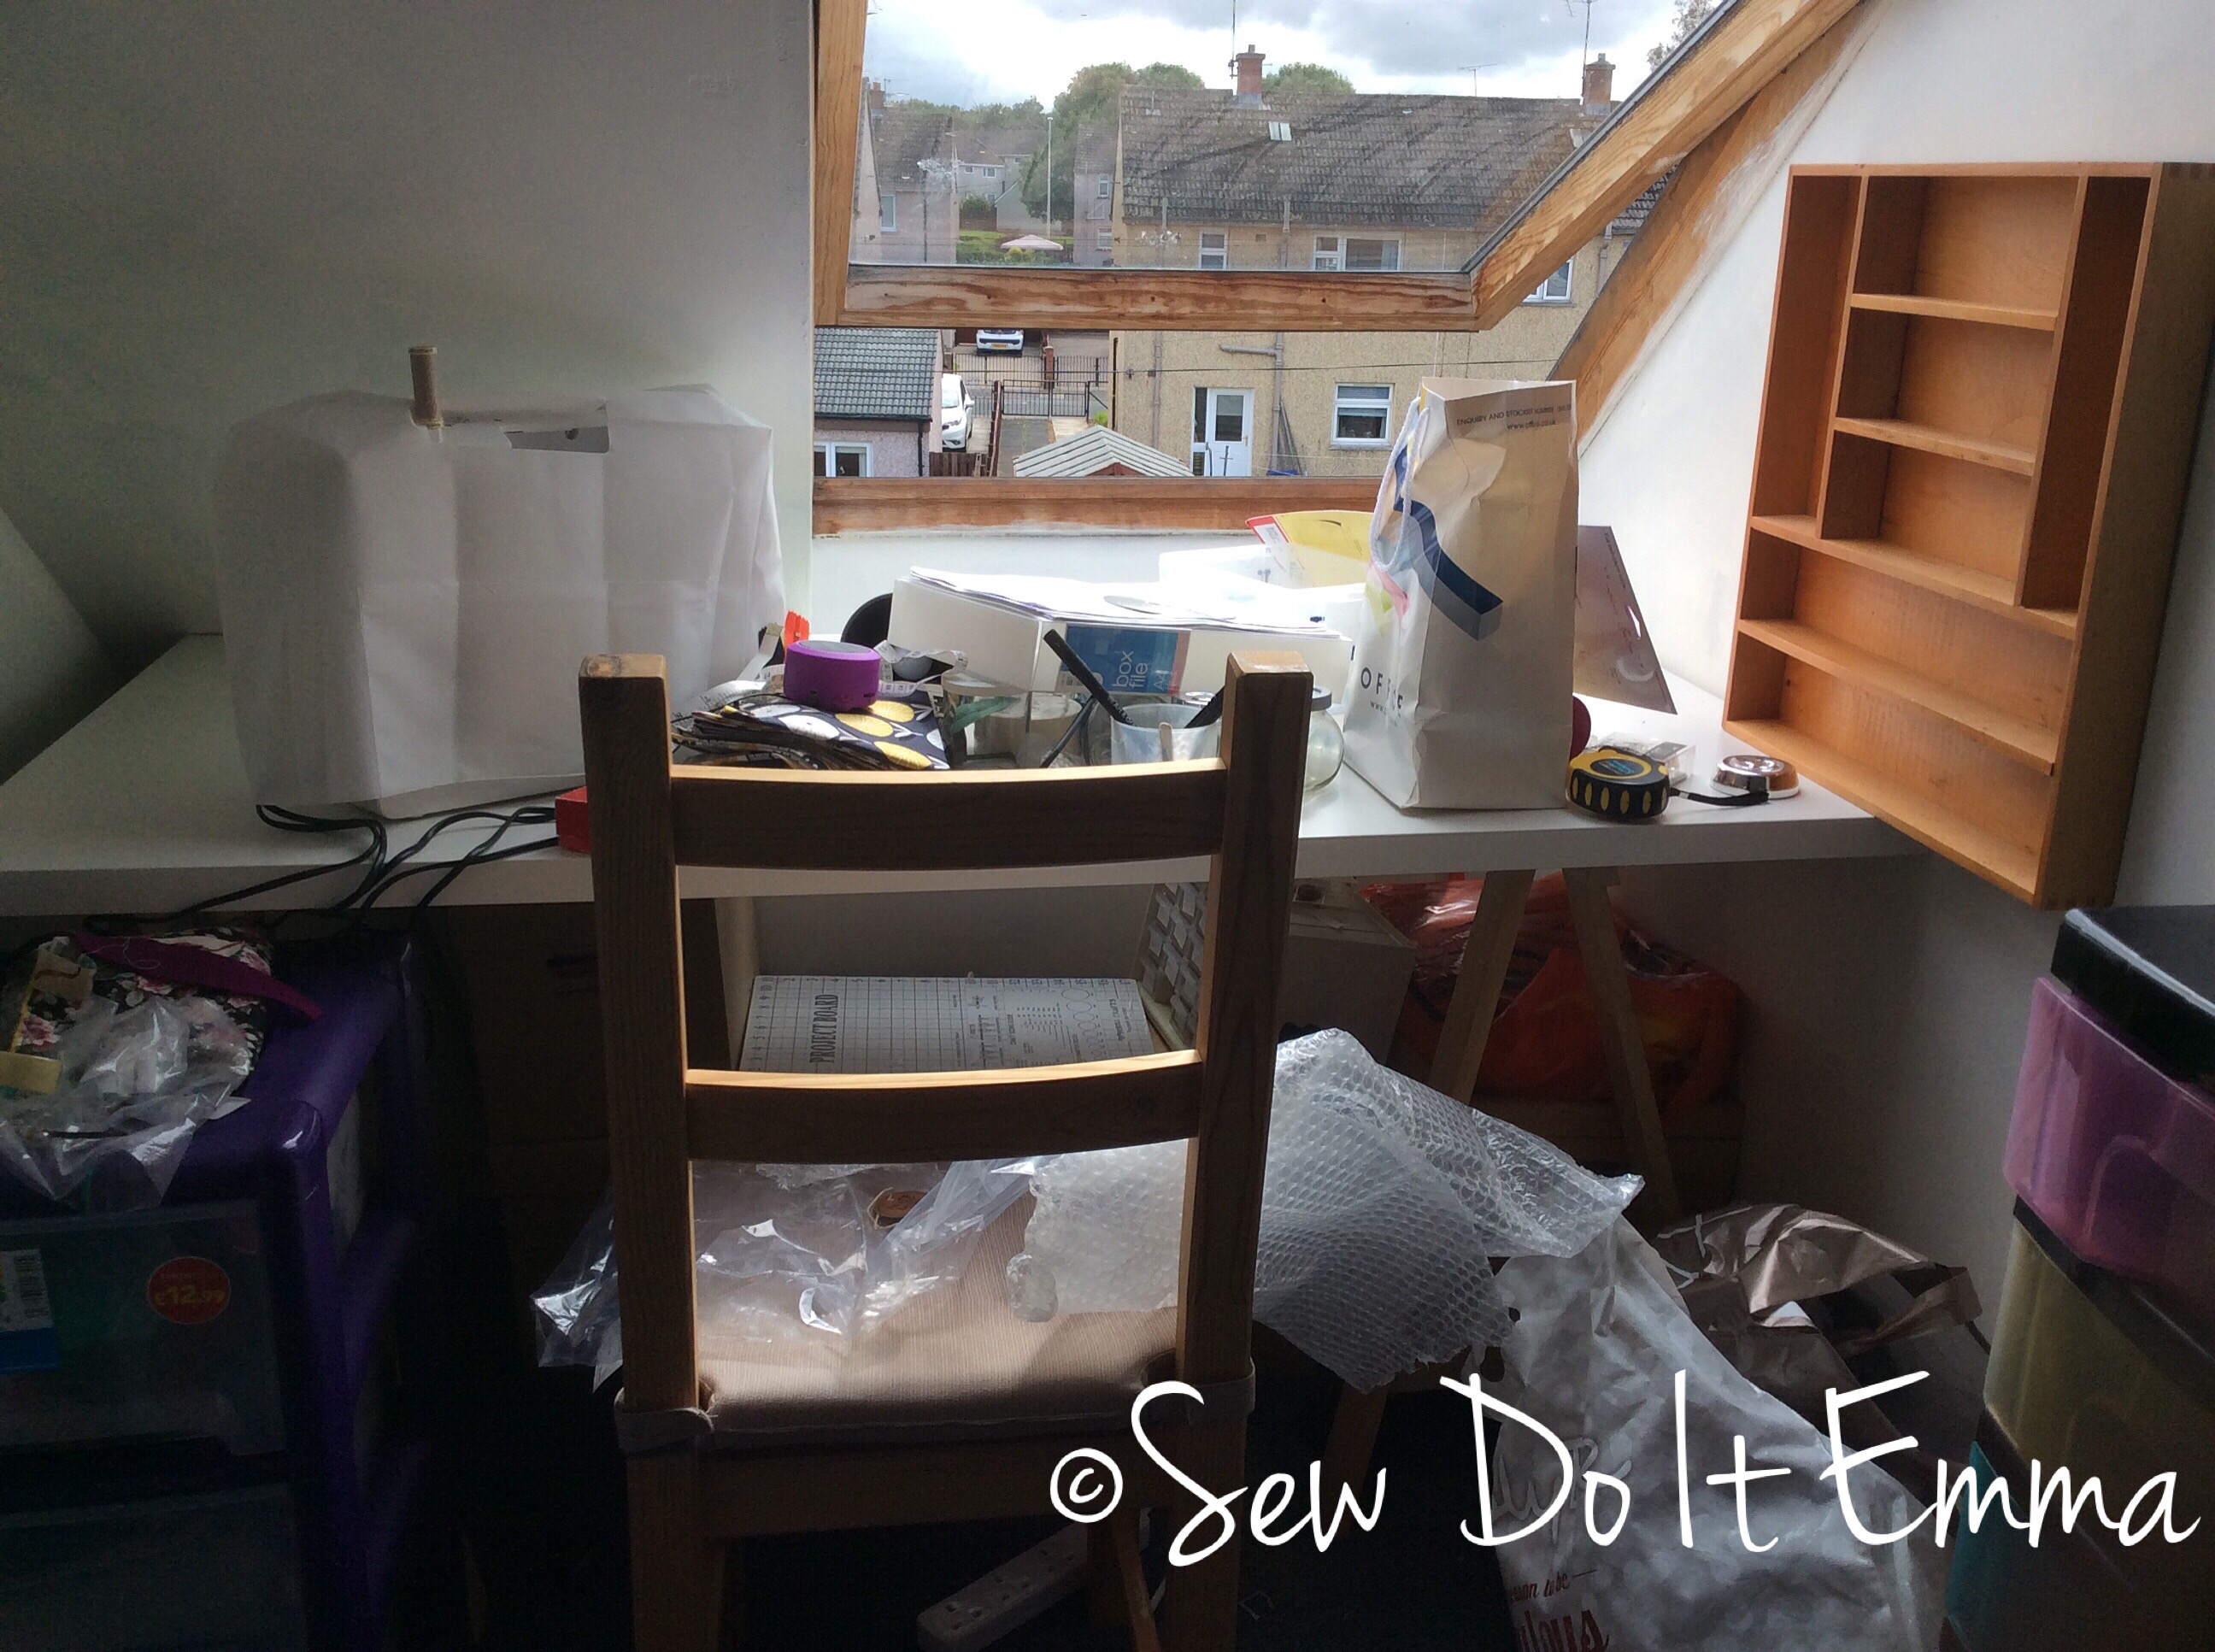
Time is running out and rather get into a state like below, I’ve opted to wear a “bought dress” – fear not the dress will be completed for Christmas and worn then!

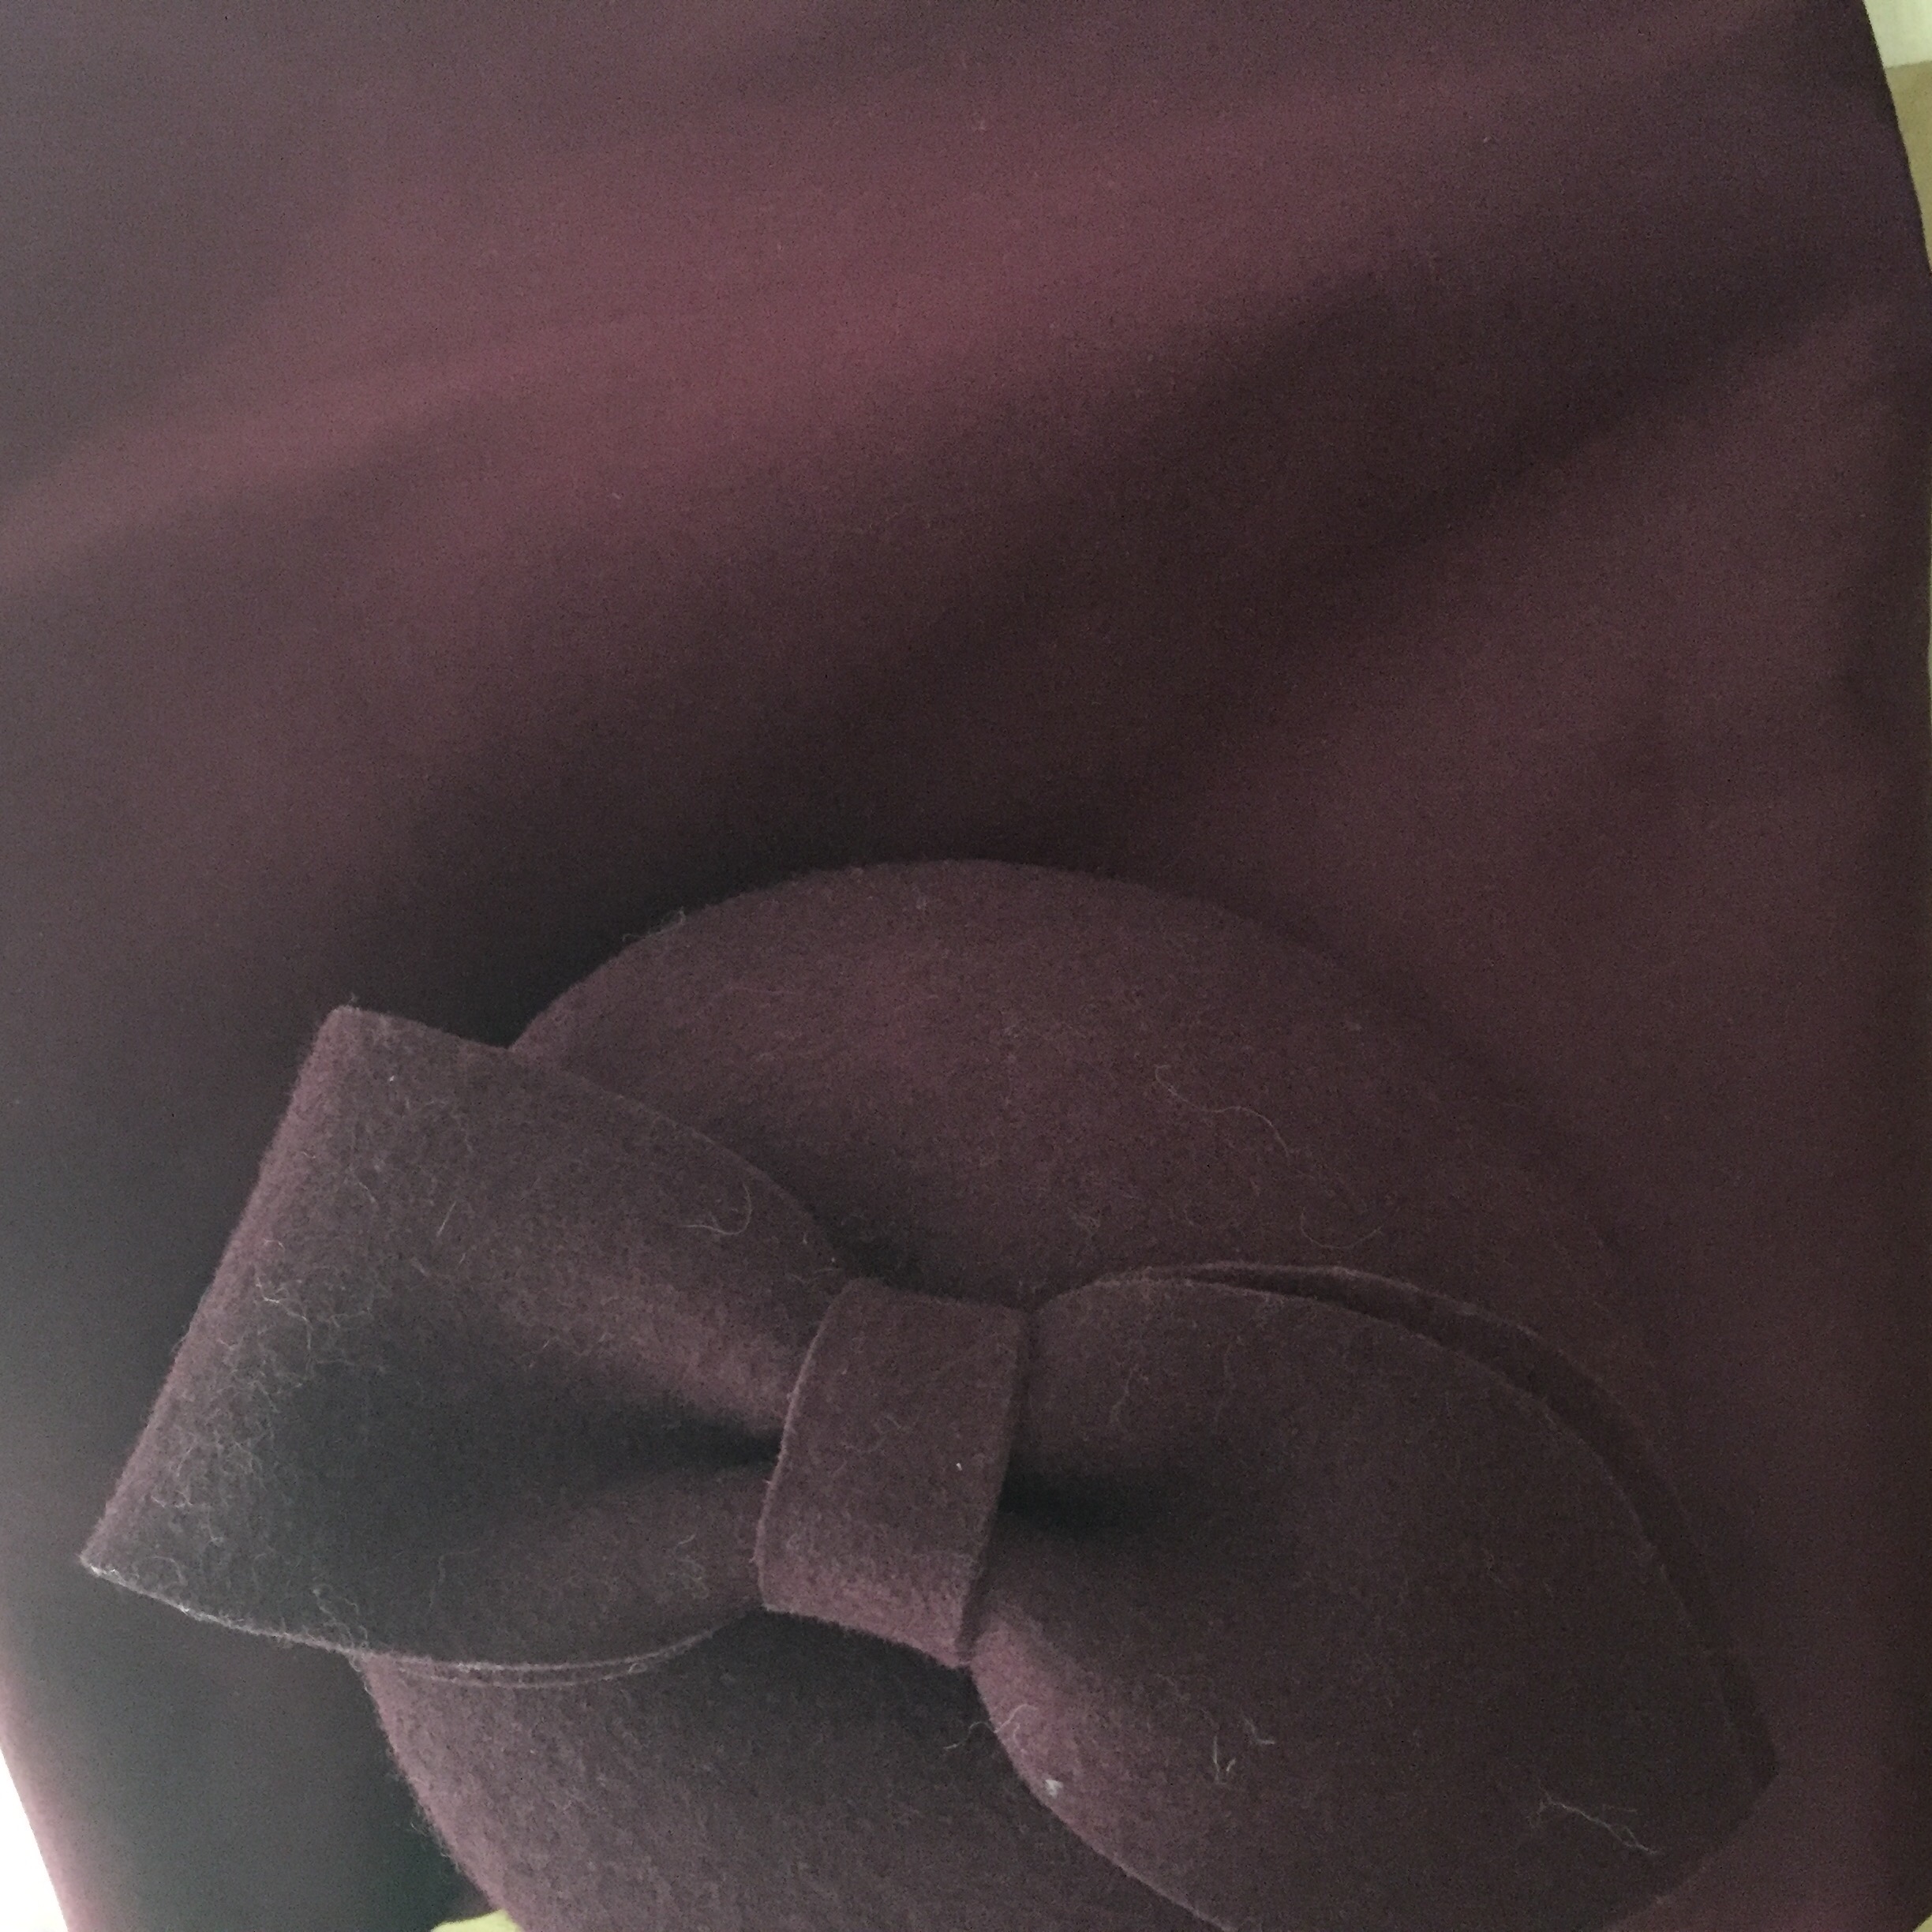
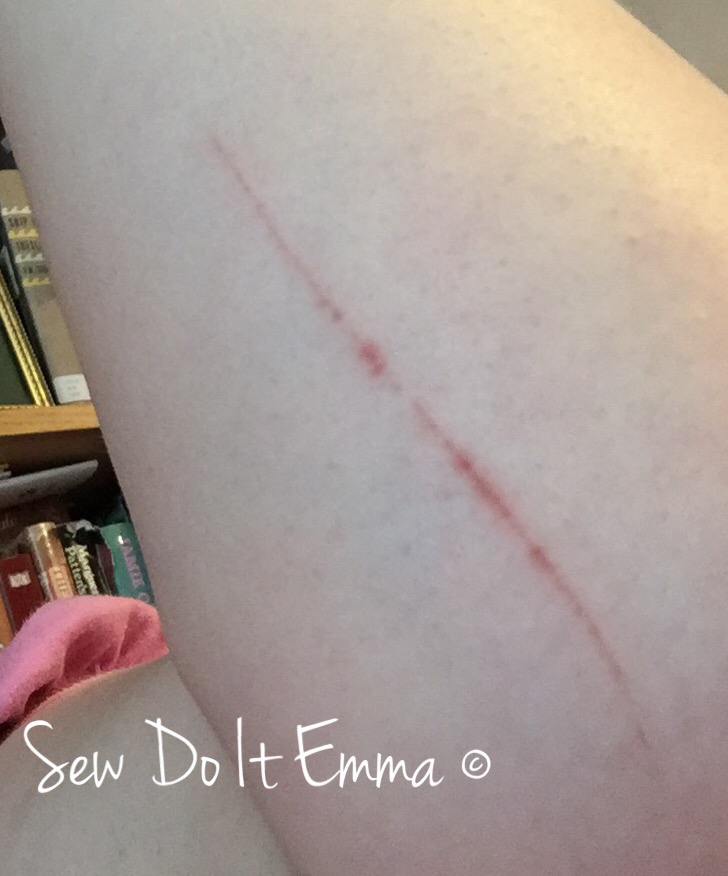
Trying the homemade garment on was a near death experience as the pins scratched my arm – ok, maybe not near death but still, beady sore!

The backup garment: Katya Kimono Wrap Dress

At this point, the top needs hemmed and finished off.  The skirt still needs the waistband on (which itself needs interfacing applied!! (Note to self: you need to buy blinkin’ interfacing!!)), zip applied, possibly now lined and then hemmed.

The final update should contain a picture of me wearing it! Watch this space!

Happy Sewing!

Some places I went to online for advice:

http://www.burdastyle.com/blog/sequin-savvy

Sewing: Great little chart!

Pinterest is fascinating and very addictive! I often find myself pinning loads to my boards and creating new boards to try and keep organised – ha (laughing at myself on this one)!

This morning I found this great little chart via Take Lessons and thought I’d share it with you all! 

There is also a free printable for your sewing space too!

Seamwork: Why I love it.

Colette has always been a firm favourite for patterns which me and as you should all know by now I am a sucker for patterns.  Learning that they go that extra bit is quite exciting and since I have signed up for a subscription to Seamwork I’ve been reaping the rewards.

Processed with MOLDIV
Sucker for patterns, like I said!

Every month I get two credits to spend on 2 patterns from the Seamwork library and on top of that I get top tips, articles, techniques and creative ideas into my inbox!


My Seamwork Library


I’ve got quite a collection now, but I’m eager to start on the ‘Akita’ as I have two pieces of fabric that fit the bill.  But more on that, once I have finished the Sophia Top & Skirt!  I just love Akita!


Seamworks’ ‘AKITA’

Most of the top tips have proven quite useful have helped me in my sewing adventures!

I’m also signed up to Snippets with Colette and get regular updates and tips via email – they are just great and spur me on with my creative juice – like I need any more juice.

I have a referral link if you would like to join, that way you get your first month 1/2 price – we all win!

I’m not being sponsored but any company or anyone – just trying to share the sewing love!

On that note of patterns – I am trying to have an online database of all my patterns to date! I’m currently noting all of them down and then I will input them into a spreadsheet and I can then access it via drop box – go me!

Have a nice day.

Emma


Sewing: Tuille Time with the Simple Sew “Sophia”(Update 2 of 4)

On the last update, I mentioned that I had graded the pattern up following a couple of resources online, which I did but then I back tracked and went for the biggest size on the pattern as they said they were the sizes are quite roomy.

The skirt has worked out rather quite well with pleats too. Fairly chuffed with myself considering it was probably quite foolish and risky to do so.

On reflection, I may add 1/2 inch to all sides just to give a little room for that wedding breakfast!

Please ignore the PJ top 😉

I like the length, it’s ideal as it will show off the shoes I intend to wear and I won’t (hopefully I won’t) trip up running (ahem I mean dancing 😂😂😂) around in the Ceilidh!

Like I said in update one, the top should be fine, in fact, it isn’t – as it back needs altering as the fabric catches. I also need darts either side of the front bodice. It also needs an inch to have that hanging effect the pattern shows! Argh! 

Carefully marking out the blueprint
Here’s me thinking it would be a breeze, yeah right ..

It doesn’t look too bad from this angle!
Defo needs darts on front bodice!
again, ok.
Drat!
I’m going to have to amend the top somehow, better get cracking!

And so I did amend the top by going back to the pattern and adding 2cms to the seam. There is a lot less scrunching up at the back and I feel I can actually breathe in it 😁

The amended top bodice blueprint!
High five to me! 

Side on and smiling!
A lot less scrunching now and it should lie better in the sequin fabric!
Grinning like a Cheshire cat – still need darts!
 

I will let you all know how it all goes in Update 3 – cutting the real fabric!!

Oh the funny thing is that my husband thought I was wearing this tuille to the actual wedding – EH NO!!  I had to give my reason to why I wasn’t wearing white to the wedding of my closest friends’!

 ​

Online Resources used to figure out how to grade up these sneaky pleats:

How to Grade the Kelly Skirt

http://www.jenniferlaurenvintage.com/2014/09/the-dalloway-pattern-grading-hips.html

How to Grade a Pattern Up: The Easy Way

Sewing: Simple Sew – #017 Sophia (Update 1 of 4)

Well I knew in my head that I would have to grade up the skirt of Sophia for sure. The Pleats were moved as well so they hopefully should sit perfectly.   Giving myself a high for staying sane on that one! Thanks Mum!

The instructions of the Sophia say to make a muslin toile before cutting any fabric, which I will do because I want to see where these pleats will lie now that I’ve moved them and added inches onto each edge. 

For sure I will be following this instruction!
Hopefully perfect pleats 😳

I remember doing some grading up for the green Butterick Dress and it seemed to be a tad easier, not only no pleats but the tutor on the class did most of the mathematical bits!!
The top of Sophia should be ok but I’m still going to make a toile, just to be sure! Haven’t adding any extra outwards but may add for length like Red W Sews did for hers but I will see what it’s like in toile form! 

I’ll update you as soon as I have done the toile! 

My Sewing Room: Organise organise organise!

Well after sorting out all my pieces of fabric onto boards, it’s now time to label them so I can pick them out quickly.

I popped into one of my home bargain stores and picked up these labels. I’ll stick the self-adhesive ones onto the luggage labels. And then with a black marker I will write my code letters P M F – pattern (if the fabric has one allocated, but most of them do), meterage (how much fabric is on the board) and fabric (is it cotton, viscose, wool, jersey, etc).


Processed with MOLDIV
Labels should keep me right!


Processed with MOLDIV
All ready to go!


Ta-DAH!  Oh so Pretty!

 Next, we have my pattern collection. It’s really expanded over the year quite drastically! I’m blaming these pattern sales!


I had already organised the into categories: skirts, trousers, dresses, combos etc but then when I was doing dividers, it was much simpler to do them by the pattern house name (vogue, new look, simplicity, grainline studio, sew over it, simple sew and the list could go on and on!).

With the reminder of the boards, I took 1.5cm from the top of the board and made two marks. Then I drew a line and then wrote a pattern name.


Processed with MOLDIV
First, mark 1.5cm down from the top of the board with the ruler and pencil, then draw a line where the marks are.


Processed with MOLDIV
I then added the Pattern Houses by name.


Processed with MOLDIV
It’s all coming together.

They work a treat as they fit in my white shoe box file system for the patterns and I can hunt quickly for them too!


28898769711_f82d51ee95_o.jpg
I think I’m going to have to have a P.A to keep this system intact 😀

Until next time and remember – Measure twice, Cut once!

Emma


My Sewing Room

My sewing room needs to become functional and comfortable to use.  It needs organising, so I can pull fabric and pattern out, yet put them back in their place when I’m done for the day.  This “putting thing back” needs to become my ethos all over the house, but that’s another post for another time! And before Mr C quickly jumps in, I’ll change the subject!).

I’ve pulled a lot of ideas rather from Pinterest so “had to” create a mood board so I could scale down some ideas and think what I want from my SR.

Two tables would be useful, preferably the same as I join the together to cut out patterns and fabric. One would sit under the skylight as that would be ideal for using the naturally light, providing it’s not too bright to take photographs of my finish projects.

Before I get ahead of myself – the three main points that need to go into the sewing room are: atlier

shelving and lots of it!

a workspace to sew creations

and a seat!


The Skålberg/Sporren chair (IKEA)
Billy Shelving from (IKEA)
Linnmon Desk (IKEA)

I don’t want to spend a fortune so as you can see Ikea furniture it is and it’s the basic range as everything adds up very quickly!

 
The notice board will be handy for what project I’m currently working on and what the next few are.  It should keep me focused. It will also a provide a place for all these business cards and fliers that I seem to collect!

I started this post 5 months ago but there have been some changes already and I can now share them!

The room has finally been painted and now shelving has been installed and is very quickly being filled up!

Trying to organise with billy shelving
The desk is much bigger now and is now under the skylight for ultimate natural light!

My sewing space is still going through changes so don’t think these are final photos.  I will post the final touches and a much tidier space very soon!

Do you have a sewing room? Do you have any tips on how to organise it? Have I missed anything, I’m sure I have!?  Please feel free to comment below and give tips!

Emma

Canoodling with Chiffon

Seeing all these occasion dresses at work makes me wanna twirl in something elaborate, and I particularly like a bit of silk chiffon.

It’s lovely and floaty, but I’ve never worked with such delicate fabric.  The thought of working with such gives me a slight buzz, I’m not quite such if it’s excitement or anxiety!

This post stems from looking at Pinterest and becoming inspired to make such a dress. After spotting a dress, I decided to make a Chiffon Board.


cc9fec96cbe22dcfe3b5e6d0b4610b2e
Above, is the dress that started the Chiffon trouble!


Above are a few of the Pins on my board.

You could say I’m a hoarder of projects and i’ll admit that, I think  I know my Husband will say that on my behalf also!  What can I say, I just can’t help myself.

My sewing room is in a mess so before I start on any projects it has to be organised and finished.  Yes, still getting refurbed – it’s taking a lot longer than planned.

Oh, big news!  I have a second job and it’s in a fabric shop … my life struggle with fabric, patterns and projects is only going to get worse!

For the time being I’ll be looking into patterns for the chiffon dress – if you know of any please comment in below and any tips would be appreciated!

Emma

Disclaimer: All Opinions are my own!

Sew … I did it again.

Yeap I splurged on more fabric.  “Ooooops I did it again”!

But gorgeous still and at a metre each from Sew Sew Fabrics.  I spotted their sale from an ad in the latest issue of Love Sewing magazine and couldn’t quite stop myself.

Now the hard task of thinking what project for each piece of fabric!

IMG_8331

A little more in-depth view for all you fabric lovers!


IMG_8332
Birdy Birdy!


IMG_8333
Fabulous Floral
IMG_8335
Sewing Spectacular!


Disclaimer: All views are my own and bought the fabric myself!

Emma

Past Projects

My past projects are being pulled and shared from the other blog: Emma’s Cakey Bakey Adventures. 

So what have I done that I’ve mentioned on the other blog? 

Dahlia Dress – Colette Pattern 

 
Hydrangea Skirt – simplicity 


Camera Strap


Camera Accessory case  

Christmas dress

   
And not mentioned but still really should …

Groover the hand puppet! 


And two other dresses that I’m using the same pattern as the Christmas dress


Plus a little teaser for the next dress! 


I’ll try and give as much information as I can on the upcoming projects – such as the pattern, the fabrics, how long it took me, how difficult was it … If I miss something sewing related please ask me and I will share!

Emma
Disclaimer: All opinions are my own!