5 things I wish I knew before I started sewing.

1. It’s ok to mess up.

We’ve all do it.  We’ve all piled so much pressure on ourselves and when something went wrong we left the unfinished garment in a crumpled mess on the floor in a corner.  I’ve admitted defeat on one or more handmade garments.  I’ve still got to pick them up and see what I can do to rectify the mistakes but for now, they sit it a small pile away from my view!

At the moment I’m amending a shoulder sleeve due to them being lopsided – don’t know how I managed but this is going to be worthwhile in the long run as it’s one of my favourite makes so far despite the sleeve issue. Making mistakes is also learning from them, how else are you going to learn and stretch that skill base?

2. Ask for help.

I’m very lucky to have such a good teacher at the sewing class that I go to.  I also have a couple of very good sewing buddies I can bounce off ideas and problems with alongside a fantastic community on Instagram too.

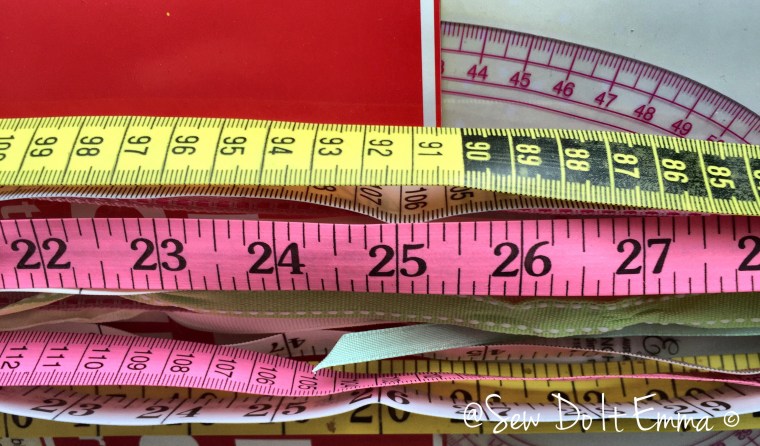
3. Measure yourself.

Pattern sizes are completely differencing to ready to wear sizes (RTW).  Please don’t buy a pattern and go on you RTW as you’ll have a garment that won’t fit once you put all that time, effort and lovely material (and dosh!) into it.

Measure yourself. Take that tape measure (grab a friend if you need help!) and jot down your measurements.  Pattern companies can differ in finishing measurements, so check each new pattern before you start the project!

Remember this: Don’t beat yourself because it may seem you are going up a few sizes from the RTW to the pattern sizes and also your finished garment will fit you better if you take your time to measure yourself correctly 😘

4. Seam allowances matter,

Again. Check, check, check!  Read your instructions a couple of times before you even start the process of cutting out. Highlight the seam allowances on each step.

Get yourself a seam guide and test to see if your seam allowance is really 1/4”.  Same with 1/2″ and so on.

When you find the spot on your machine that is 1/4” mark it with washi or masking tape that way you won’t forget where it is.

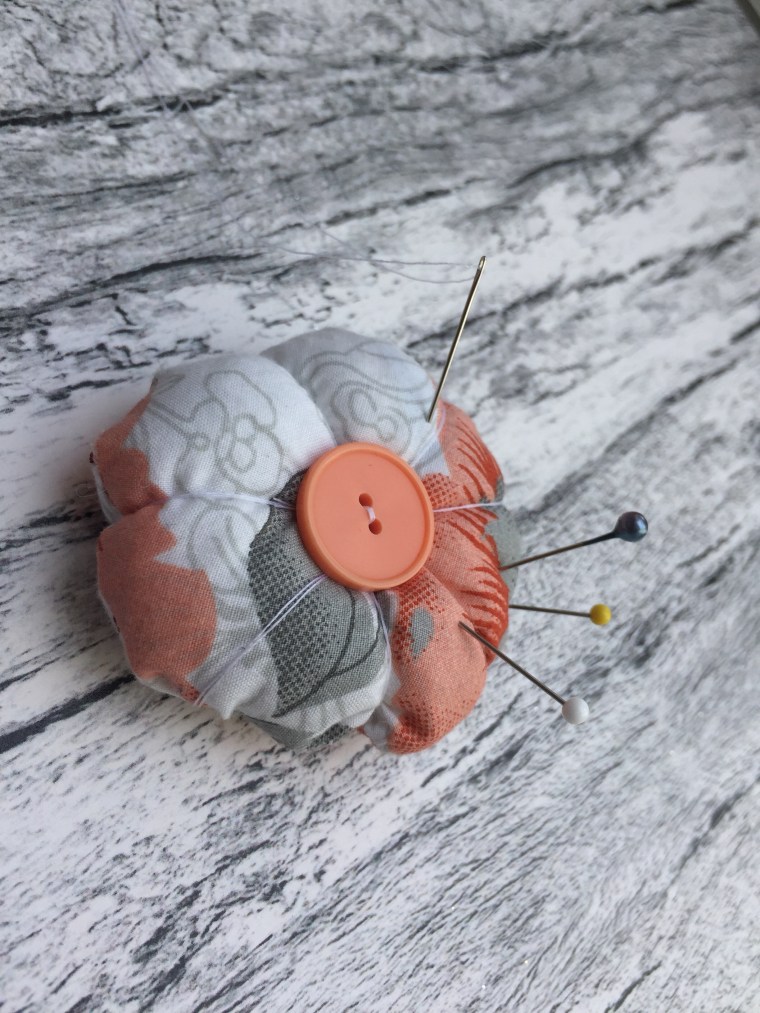
5. Invest in a basic sewing kit.

Scissors (Straight, pinking, little snippers for cutting little threads and ones for paper), Measuring Tape, chalk, pins and a seam ripper is all a good start and then you can add more, such as hand sewing needles, extra bobbins (make sure you get the right ones for your machine as there are not universal where as are machine needles are), pin cushion (homemade or bought). This list could go on for miles (trust me!) but get the basics and add from that, which should keep you right!

Sewing: Sequin Time with Simple Sew’s – #017 Sophia (Update 3 of 4)

When I decided to cut out the sequin fabric with my rotary blade I had no idea how tough it was going to be, but that didn’t stop me from doing just that! Actually was that wise?

I did it.  But I’m sure my rotary blades will now a) need a sharpen with tin foil or b) need a new blade.  Oh well – a lesson learnt there.

Talking of rotary blades I may be purchasing a new one for ease of use. Spotted a fiskars blade that looks a little less fiddly in Biggar Stitches!


So after cutting out the front and back of the top I then pinned it all together and  tried it on.  I knew that I had to put darts in because I made up a toile earlier, so I did just that and then had to get my mum to straighten then up whilst I wore it!

Now I just wished I removed the sequins along the seams to ease the job for my machine (I’m sure it felt pain when stitching the sequins – I did).


Sewing the sequins was nerve racking (my first time doing sequins).  My Brother did the job, the top does need a press as the darts haven’t got the finesse finish I wanted.


I’m glad I added the lining – less jaggy!

Time is running out and rather get into a state like below, I’ve opted to wear a “bought dress” – fear not the dress will be completed for Christmas and worn then!

Trying the homemade garment on was a near death experience as the pins scratched my arm – ok, maybe not near death but still, beady sore!

The backup garment: Katya Kimono Wrap Dress

At this point, the top needs hemmed and finished off.  The skirt still needs the waistband on (which itself needs interfacing applied!! (Note to self: you need to buy blinkin’ interfacing!!)), zip applied, possibly now lined and then hemmed.

The final update should contain a picture of me wearing it! Watch this space!

Happy Sewing!

Some places I went to online for advice:

http://www.burdastyle.com/blog/sequin-savvy

Sewing: Simple Sew – #017 Sophia (Update 1 of 4)

Well I knew in my head that I would have to grade up the skirt of Sophia for sure. The Pleats were moved as well so they hopefully should sit perfectly.   Giving myself a high for staying sane on that one! Thanks Mum!

The instructions of the Sophia say to make a muslin toile before cutting any fabric, which I will do because I want to see where these pleats will lie now that I’ve moved them and added inches onto each edge. 

For sure I will be following this instruction!
Hopefully perfect pleats 😳

I remember doing some grading up for the green Butterick Dress and it seemed to be a tad easier, not only no pleats but the tutor on the class did most of the mathematical bits!!
The top of Sophia should be ok but I’m still going to make a toile, just to be sure! Haven’t adding any extra outwards but may add for length like Red W Sews did for hers but I will see what it’s like in toile form! 

I’ll update you as soon as I have done the toile!