Review || The Block Tee by Paper Theory

Disclaimer: I was given the Block Tee from Tara (Paper Theory Patterns) in exchange for my thoughts. I didn’t have to post anything but here you have it!

Image from paper theory – the block tee

Formerly known as the Kabuki Tee it’s been given the new name and now goes under The Block tee.

Line Drawing of the Block Tee

After some feedback and consultation with the community, Tara felt that having no Japanese heritage herself, it was only right to change the the name.

As well as a big name change, The Block Tee has has some small changes in the grading. This was also from feedback from previous customers. The change is small yet will help with the fit on the shoulders. The shoulder grading increments has decreased between the sizes 18-28, so the length of the sleeves aren’t as long.

Making the Block Tee was fun, quick but somewhat challenging as doing sharp right angle turns is not a quick job and you want to take care doing it.

If you are stuck and I was just needing that little extra visual, Tara has a really good video of how to do the Right Handed corners on her website, which helped me a lot.

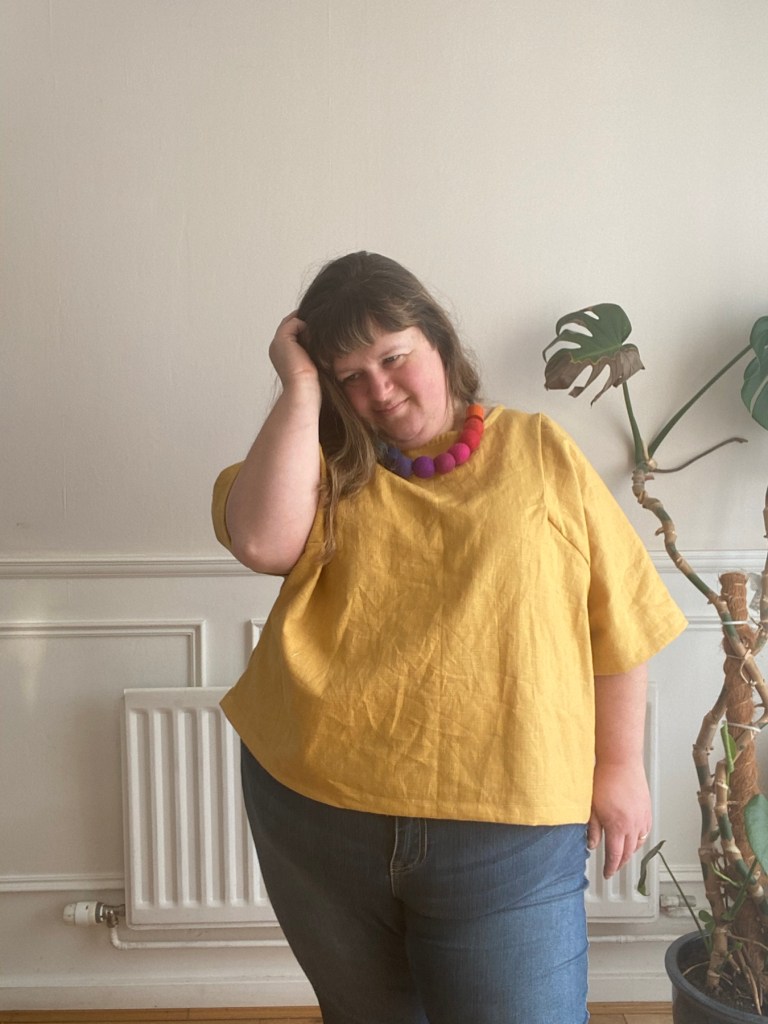
Without any doubt, I cut two Block Tees’ … yep I didn’t do a toile, yep I’m a bad ass but I had totally faith in Tara’s design. I used linen: mustard yellow from Selvage and Bolts and the green from Blackbird Fabrics.

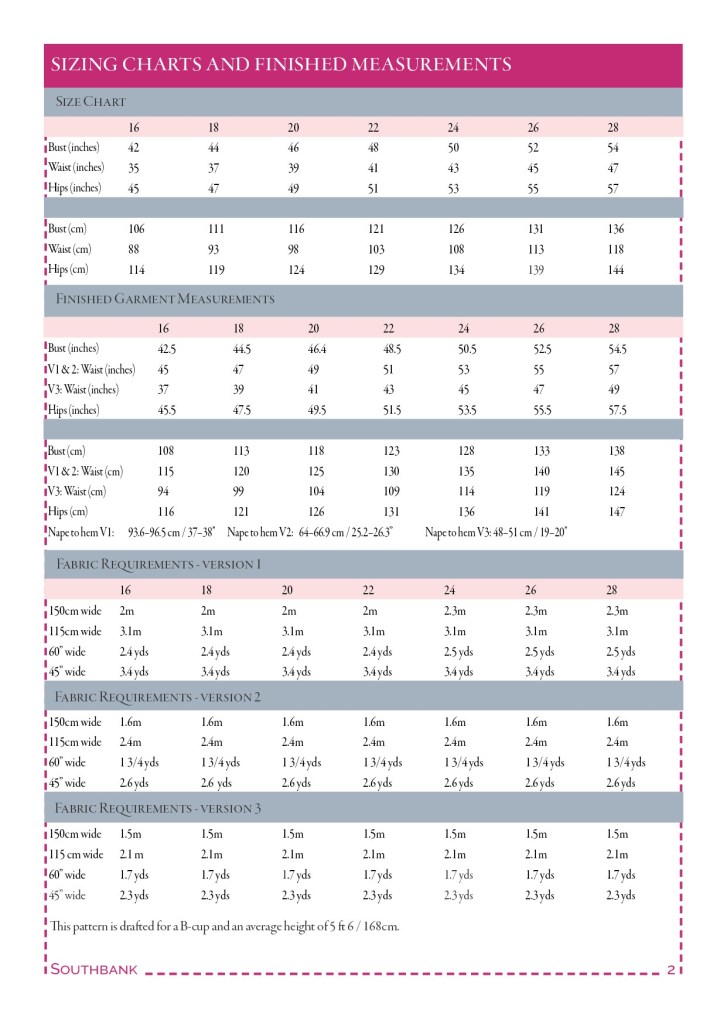
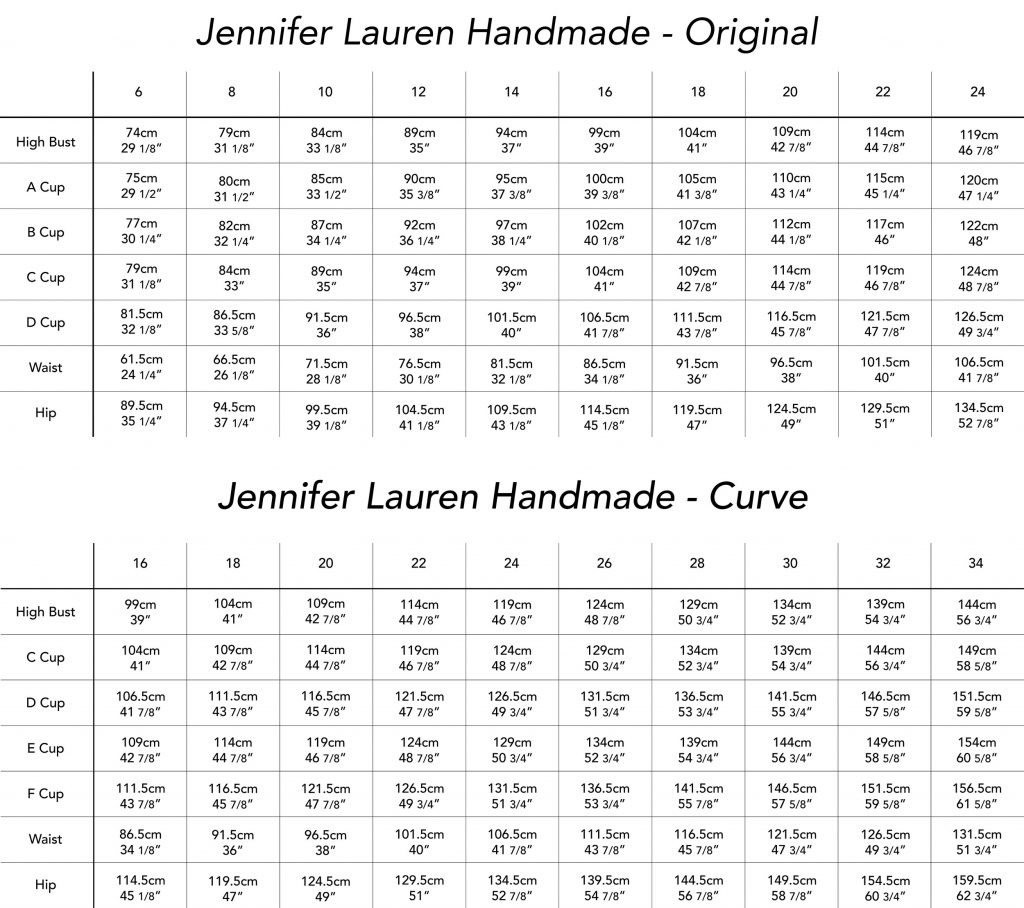
I graded from a 22 at the arms and bust to a 26 at the hips. I could always go down a size all over since the pattern has lots of ease.

I found that I used under 1.5 metres especially without needing to cut the piece for the bias binding as I wanted to use some of the bindings that I bought from The Specky Seamstress (The “Sewing Appreciation Society” Bias was received as a gift).

It’s quite a handy pattern and I feel I’m going to potential do a Block Tee with some of my scraps (watch out for that!).

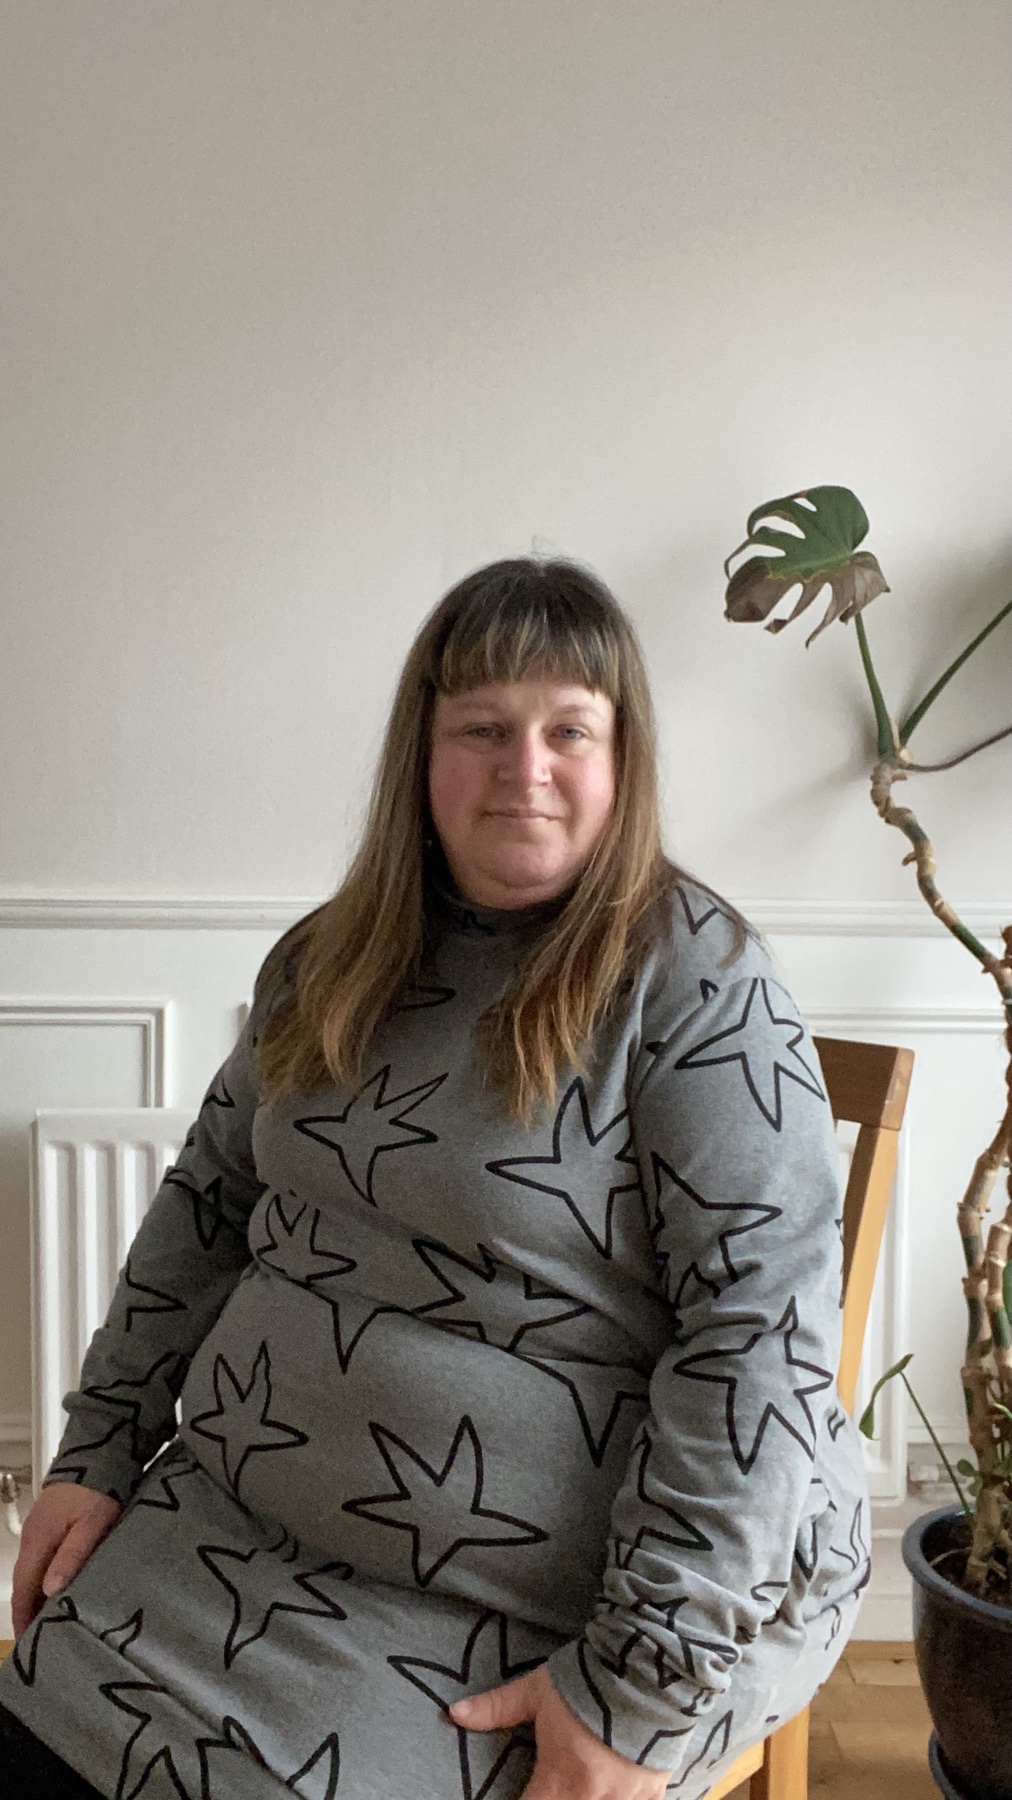
I’m pretty chuffed with the results and yes I feel I need to practice these right angles! It’s a lot trickier than I thought but don’t let that put you off. Just take your time and pin pin pin!

Like most makes these days, before I start sewing pieces together, I overlock the edges. One for finish and two, to stop any fraying.

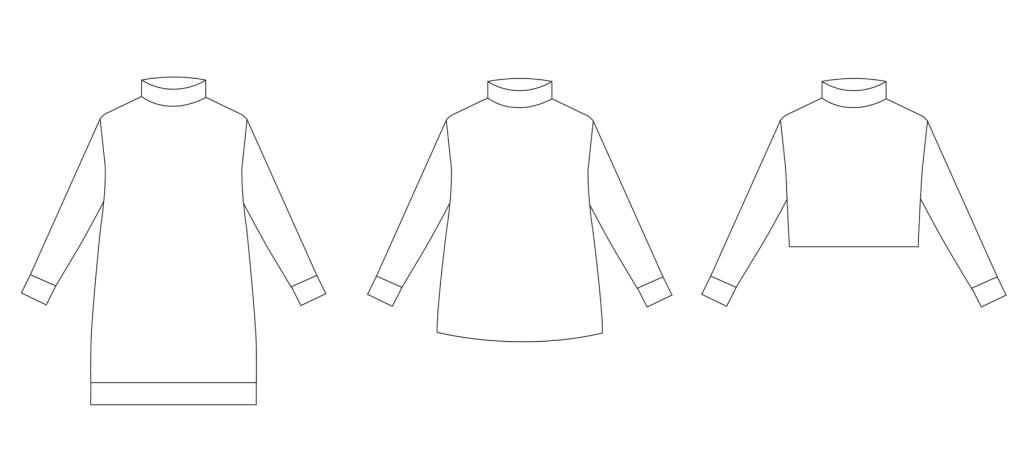
The details of the Block Tee are really smart. I like the lines that it has. It’s just has a different spin on the Box top.

I’m super chuffed that the block tee goes to 57.5”/146cm hip body measurements. It’s got a good amount of ease in it too. It’s going to be a nice staple in my wardrobe, especially in linen over the summer period.

If you haven’t tried The Block Tee yet and would like to give it a try, I’d definitely give you a gentle nudge of encouragement. However (again!), go slow round those corners!

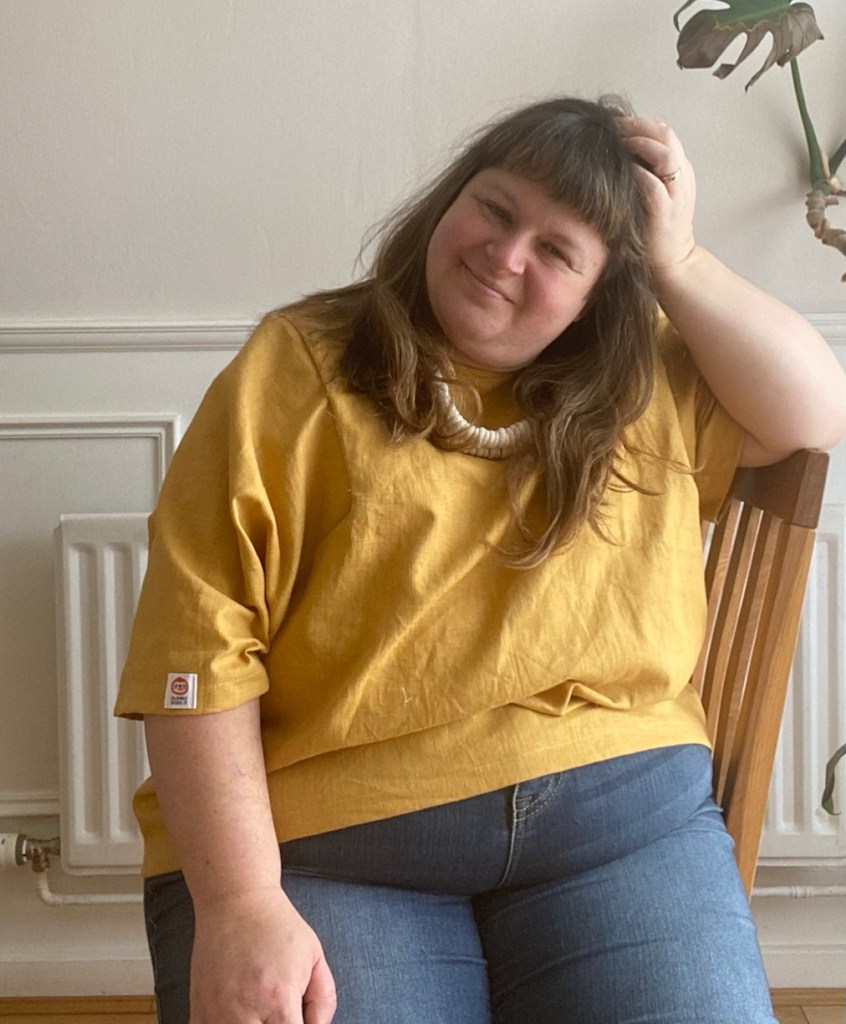
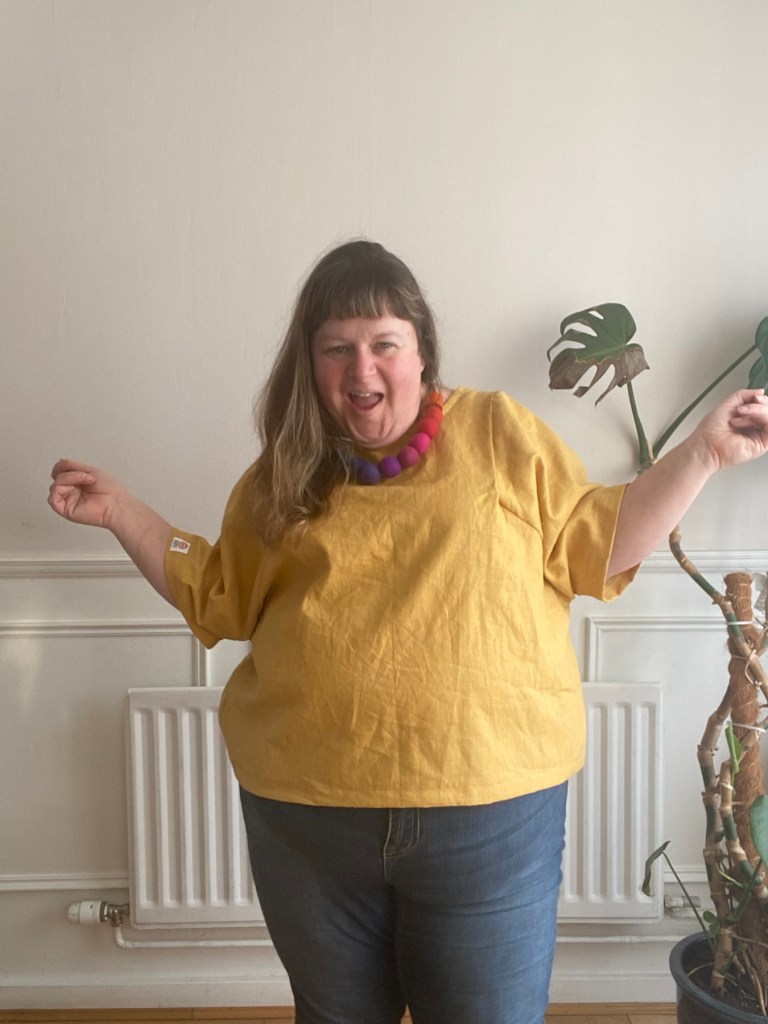
The Mustard Yellow Block Tee Details:

  • Mustard Linen from Selvedge and Bolts
  • Label – “Handmade” This is for Makers
  • Label – “Slowly Does It” The Pink Coat Club
  • Bias Binding “Ruler” – The Specky Seamstress
  • Label – “Sewing is the F♥️cking Best” – Kylie and the Machine.
  • Necklace from Lynsey Walters

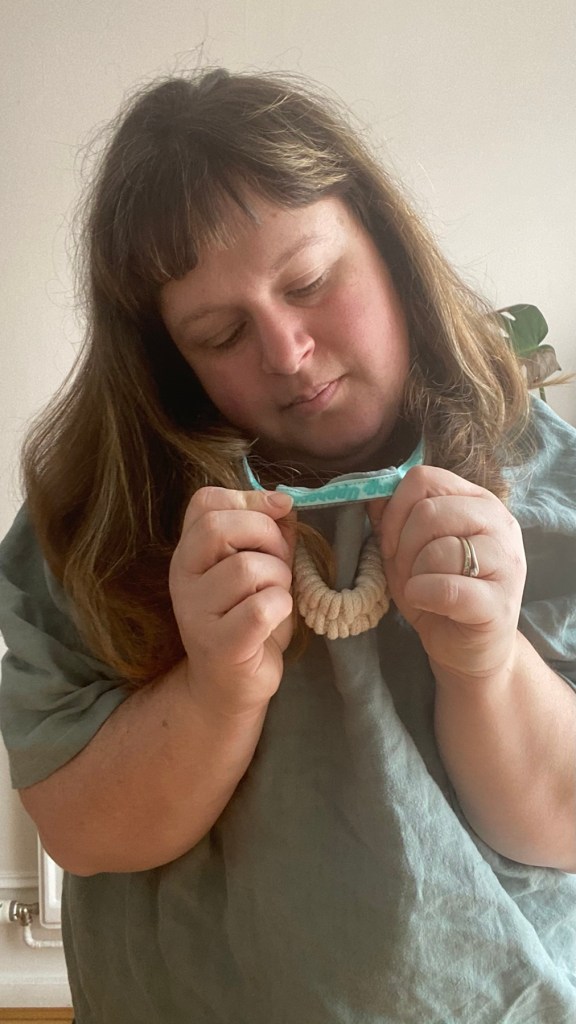
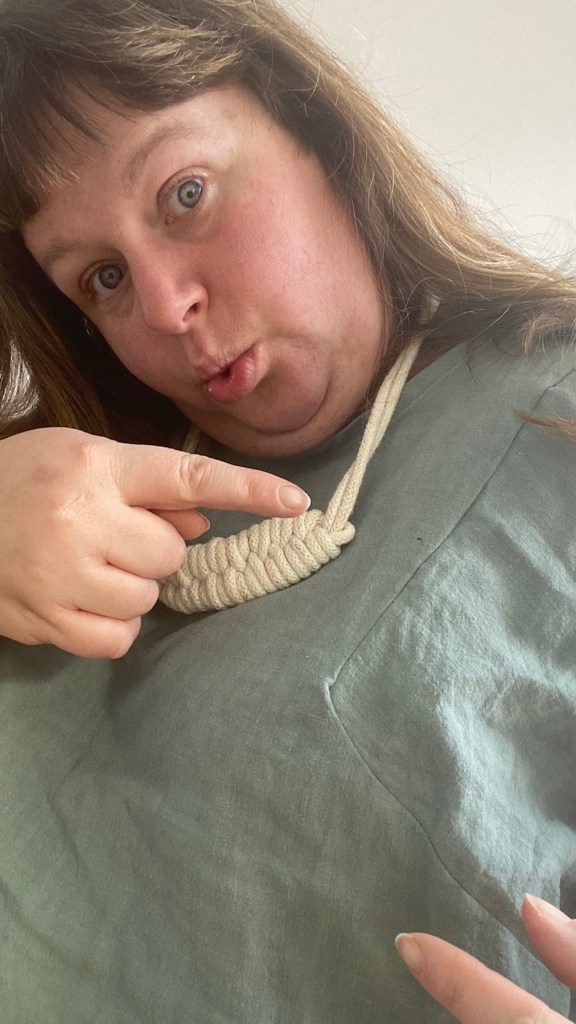
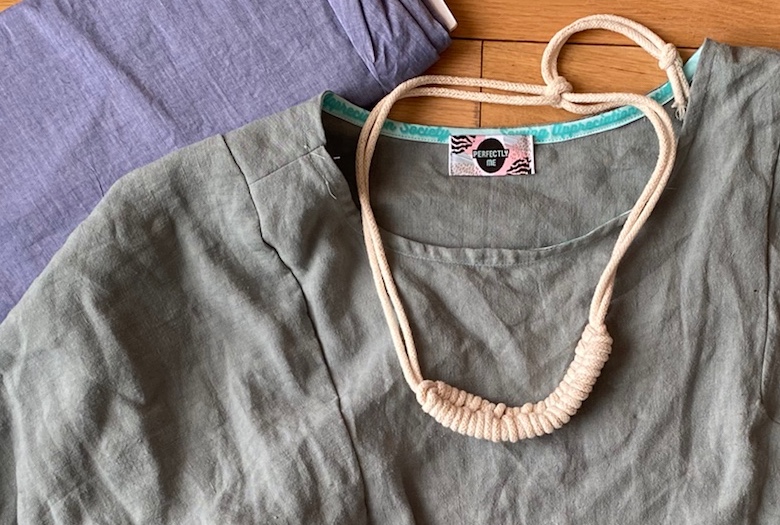
The Green Block Tee Details:

  • Green linen from Blackbird Fabrics
  • “Perfect Me” label from Little Rosy Cheeks
  • Bias Binding “Sewing Appreciation Society” – The Specky Seamstress.
  • Gold and white cord necklace from Stitching Me Softly

Happy Sewing!

New Make || SouthBank Sweater

The Southbank Sweater is one of those patterns that since it was released was on my radar.

Unfortunately, when it was released back in the day, the sizing wasn’t inclusive but it didn’t stop me from buying the paper pattern and forever procrastinating whether I should or should not try and grade it up.

But when Nina Lee updated the Southbank with more inclusive sizing I quickly bought the pdf and then destashed the paper pattern to a new home.

However, the pdf lay waiting to be used for a while until December 2020 when Caroline (cme_202) and I collaborated on the Sew Cosy Winter Party.

The Southbank Sweater was one of the 6 sweaters I had on my short list but me being me, I always take too much on and only get half done … Southbank was in the batch cut though, it just didn’t get Sewn up until very early February.

Nevertheless, I love it. It’s so cosy and easy to wear. I can also layer up underneath or treat it as a cosy dress.

The fabric is from Pin and Sew UK. It’s a sweater loopback jersey and like always, it’s amazing quality!

Again, another pattern that I can see I’ll get more use out of. I see myself using the cropped version over a dress and trying out the hip length with a pair of jeans or dressed up with a skirt.

Happy Sewing!

Review || Dulcie Pinafore

Disclaimer: Jennifer Lauren Handmade gave me a copy of the Dulcie Pinafore in return of a honest review.

The Dulcie Pinafore is one of JHL’s most recent patterns and it really did appeal to me. The pinafore is in the new size range which goes from a size 6 to a 34 and also includes 6 cup sizes.

One of the design aspects of the pinafore that appealed to me was the square neckline as was the princess seams and the button details.

For sizing, I carefully followed Jennifer’s instructions and cut a 22 C-cup size in the new curve range for the bodice. And for the skirt I cut out the size 28. I used the back darts in the skirt to take out the excess that was left where I matched the bodice and waistband to the skirt piece. Ideally I think if I had realised how much excess there was before I added the side pockets I would put some of the extra fabric in the dart behind the pocket. Nevertheless it seemed to work out.

Talking of the pockets, they are a really good size and I like how they are positioned. I had to add a label to one of them just to highlight them!

If you think that’s the only label I stitched in, well you’ll be pleased to hear that it’s not! I added KATBs’ “Look After Me” and Little Rosy Cheeks’ “You Do You” to the back neckline.

This red corduroy was from my stash, unfortunately I can’t remember where I bought it from but it’s a lovely jewel tone. I had 2.5 meters of the corduroy and it worked out well although I seemed to have got the nap upside down … you know the stroke direction. The corduroy has a slight stretch to it as well which isn’t a bad thing especially with a pinafore and lockdown weight!

Lovely stretch corduroy and perfect for the Dulcie Pinafore!

The 22mm buttons were from the Textile Garden. I wanted something that was going to compliment the red earthy tones and I think I did pretty well matching up via the internet. If I was stuck on buttons I would have normally went and checked out The Cloth Shop (Remnant Kings) but they closed just before the pandemic hit and if we are in lockdown and in tiers, it makes it more difficult to factor in travel and sourcing locally. Anyway, I think the Textile Garden buttons are just the match for this pinafore!

I love how the bodice is lined. It just finishes it well. I used some lining that was gifted to me by a friend and it lay in my stash waiting for the right project. I wonder, if I could line the skirt on and future Dulcies’? I probably could, I’d would just need to sit down and work it out.

Ok, the verdict – I really do love it. However, I know I need to make some knit tops that will work with it other than this black RTW top but that’s not a bad thing now is it?!

I might go up a size in the bodice, just for a little more wiggle room, cancel that – its fine. Stretch corduroy is a good friend!

Ok. I’m definitely loving this pinafore. Prepare for another one in the future!

Happy Sewing!

Make Nine: Pona Jacket

Disclaimer: I was given this fabric in return for a review over on Minerva. This is a basic post, so please check out my blog post over on Minerva!

What is happening? After three years of not completing make nine and a year off, I am powering through this years make nines.

Could it be I’ve managed to get confidence with my sewing skills – who knows, but I like it.

So, the Pona Jacket by Helen’s Closet Patterns kinda reminds me of similar RTW jackets that I’ve had in the past and will be a to go to pattern for the future.

I really enjoyed making the Pona Jacket. Helen’s instructions are second to none one of the best instructions around. I used the lining hack on her blog post on her website to insert the lining to this jacket.

For more information … please go to Minerva!

Thanks for reading