Oooopsa lacy!

Since the 5th May I’ve been on a fabric ban but this Friday past I broke it and I broke it hard!

You see when you see something RTW and the stock is low in your size but you have the sewing skills (this does not include boning or lace!!) you go what the heck and go all in, pretty much head first.

So this is the RTW dress I’ve fallen IN LOVE with and just wanna swosh about in.

The RTW dress is a beautiful Monsoon one but as said a second ago, the size I was looking for had gone out of stock. I would definitely pay ยฃ139 for it but that’s if they had it. But I’m not going to buy that dress, I’m going to make it eeek!

Fabric:

After ordering several different swatches and doing a ridiculous amount of searches for “mint guipure lace” online I wasn’t anywhere forward. Locally I was starting to loose my confidence in getting what I really wanted. It was on the final straw that I took the tip from a previous co-worker to visit Fabric Focus. It should’ve been first choice – doh!Above the linings, there lay the beautiful lace guipure in exactly the colours and shade I was looking for and too even make my July better the lining was there to make it pop! 
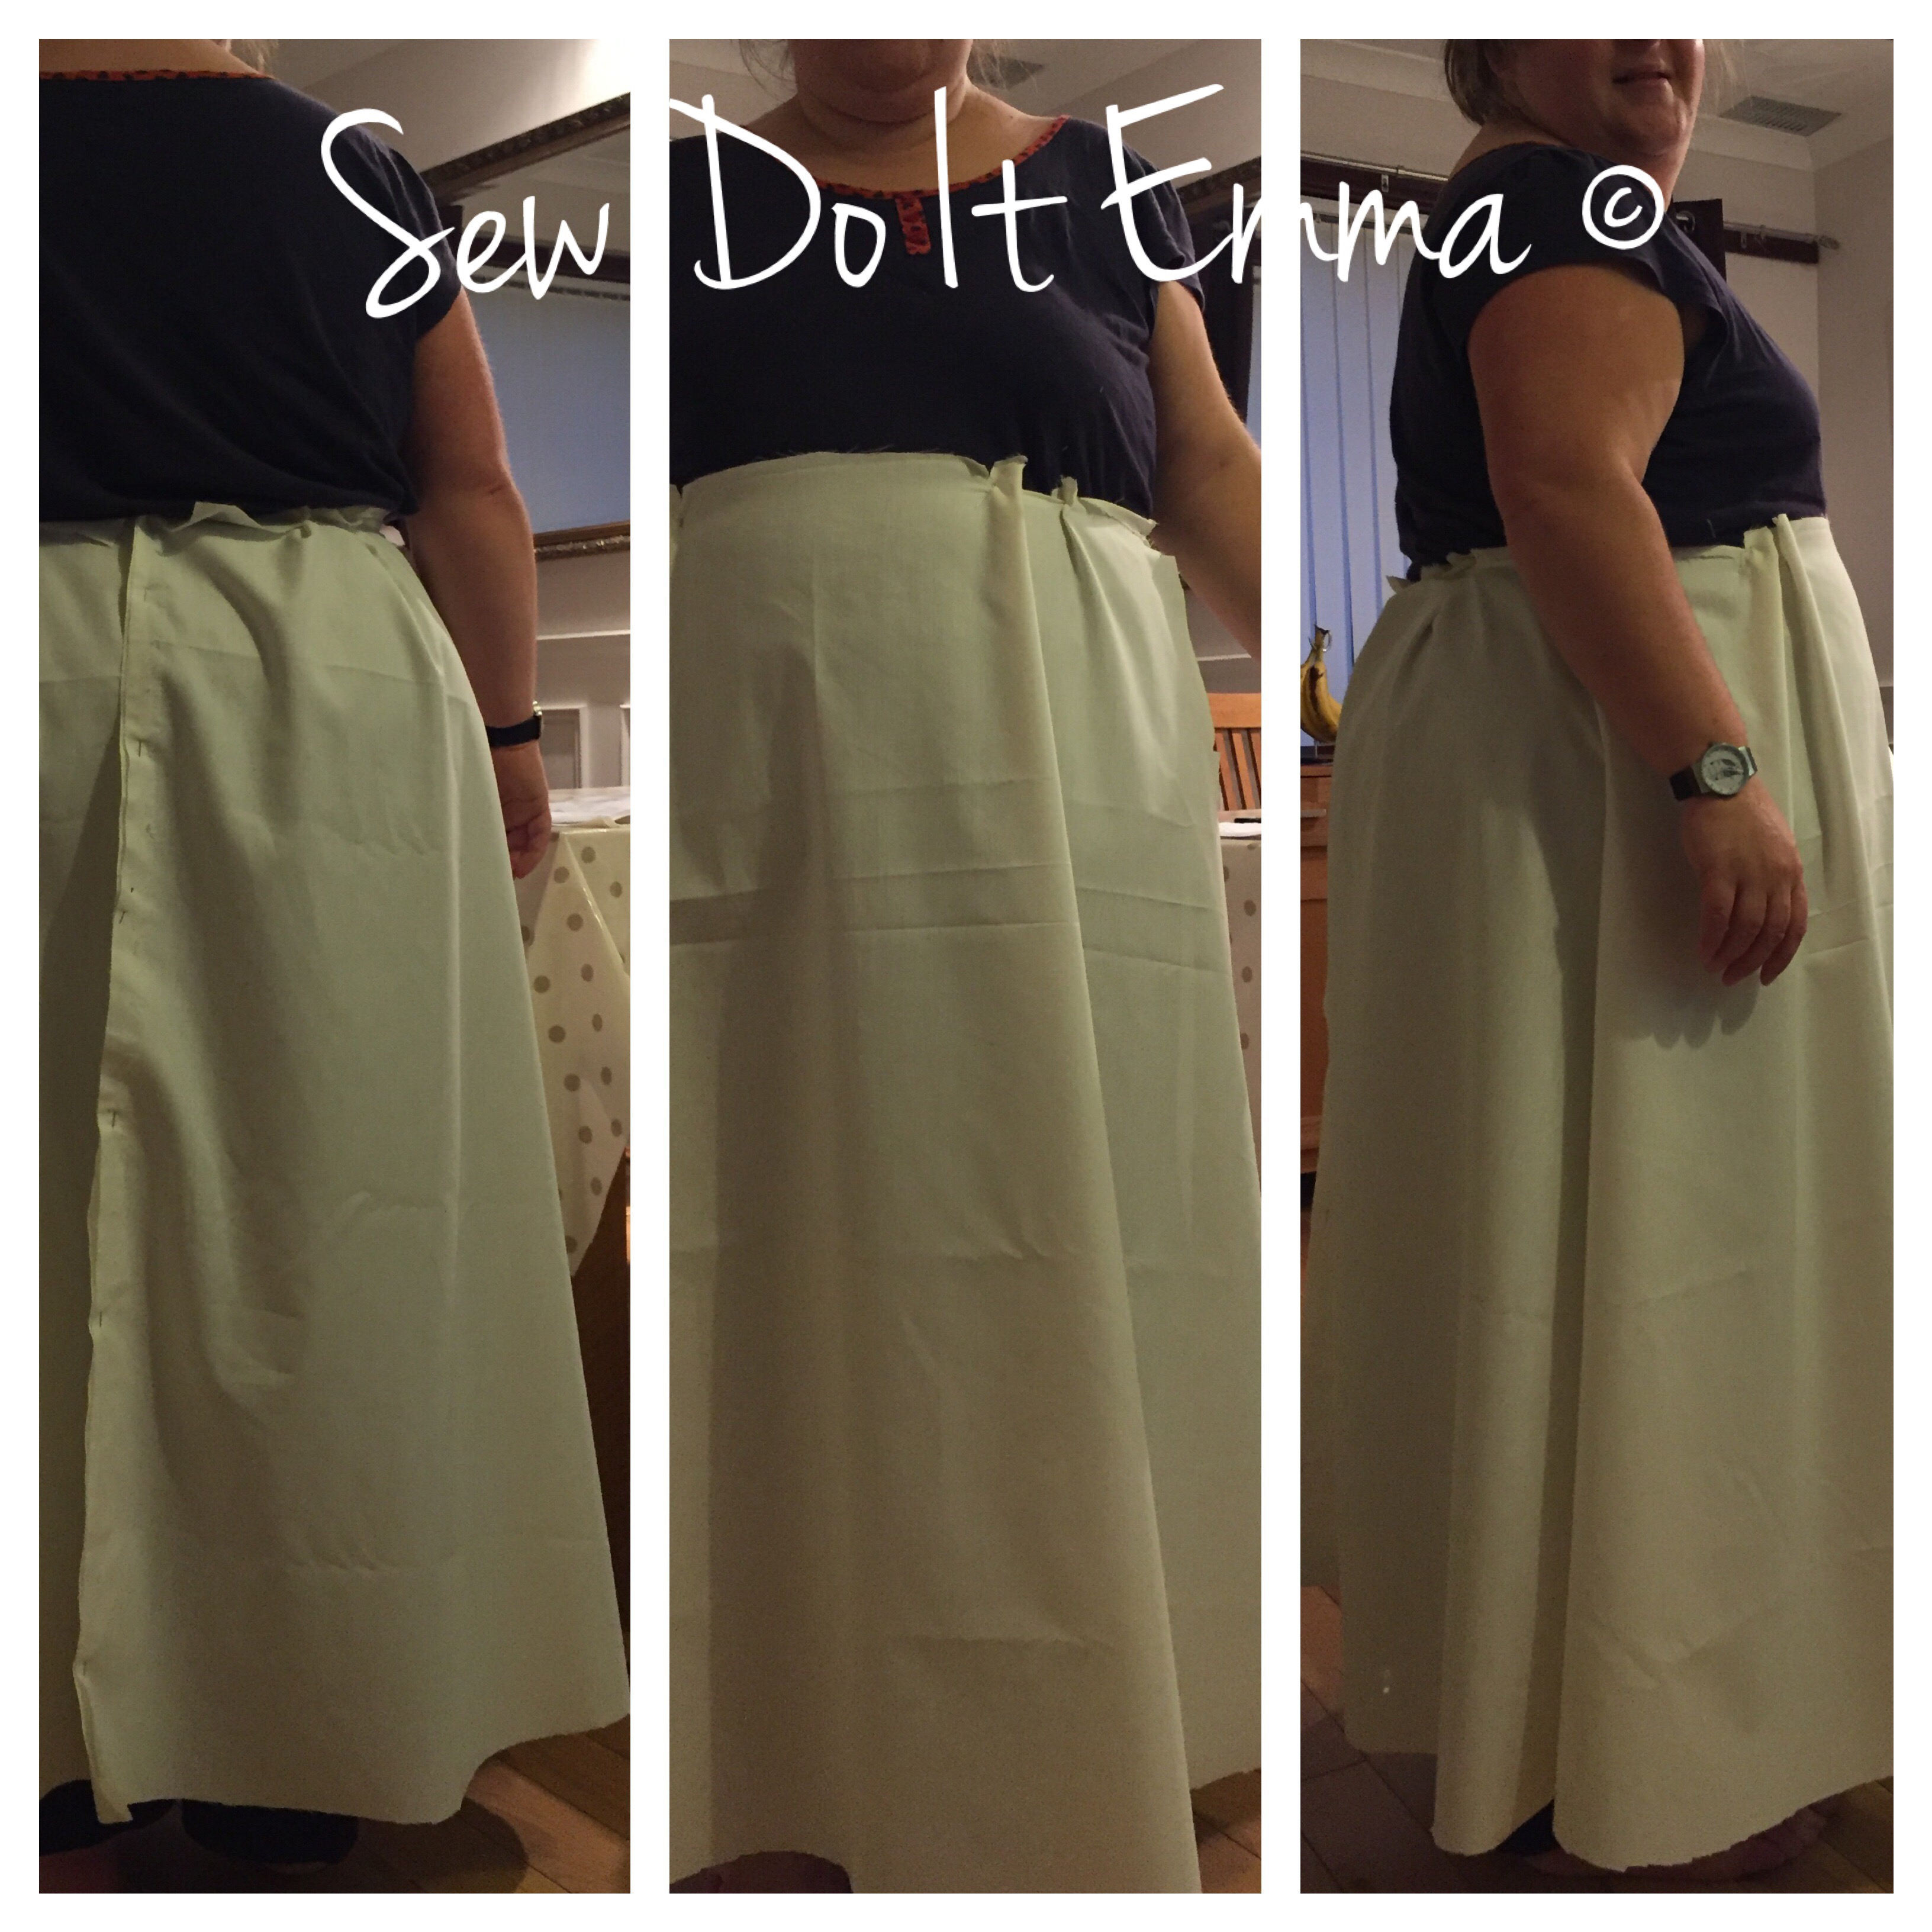
It’s a-lot more minty than the photo suggests. The lining is a skin tone. But I may have to double it up with a cotton because of the boning!

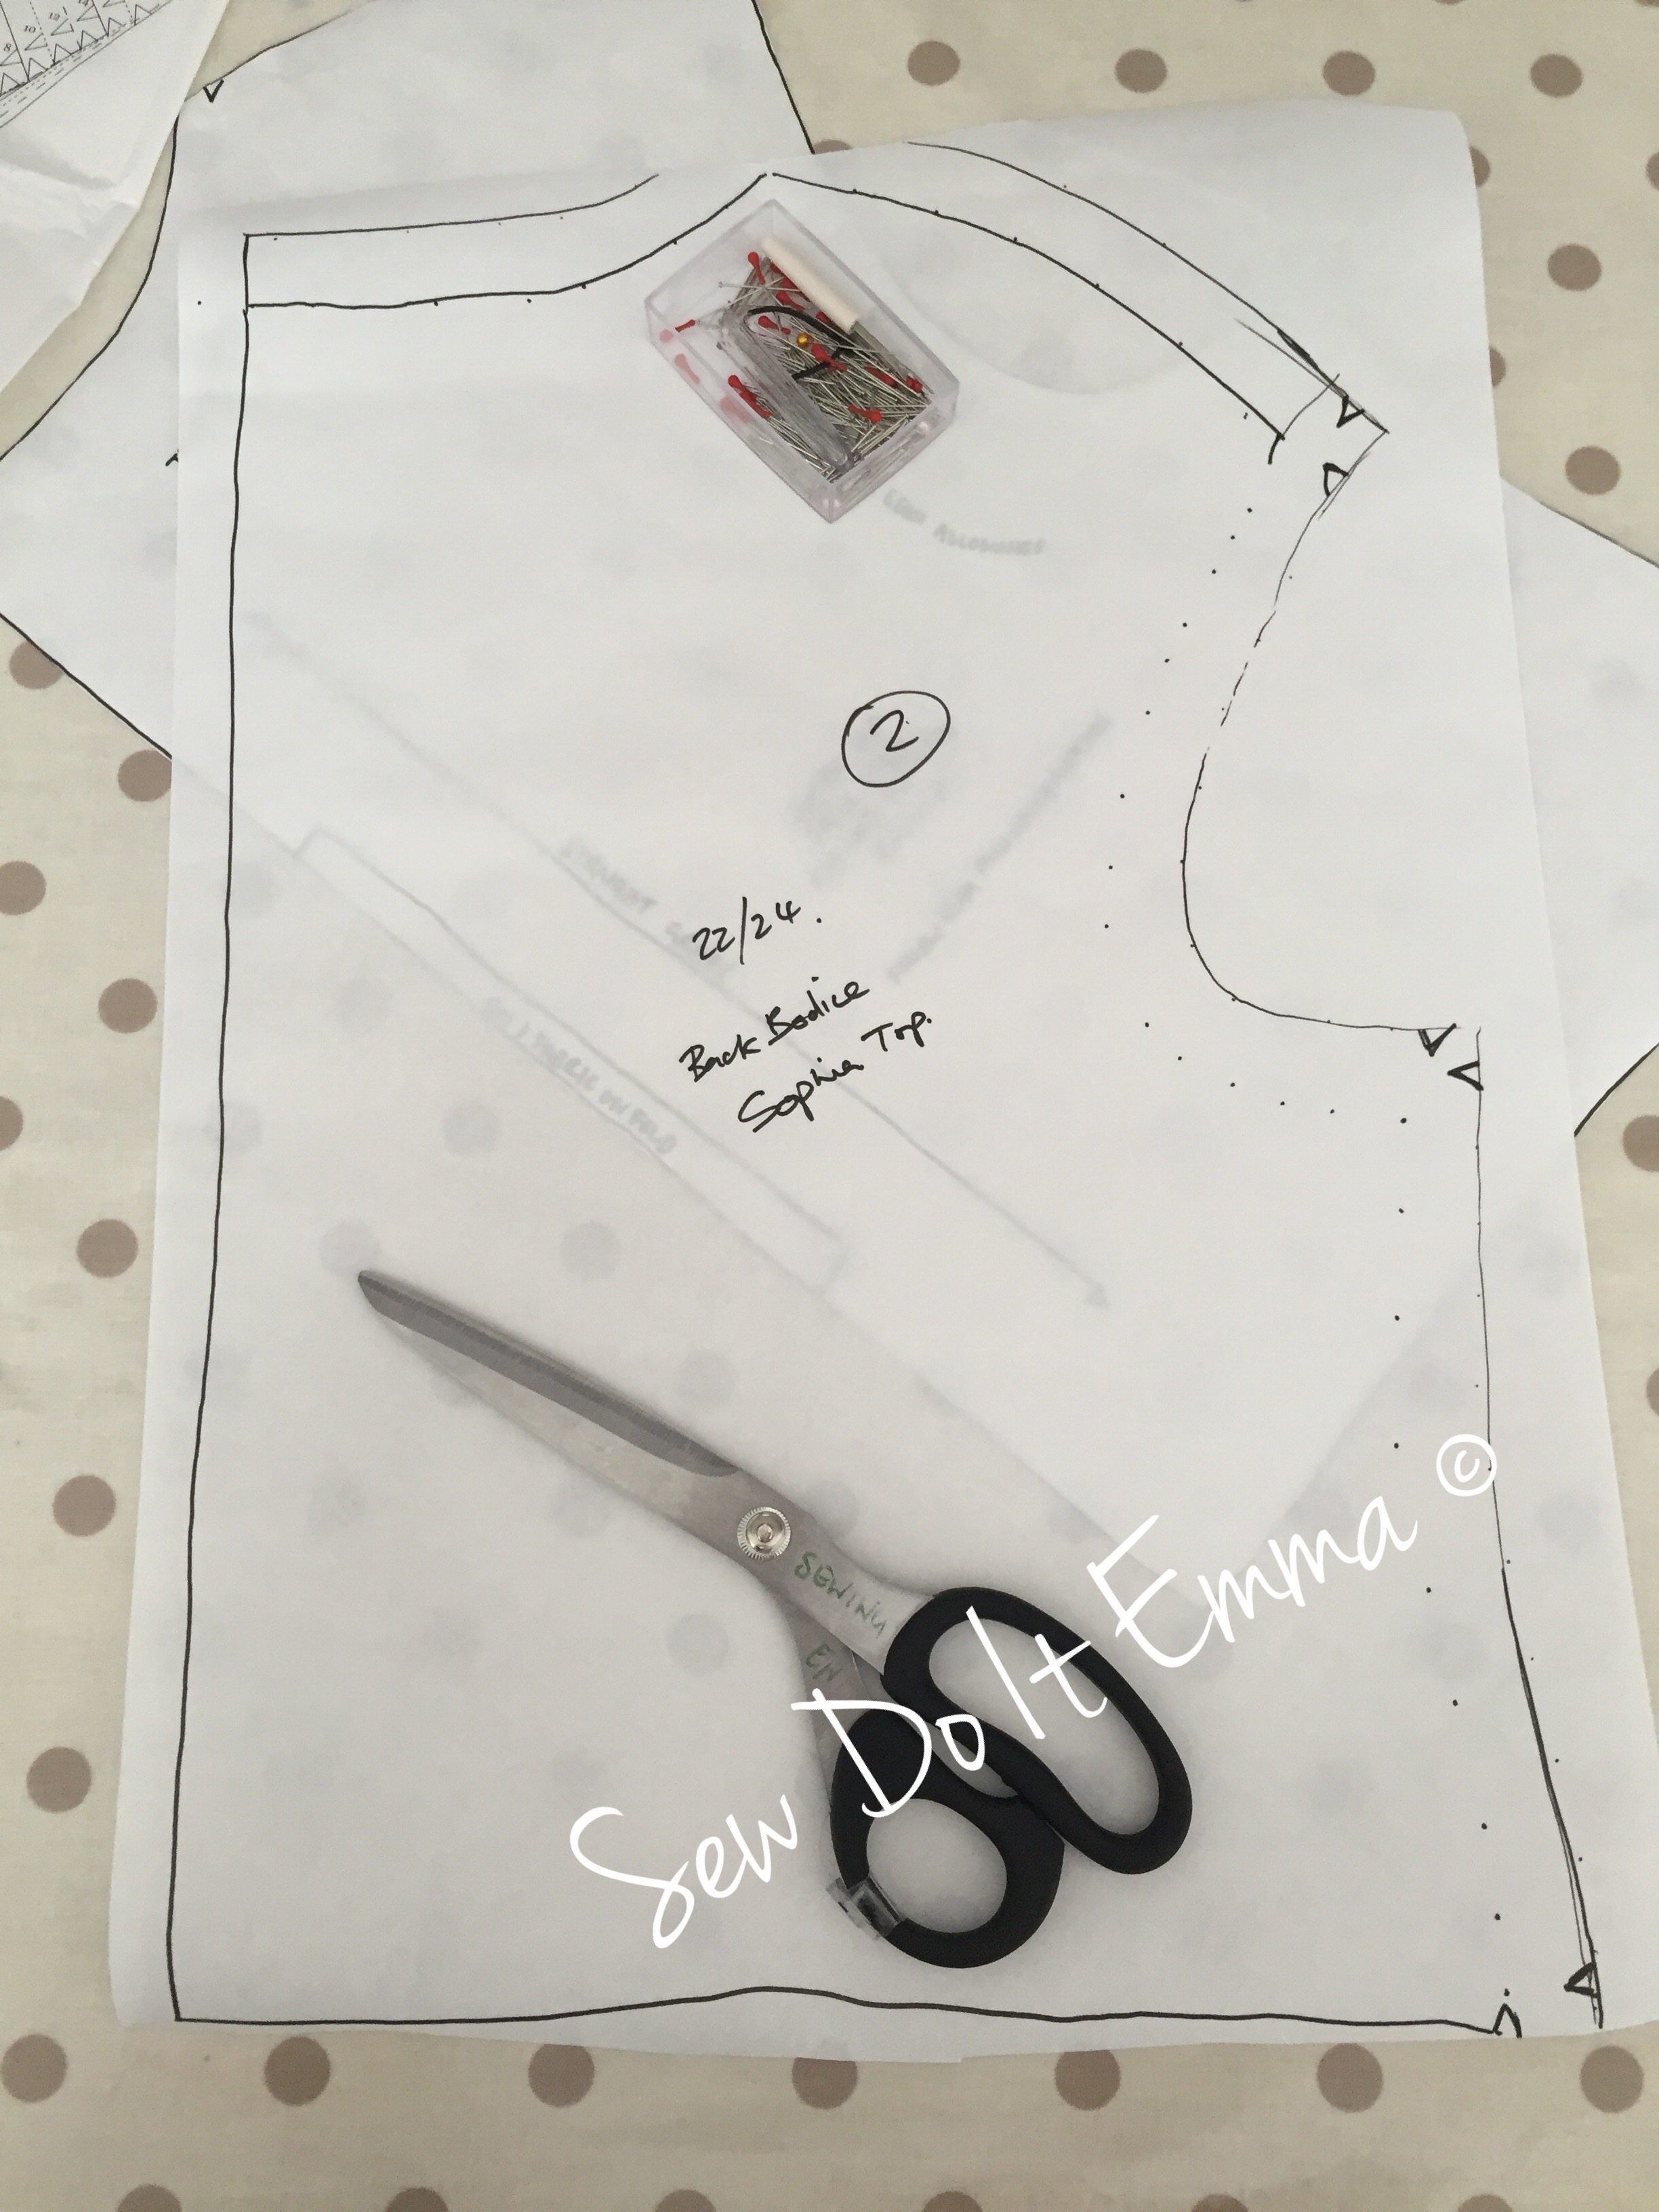
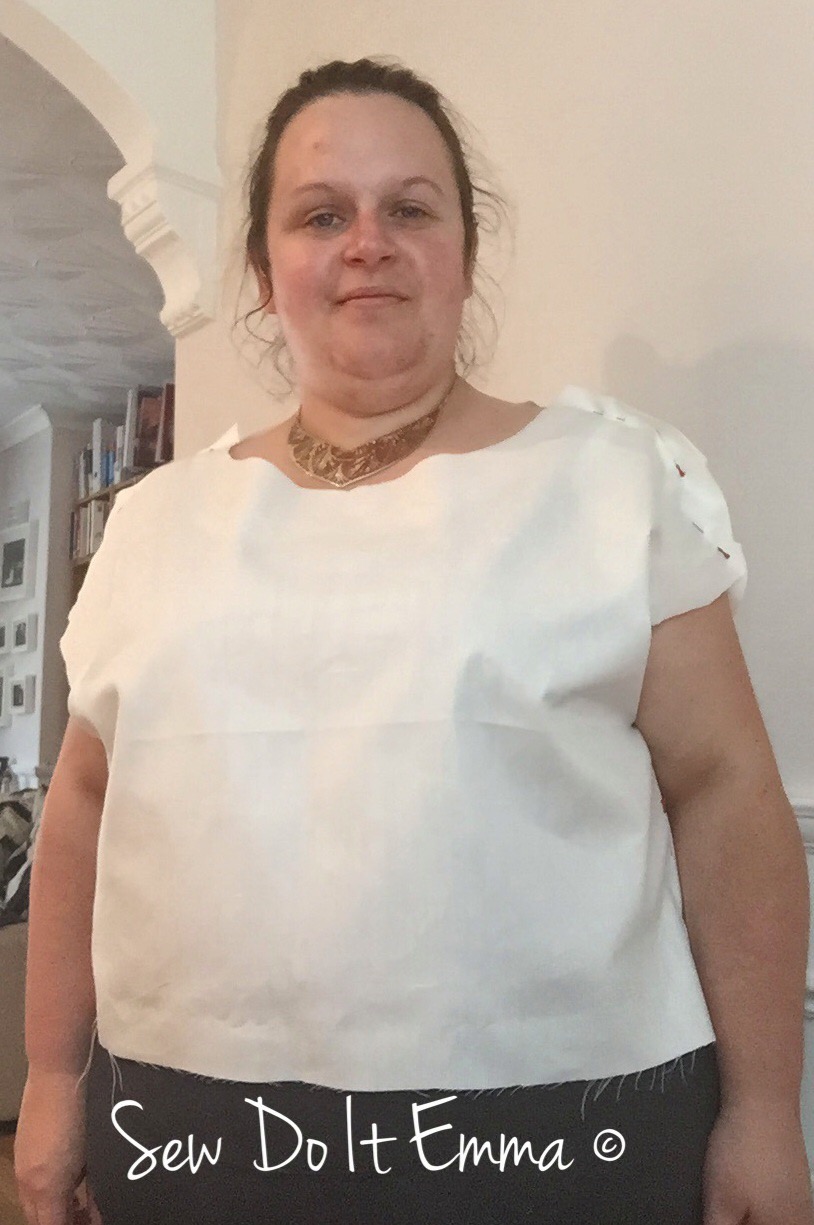
The Pattern:The pattern was a lot easier to find and in the end the McCalls 7720 was a very close fit.

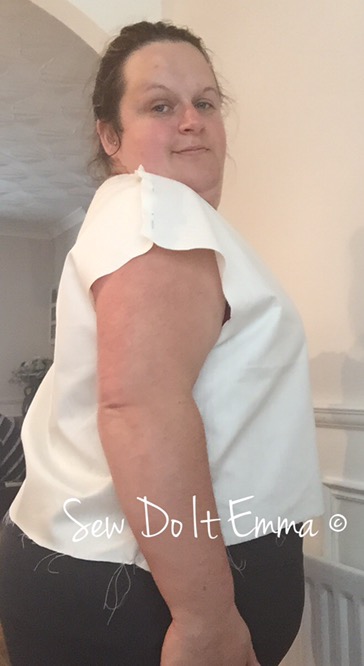
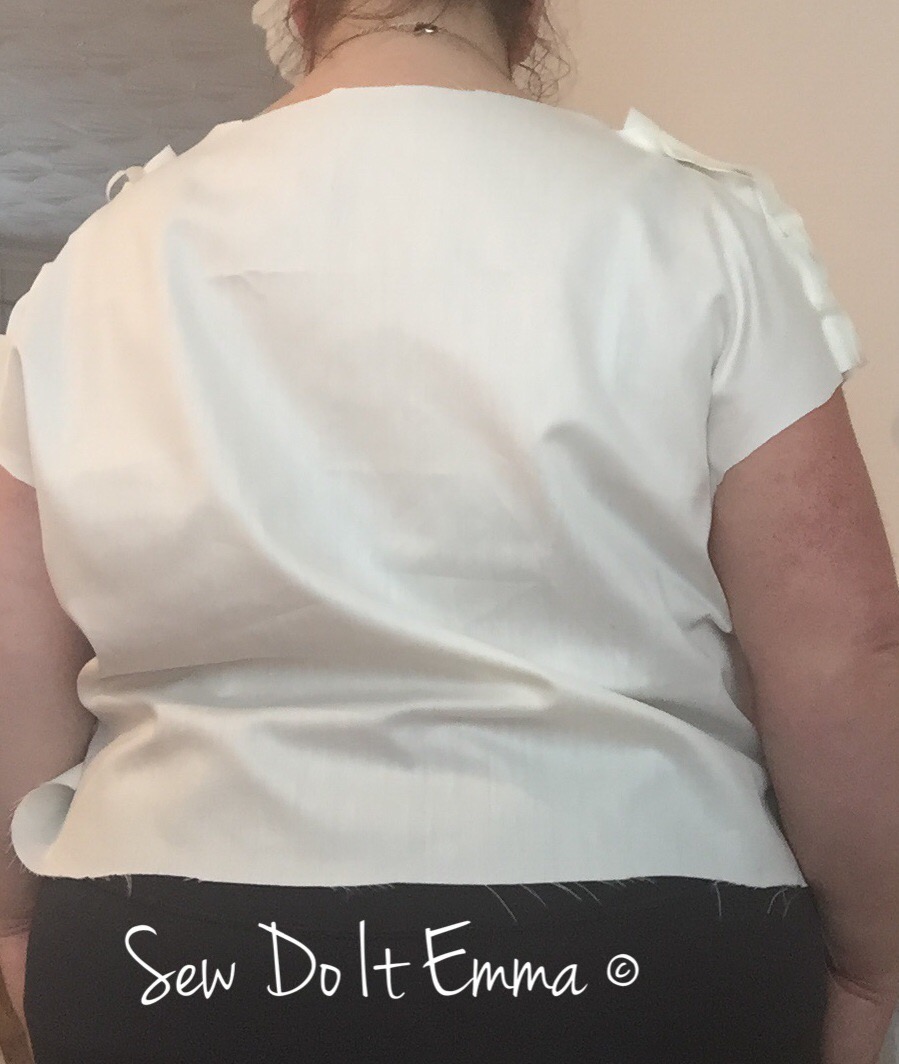
I’ll get the boning, hook & eye, threads and zip organised at a later date. I might make a toile and see how that goes before I start back at my evening classes in August if I get other projects finished! I can’t thank Kevin at Fabric Focus and his lovely Mum (who actually served me) enough for stocking this lace. You made a very happy lady. This is just a perfect example why we should support local shops like this!

Disclaimer: all opinions are my own!

Sewing: Sequin Time with Simple Sew’s – #017 Sophia (Update 3 of 4)

When I decided to cut out the sequin fabric with my rotary blade I had no idea how toughย it was going to be, but that didn’t stop me from doing just that! Actually was that wise?

I did it. ย But I’m sure my rotary blades will now a) need a sharpen with tin foil or b) need a new blade. ย Oh well – a lesson learnt there.

Talking of rotary blades I may be purchasing a new one for ease of use. Spotted a fiskars blade that looks a little less fiddly in Biggar Stitches!


So after cutting out the front and back of the top I then pinned it all together and ย tried it on. ย I knew that I had to put darts in because I made up a toile earlier, so I did just that and then had to get my mum to straighten then up whilst I wore it!

Now I just wished I removed the sequins along the seams to ease the job for my machine (I’m sure it felt pain when stitching the sequins – I did).


Sewing the sequins was nerve racking (my first time doing sequins). ย My Brother did the job, the top does need a press as the darts haven’t got the finesse finish I wanted.


I’m glad I added the lining – less jaggy!

Time is running out and rather get into a state like below, I’ve opted to wear a “bought dress” – fear not the dress will be completed for Christmas and worn then!

Trying the homemade garment on was a near death experience as the pins scratched my arm – ok, maybe not near death but still, beady sore!

The backup garment: Katya Kimono Wrap Dress

At this point, the top needs hemmed and finished off. ย The skirt still needs the waistband on (which itself needs interfacing applied!! (Note to self: you need to buy blinkin’ interfacing!!)), zip applied, possibly now lined and then hemmed.

The final update should contain a picture of me wearing it! Watch this space!

Happy Sewing!

Some places I went to online for advice:

http://www.burdastyle.com/blog/sequin-savvy

Sewing: Tuille Time with the Simple Sew “Sophia”(Update 2 of 4)

On the last update, I mentioned that I had graded the pattern up following a couple of resources online, which I did but then I back tracked and went for the biggest size on the pattern as they said they were the sizes are quite roomy.

The skirt has worked out rather quite well with pleats too. Fairly chuffed with myself considering it was probably quite foolish and risky to do so.

On reflection, I may add 1/2 inch to all sides just to give a little room for that wedding breakfast!

Please ignore the PJ top ๐Ÿ˜‰

I like the length, it’s ideal as it will show off the shoes I intend to wear and I won’t (hopefully I won’t) trip up running (ahem I mean dancing ๐Ÿ˜‚๐Ÿ˜‚๐Ÿ˜‚) around in the Ceilidh!

Like I said in update one, the top should be fine, in fact, it isn’t – as it back needs altering as the fabric catches. I also need darts either side of the front bodice. It also needs an inch to have that hanging effect the pattern shows! Argh! 

Carefully marking out the blueprint
Here’s me thinking it would be a breeze, yeah right ..

It doesn’t look too bad from this angle!
Defo needs darts on front bodice!
again, ok.
Drat!
I’m going to have to amend the top somehow, better get cracking!

And so I did amend the top by going back to the pattern and adding 2cms to the seam. There is a lot less scrunching up at the back and I feel I can actually breathe in it ๐Ÿ˜

The amended top bodice blueprint!
High five to me! 

Side on and smiling!
A lot less scrunching now and it should lie better in the sequin fabric!
Grinning like a Cheshire cat – still need darts!
 

I will let you all know how it all goes in Update 3 – cutting the real fabric!!

Oh the funny thing is that my husband thought I was wearing this tuille to the actual wedding – EH NO!!  I had to give my reason to why I wasn’t wearing white to the wedding of my closest friends’!

 โ€‹

โ€‹

Online Resources used to figure out how to grade up these sneaky pleats:

How to Grade the Kelly Skirt

http://www.jenniferlaurenvintage.com/2014/09/the-dalloway-pattern-grading-hips.html

How to Grade a Pattern Up: The Easy Way