Valentine Wildergown (a collaboration with The Rag Shop).

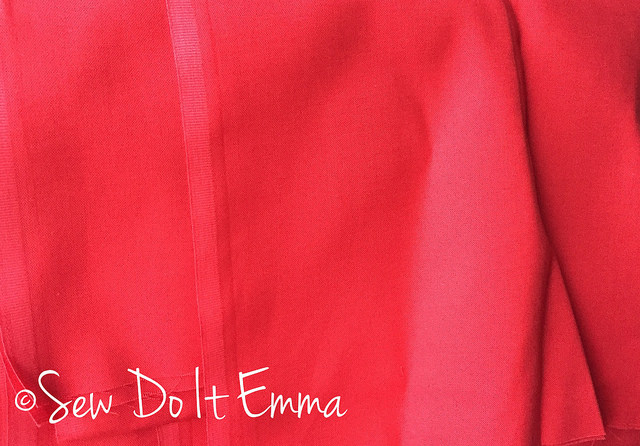
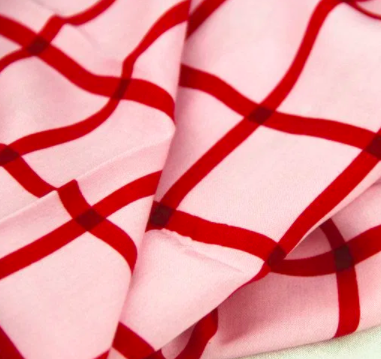
It all started when I saw By Hand London’s  sample of the Jessica Skirt in this Valentine Red and Pink viscose … it was love at first sight!

Screenshot 2020-08-18 at 15.37.36

I thought the chances of sourcing it would be second to none but what’s the harm asking? The worst answer would be no or sorry we’ve ran out, so with that in mind I did some digging! You guess it, long story short I found some at The Rag Shop via pigeonwishes shop.

Screenshot 2020-08-18 at 15.58.35

Yay! So I contacted Steph at The Rag Shop to let her know that I was doing a blog post on the viscose and she kindly gave one meter in return for the blog post (I already purchase two metres) so having that extra meter allowed me to play about with more options.

Screenshot 2020-08-18 at 18.23.01

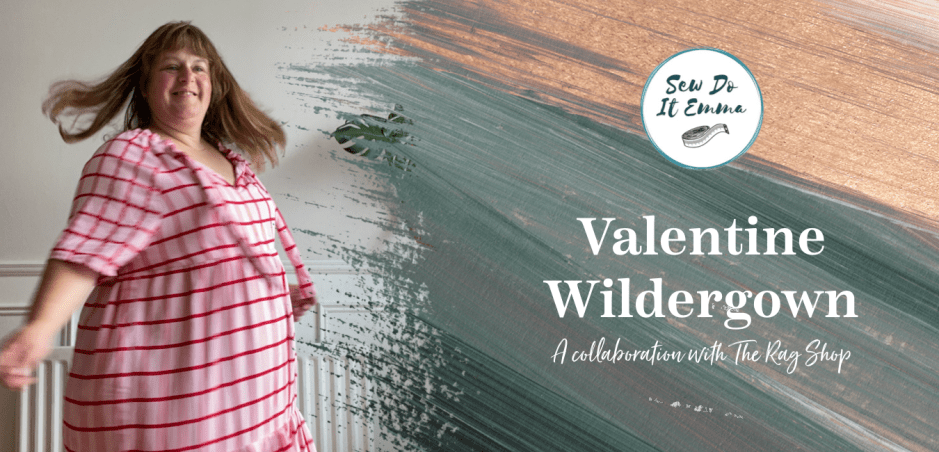
The Wildergown by Friday Pattern company has been on my sewing list for ages, I just love the fluidity of the dress. The Valentine Viscose and the wildergown dress would be a beautiful match!

IMG_9283

Screenshot 2020-08-18 at 16.26.20

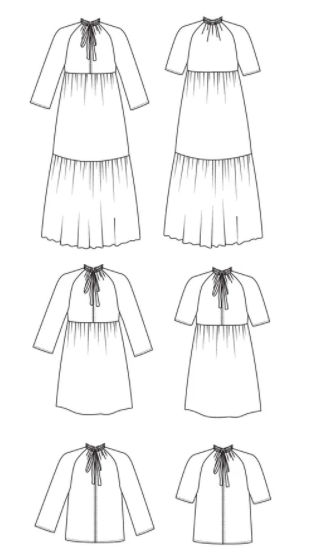
I choose the xl according to the finished measurements but I could’ve gone up an extra size on the skirt but I might come back to that as I’ve still got some fabric left. Obviously, I was going to go on the full-on gown – I think it would have been be rude not too!

Screenshot 2020-08-18 at 16.21.22

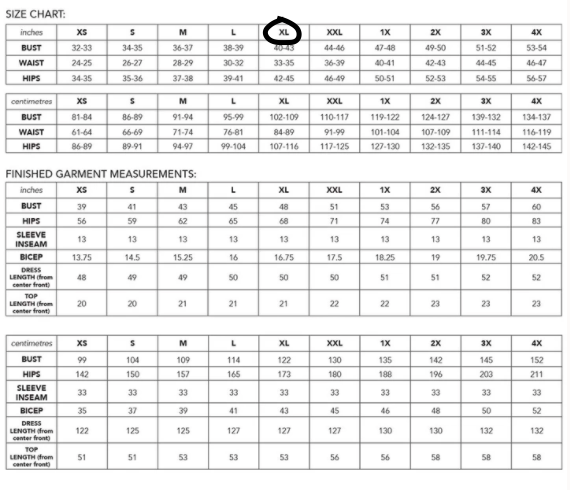
Ok, for adjustments I shortend the bodice because I’m only 5’3″ and my torso isn’t long at all. I went for even layers in the skirt but on hindsight, shouldve keep the top tier longer and the bottom tier shorter – but nevermind.

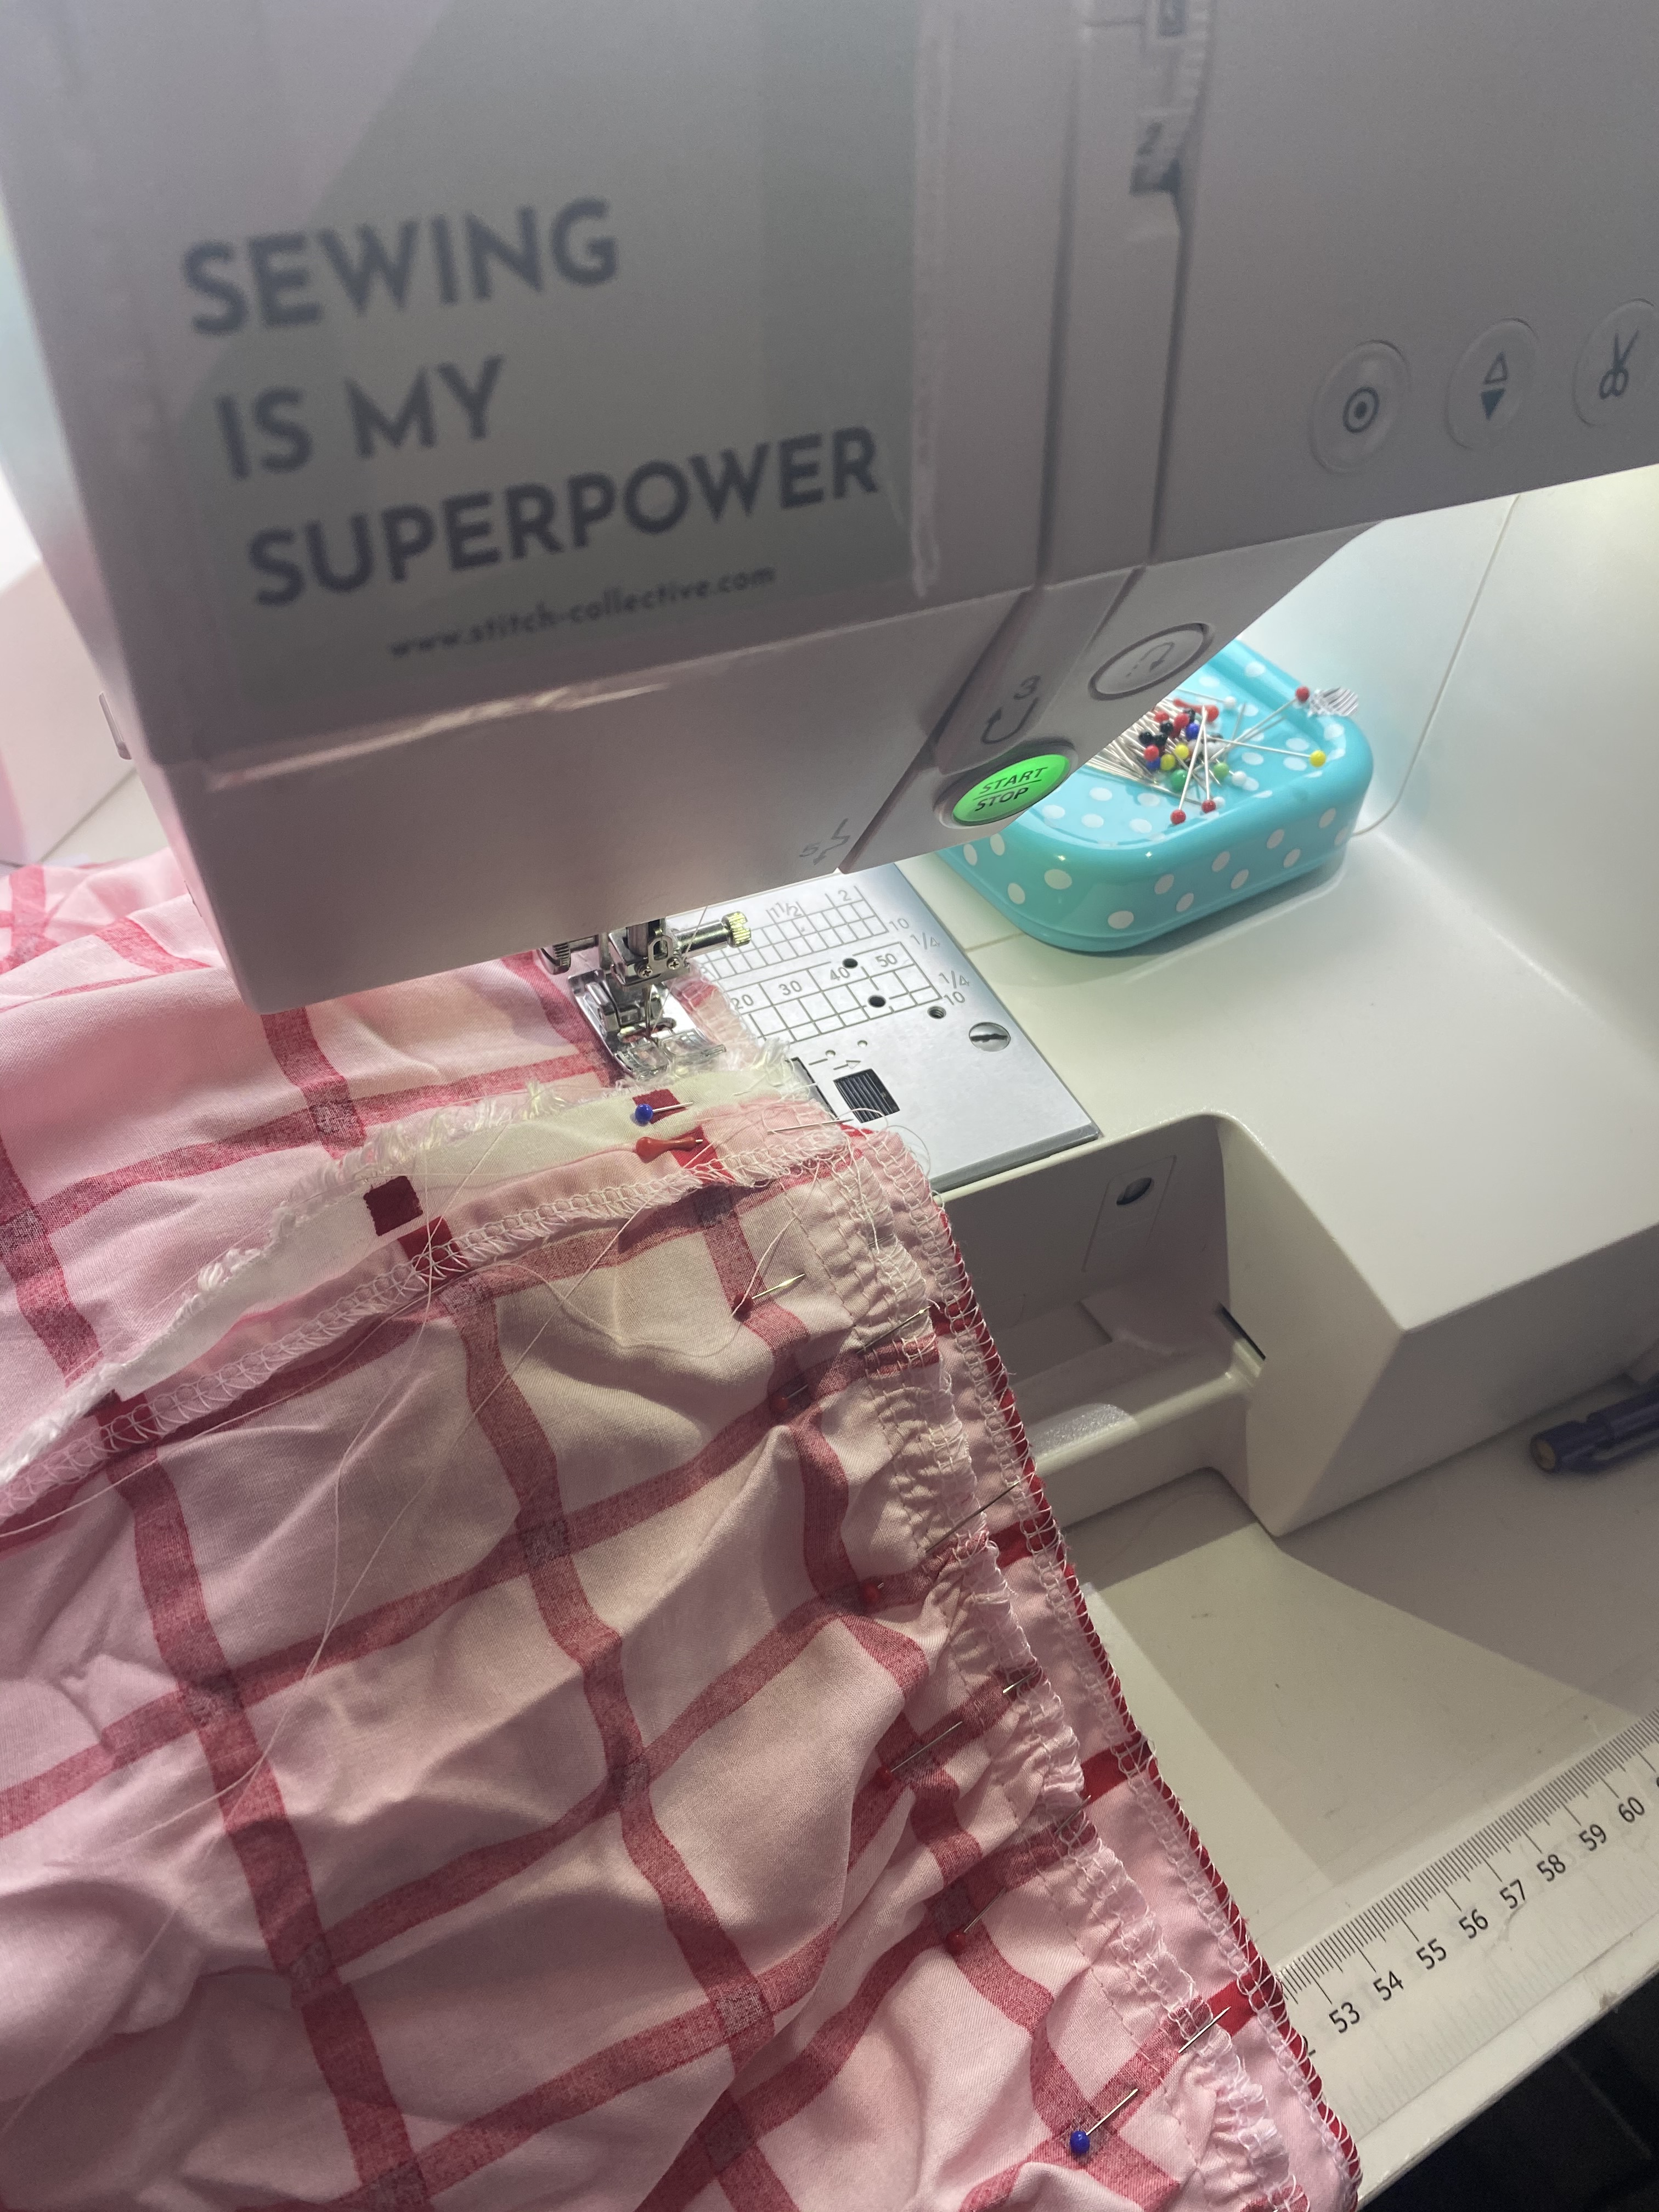
Sewing with the viscose was a dream.  I didn’t find it too slippery to work with either.  I did use a light weight needle just to be sure it didn’t punture the fabric whilst sewing it.  I’ve been reading that even using a microtex needle can sometimes still lead to tiny fractures in the fabric (in some makes more than others) which is quite nerving wracking after you’ve made that investment.

Screenshot 2020-08-18 at 17.35.44

Before I started putting the pieces together I overlocked all the edges to stop them fraying.  Of course, I could always try french seams to finish the seams but let’s be frank here, 1. I’ve not got the patience to do that and 2. I’ve still not got the patience.

IMG_9290

I really wanted to try and pattern match some of the lines of the grids and this worked out better than expected even with the gathering. For gathering I used lots of pins … LOTS of them and I tend to use the Prym glass headed pins now, just my preference.

IMG_9292

I’m still sitting on the fence if I should add waist ties just to give a bit of shape and I may shorten the bottom tier to be just below the knee.  I think it’s all to do with my height but I may leave the length as it is if the waist ties help.  I’ve heard that Julie Uzor has a great tutorial on her Instagram for rouleau loops via theminisewist (but I’ve yet to find it).

However I’m slowly falling in love with the dress as when I first tried it on, I was like “what have I done?”.   For me it’s a bold change with the grid lines, because I’m short and rather curvy I think it accentuates certain features.  But everytime I’ve tried it on I’m feeling more confident.

To add to the love of this wildergown I am loving the drama of the neckline.  The pull tie that gathers the neck and gives the shape is such a simple yet clever design feature.

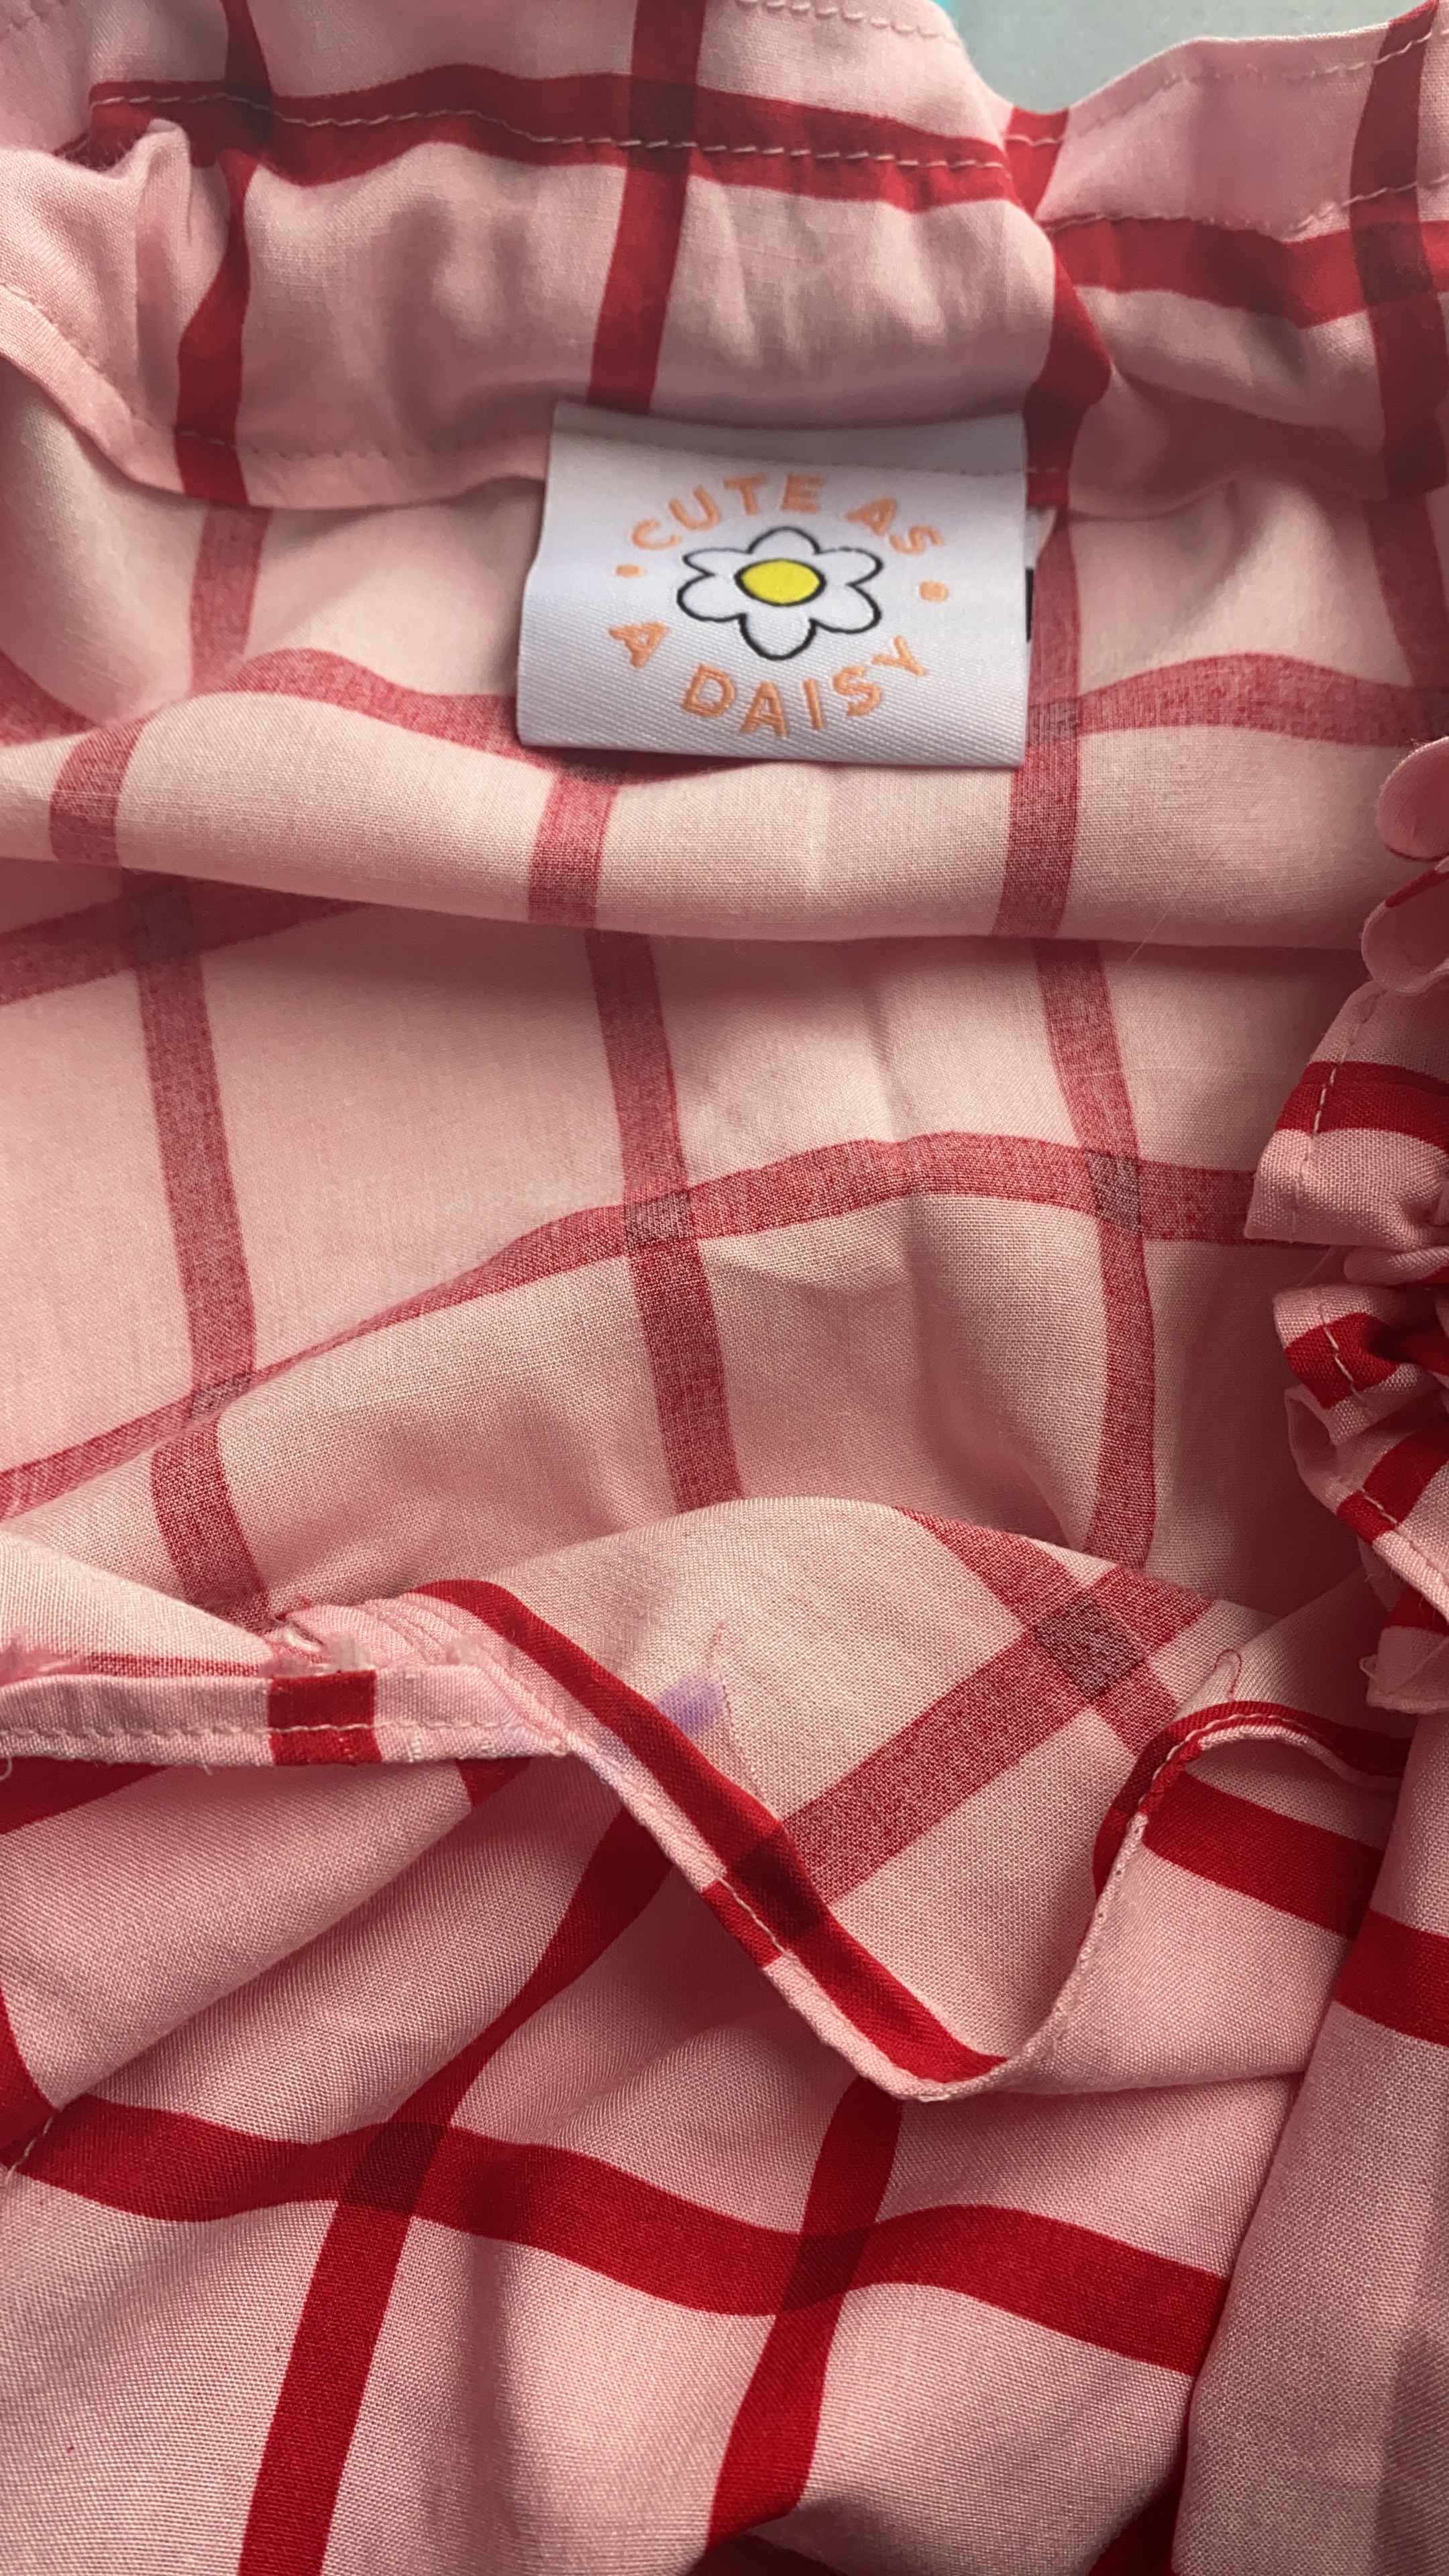
For the finishing touches I added one of Paige Joanna’s “Cute as a Daisy’ labels which I bought last week and thought it was quite a cute match!

696F8B6B-11A9-4467-9329-57DE4E9A3F22

Anyway, I hope you’ve enjoyed reading this and Happy Sewing!

Emma x


5 things I wish I knew before I started sewing.

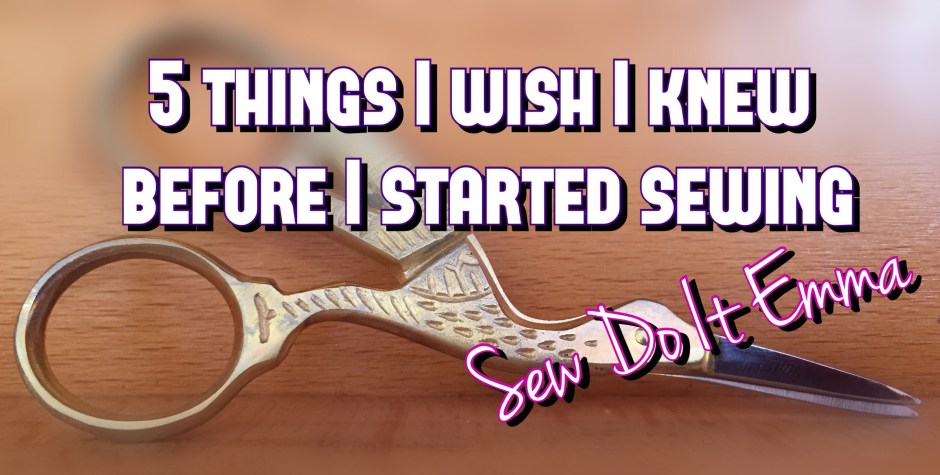
1. It’s ok to mess up.

We’ve all do it.  We’ve all piled so much pressure on ourselves and when something went wrong we left the unfinished garment in a crumpled mess on the floor in a corner.  I’ve admitted defeat on one or more handmade garments.  I’ve still got to pick them up and see what I can do to rectify the mistakes but for now, they sit it a small pile away from my view!

At the moment I’m amending a shoulder sleeve due to them being lopsided – don’t know how I managed but this is going to be worthwhile in the long run as it’s one of my favourite makes so far despite the sleeve issue. Making mistakes is also learning from them, how else are you going to learn and stretch that skill base?

2. Ask for help.

I’m very lucky to have such a good teacher at the sewing class that I go to.  I also have a couple of very good sewing buddies I can bounce off ideas and problems with alongside a fantastic community on Instagram too.

3. Measure yourself.

Pattern sizes are completely differencing to ready to wear sizes (RTW).  Please don’t buy a pattern and go on you RTW as you’ll have a garment that won’t fit once you put all that time, effort and lovely material (and dosh!) into it.

Measure yourself. Take that tape measure (grab a friend if you need help!) and jot down your measurements.  Pattern companies can differ in finishing measurements, so check each new pattern before you start the project!

Remember this: Don’t beat yourself because it may seem you are going up a few sizes from the RTW to the pattern sizes and also your finished garment will fit you better if you take your time to measure yourself correctly 😘

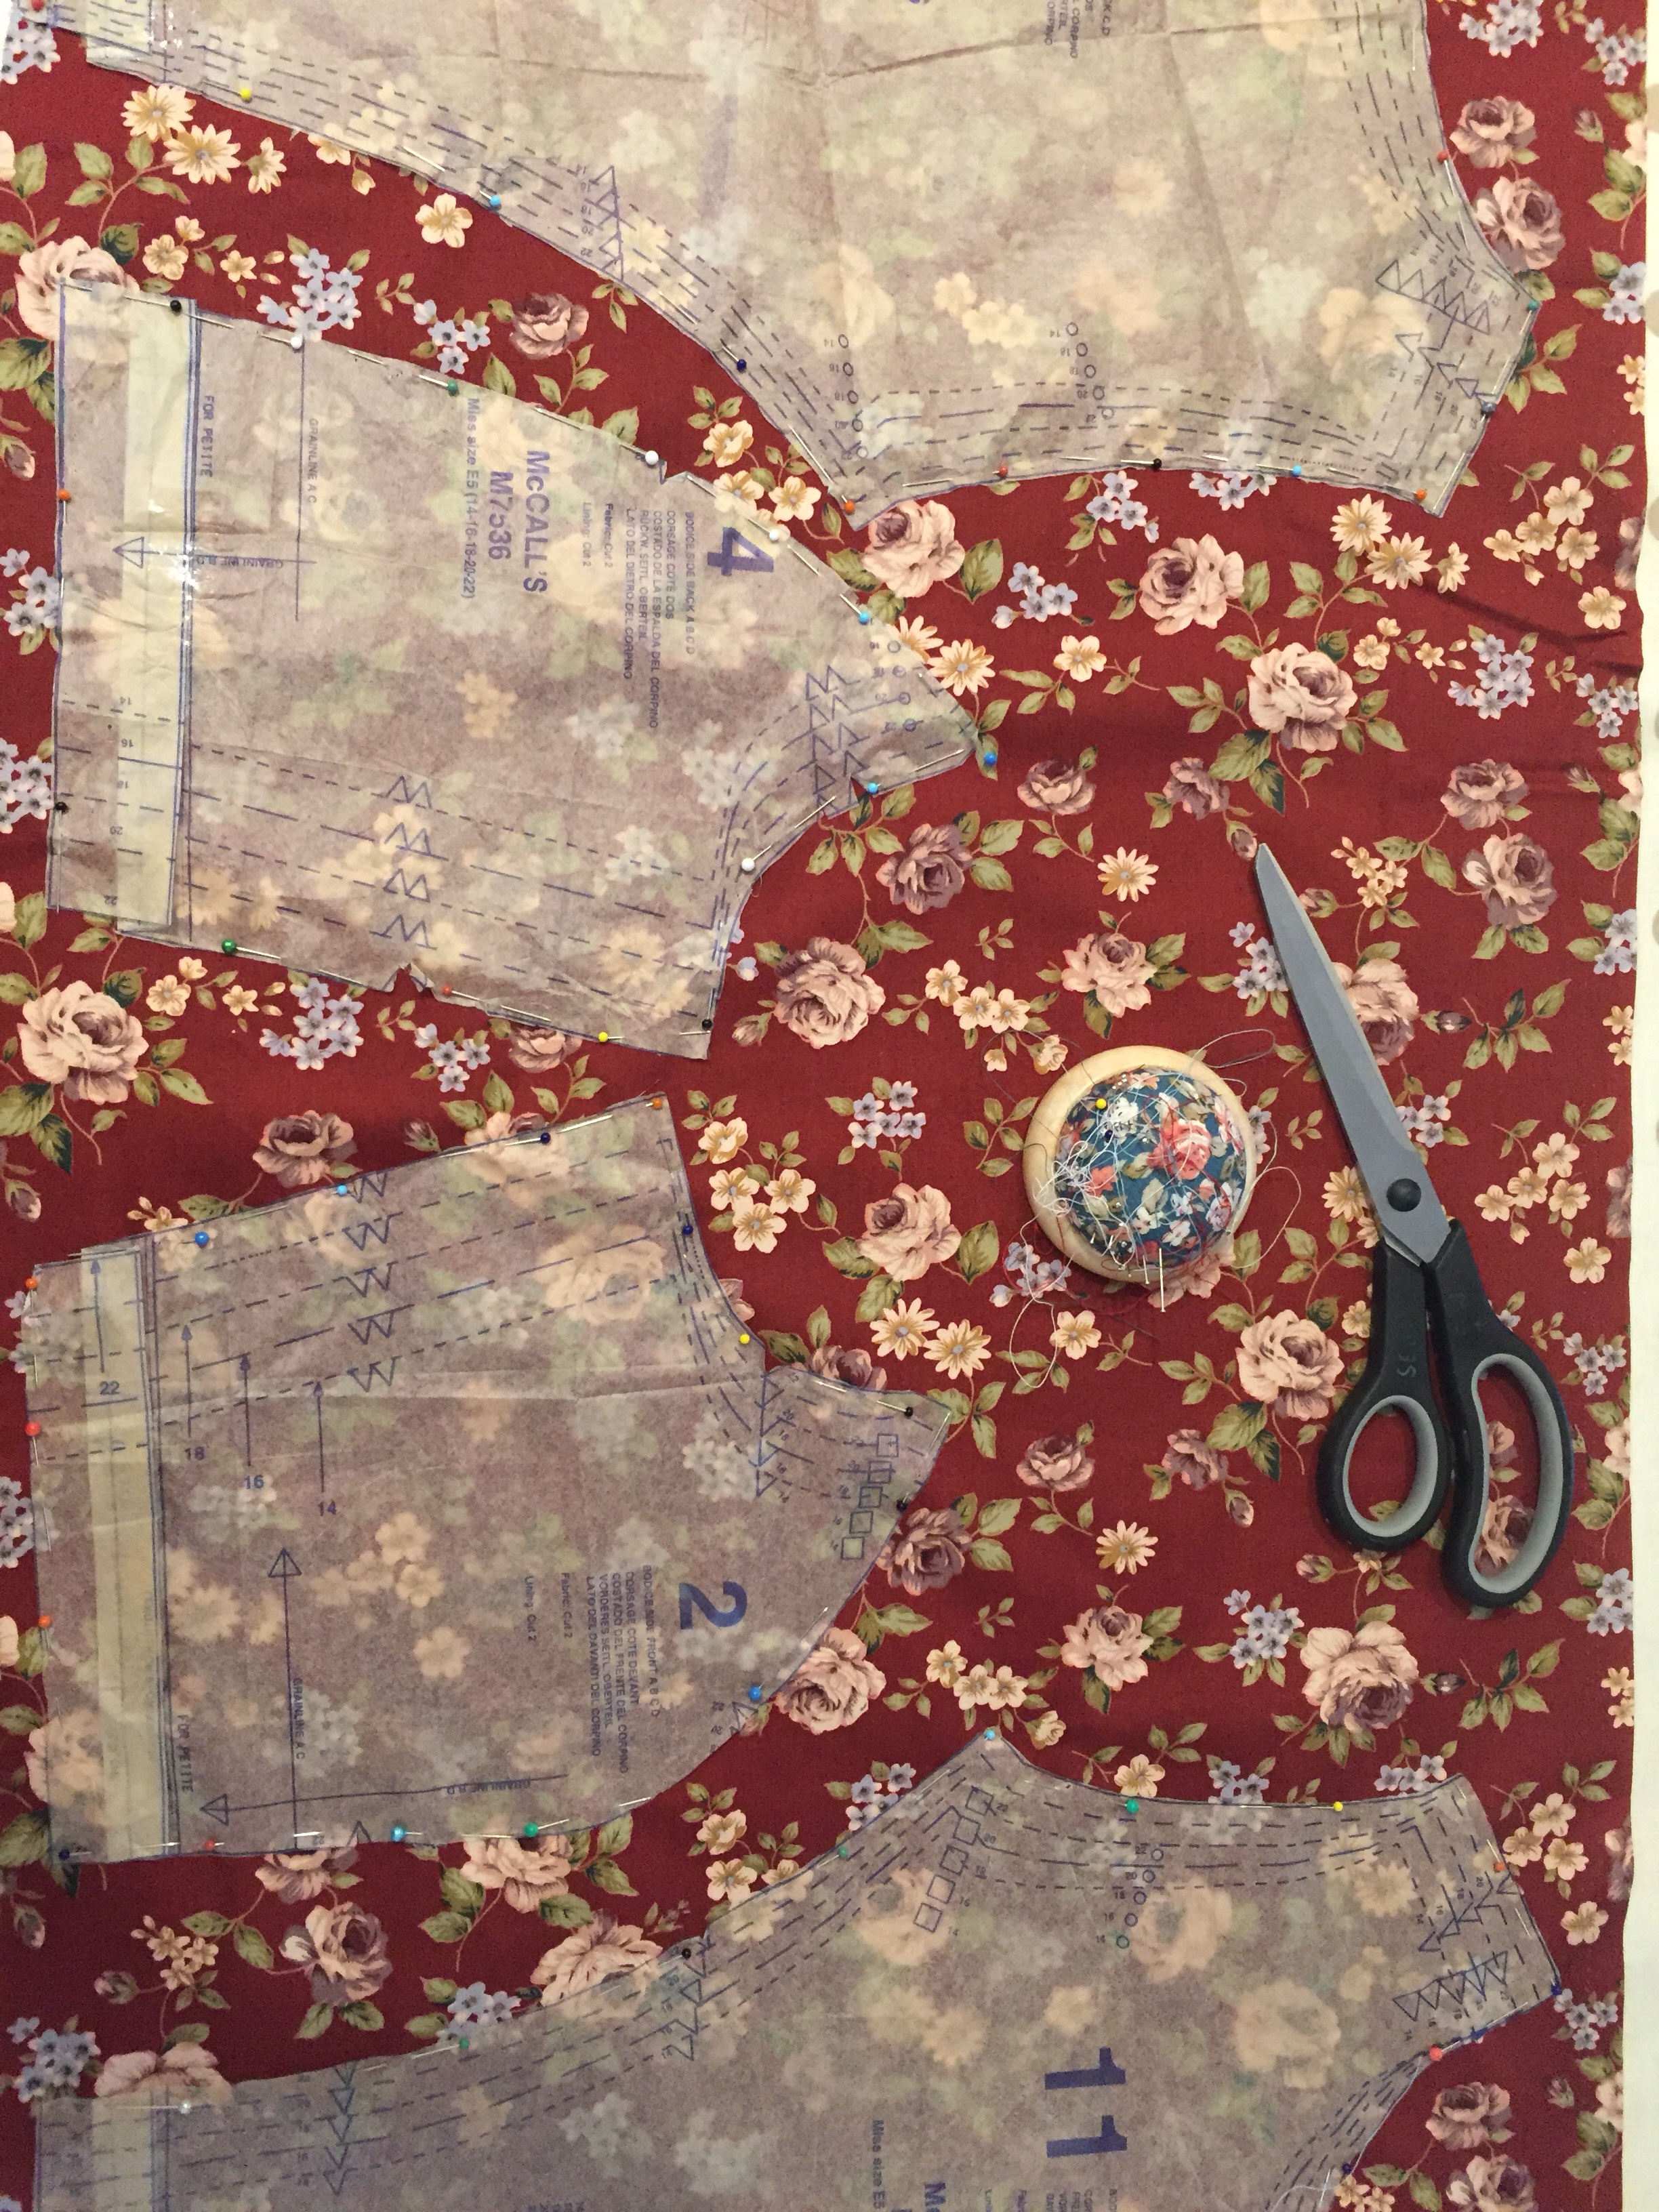
4. Seam allowances matter,

Again. Check, check, check!  Read your instructions a couple of times before you even start the process of cutting out. Highlight the seam allowances on each step.

Get yourself a seam guide and test to see if your seam allowance is really 1/4”.  Same with 1/2″ and so on.

When you find the spot on your machine that is 1/4” mark it with washi or masking tape that way you won’t forget where it is.

5. Invest in a basic sewing kit.

Scissors (Straight, pinking, little snippers for cutting little threads and ones for paper), Measuring Tape, chalk, pins and a seam ripper is all a good start and then you can add more, such as hand sewing needles, extra bobbins (make sure you get the right ones for your machine as there are not universal where as are machine needles are), pin cushion (homemade or bought). This list could go on for miles (trust me!) but get the basics and add from that, which should keep you right!

My Sewing Room

Having “had” to sew in living room because of my lack of tidying up mojo of the sewing room this week I’ve been focusing trying to find the floor of it.

I had a great idea last year to wash all of my fabrics, iron, fold away whilst measuring and recording them. It was such a monumental task, it all became quite overwhelming to dealt with. It was all very well in idea form but when you decide to get a puppy all things and plans go out of the window. I’m not blaming the puppy nor myself here, I’m simply addressing the matter that I took too much on and something had to give.

Move on 4 months and I finally can sneak up to the sewing room and finally get to grips with the hoarding of fabrics and goodness knows what else! Don’t think for one second did the puppy stop me from buying fabric nor the billion bags of fabric already up in the S.R. Ha!

I’m seeing a clear path now. It’s looking pretty organised now. There’s a plan to go through all the magazines and pull out projects that I might get round to. I’m going to be stopping my magazine subscriptions as I’m finding I just don’t have the time to read them just now and feel I can keep up to date with other methods. Plus I’ve got to keep the momentum up with my make nine and need space to concentrate on that!

Here’s some photos of the progress so far – sorry don’t have any “before photos” but just imagine lots of bags on the floor!

Loom there's a Floor! Just a couple of pieces ... Ohhh more fabric...And more fabric!Even got the overlocker out of it box 📦 (finally!!)<<<<
ks for popping by!

Happy Sewing xx

What I love: January 

I’ve been finding so many things recently that I thought I might as well share them with you too! So much so, I’ve decided to do a monthly thing!

Ok so first up is the tailors’ ham and sausage! I didn’t realise how useful they are until I used them myself and further more I want to make a pair. So I found a pattern from Jennifer Lauren Vintage and now planning that into my projects!

screenshot-2017-02-02-21-51-27


Other sewing related items to make are pattern weights and a pin cushion!  Ok, I’m torn between these macaron pattern weights and my own handmade ones! I could have both? You can never have enough pattern weights, can you?

So that’s a few more things I have to get on & make and I can’t wait to show you!

I’m loving the sound of the #monetaparty by @sewpositivity on Instagram. The Moneta pattern by Colette has been in my stash for yonks and it’s been a firm favourite since seeing so many vlogs featuring it.

screenshot-2017-02-02-21-53-56

One Vlog in particular, caught my attention and that was Gingerthread girl‘s version of Moneta. I’m definitely raising the waistline as I prefer a higher waist line and suit it. I’ve been tagged so I think it’s only right to join in with everyone!  I’ve bought three bits of jersey for Moneta in mind – yes three.

Tilly and the Buttons book, “Love At First Stitch” is getting me all excited as the pictures and details for each project are simple to follow.   I asked for the book for my birthday, which my lovely Bro bought for me!  However, there will be a lot of grading up as the pattern size of a 20 ain’t going to fit around my hips!  It’s one that I’m going to work through from the first project to the last.  It’ll do me the world of good!

screenshot-2017-02-02-22-00-26

That being said I’ve already graded up Cleo and sewing that up as we speak (ok it’s not in LAFS but at least it’s one of my make nine 2017).  Yes, I’m a bit slow to catch the Cleo train but I can’t wait to see how it turns out!  There will be a post about this separately when it’s finished!

Editing my first vlog is taking way longer than expected but I am getting there and I am learning as I go – so all in all, it’s getting there.

I’m not loving the Anabelle dress at the moment as I’ve had to rip the seams a few times. And I think it’s way too small – eek & BOOOOO!  I’m going to leave the LRD for a while as there are plenty of projects that I need to get on with AND FINISH.

So with January being over, it’s time to think what I’m going to be doing in February.  I must start using my stash.  So this month I’m going to rein in my splurges on fabric. I know I said that in January but there were too many sales going on and it got the better of me!  February can be that month where I indulge in my stash (AND TRY AND NOT BUY ANYTHING) and really start using it as it’s starting to get to extreme levels!

goodbye-january-hello-february

Hope you’ve had a more productive January than I have!

Emma

Sewing Inspiration: Wrapped Up

Ever since I received Simple Sew’s Lena Wrap Dress pattern with this month’s issue of Love Sewing Magazine I’ve been drooling all over wrap dresses … it’s only been a few days since the start of the affair!

img_0566
I’ve been on loads of websites like TopShop, Simply Be and White Stuff as well as good old Pinterest to get inspiration and see what fabrics have been used.

I have a warning though ⚠️ – there are a lot of pictures here and I have tried to give credit where I got the image!

Ok, now the fun bit!  Me talking what inspires me about each picture!

I love this velvet dress for all the reasons that it is a velvet wrap dress – I love the colour, it’s a gorgeous pastel pink and with it being velvet, it’s going to be warm! That a big tick in my book!

Processed with MOLDIV
I stumbled on this pattern and I have to honestly say it’s going straight onto my patterns to get list! It just speaks to me for a summer holiday! Cue Cliff Richard … 🌞🏄🏻‍♀️

Processed with MOLDIV
I’m not sure that this is still available to date but it’s a great variation on the wrap dress!

Processed with MOLDIV

Burda has a great offering, particularly those who want that velvet wrap dress … eeeek another one on that list! I’m really needing to do a #maketwenty2017 list rather than a #makenine2017 list at this rate!  But hang I think this may be a too clingy fit for me so I’ll hold ma horses!

Processed with MOLDIV

This wrap dress has a gorgeous dress, I’ve still to see if it’s still available or if there is an alternative … stunner of an occasion dress (maybe Christmas 🎄)
Processed with MOLDIV

Sew Over It’s Lisa Comfort looks so glam in her version of the wrap dress. I could and probably will add her Ultimate Wrap Dress to my collection soon – no surprises there then!

Processed with MOLDIV

This dress was pull from my Pinterest feed and I adore the colour and the drape – but wondering what fabric it is! Any ideas?

Processed with MOLDIV

Now when I first saw this image on Pinterest I thought it was “Carrie” from “Sex and the City” but on closer inspection, I don’t think it is.  But wow the wool looks good on a wrap dress, such a different structure and so elegant!

Processed with MOLDIV

This Pleated version from Topshop is gorgeous!  Can you tell I’m immediately drawn to berries and wine colours?  I had to look really closely as I couldn’t believe it was velvet – until now I didn’t think it was a thing.  WOW!

Processed with MOLDIV

A really nice floral wrap dress and it’s from Simply Be.  I don’t normally shop in Simply be as I’m not a fan of most of the materials that they use in the clothes.  But I like the shape and colour of this dress.  Probably I’ll like it until I feel it!

Processed with MOLDIV

I really like the cut on this one.  I think this be viscose as it looks quite drapey, although I could be wrong!

Processed with MOLDIV

Ooooh!  Something to mix it up – a long wrap dress (which is quite similar to the simplicity pattern I showed you earlier.  This could be ideal for going out or a wearing it on a cool summer night!

Processed with MOLDIV

I was a bit mixed about using this image as it’s a bit booby!  But I like the deep red fabric. If I ever get a low cut like this then a cami goes on underneath to protect my dignity! Possibly a crepe mix? Jersey?

Processed with MOLDIV

This floral version is from White Stuff.  It’s quite different from the picture above and it’s something I would consider age appropriate for myself and not booby!

Processed with MOLDIV

This slit is a bit high in this one but I like the light-weight fabric that has been used.  The longer sleeves are a plus too.

Processed with MOLDIV

I hope you’ve enjoyed my commentary all about wrap dresses and maybe given you some inspiration.  Hopefully, you’ll get an insight of what kinda style I’d go for and possibly colour.  I think Lena will be making an appearance pretty soon – It’s safe to say this affair is going pretty viral!

Emma

Disclaimer: Credit has been given to images.  This post is NOT sponsored.  All opinions are my OWN.


Fabric Addictions: Recent Additions

Some of you may know I have a little problem with fabric and I just love collecting it, so much so that my little Billy “fabric wardrobe” is full (I can just about squeeze in a couple more, but it will be a squeeze!).

Processed with MOLDIV
you could say it’s full

I can’t say no to a bargain or a fabric pattern that catches my eye.   Working in a fabric shop is sheer dangerous for me as I rarely walk out from week to week without purchasing something sewing related.  Then again if I don’t get something as work then I usually buy fabric online or another shop.

In this post, I’d thought I’d share my recent purchases with you.  Usually, I post the fabric on my Instagram feed but I thought I’d give you a little more detail on what project/pattern I’m going to pair it up with, where I purchased it and the story behind it.

“Make Another Wish – Hedgerow” Lewis & Irene

screenshot-2016-11-03-08-40-16

It all started with a customer trying to find the ivory version and I was helping to source it. We didn’t have much luck, but I did find the navy variation on eBay.  I kept this in mind and decided to splurge as I love the nature theme on it.  There’s definitely enough for a simple shift …

30712473866_65ca0fd90e_z

Vintage Roses on Cotton 

This was bought from The Cloth Shop by Remnant Kings for my dress that I’m doing in the class I mentioned in this post.

I love the vintage print of the roses.  Those of you who have read the class post will know what pattern I’m using.  I’m going to pair it with a grey lining as it’s slightly thin and you can see through it.  The lining will also help give it a bit more body.

Processed with MOLDIV
Can’t wait to have tea and cakes in this dress!


Seeing Red

No. I’m not angry!  But it’s getting closer to the deadline for #thelittlereddressproject as I write!  It won’t be long until have to down the thread and scissors and show off my creation with the hashtag.  I’m crapping myself!  Have I taken on something too short of a time period?

Anyway, I saw this Ditte cotton Fabric in Ikea and thought what the heck, it’s only £3 per metre!  I don’t think it will be for the #thelittlereddressproject but it’s back up.  I think I have found a shade that I like and that would suit my skin tone at Fabric Focus but want to check that out when it’s daylight!


30114017583_0bc7111167_z
It’s not that easy get the right shade with a solid colour!

That’s the 3 most recent fabric spurlges  … you will probably see another injection of colour pretty soon on the blog!

Emma


Lessons: Fabric Focus

Yeap, I’ve signed up for a block of lessons: Dressmaking for beginners at Fabric Focus, Edinburgh. Ok I’m no beginner but I’m no expert. I think confidence is the key but it’s always good to pick up tips and tricks for future projects and gain that extra confidence and experience to make a garment. I’d say I was a borderline novice. I’m happy to go at the class’s speed and not show off. Plus it’s always interesting to see what other sewers are using for both fabric and pattern! I’ve already noted a McCalls pattern which I like the look off! Yes, I AM A PATTERN MAGPIE! 

Lesson one:

We were all sat down and guided through our hand outs. Abi introduced us to our surroundings and what we would cover in our classes. 

Lots of room in the sewing room!
 

There is a sheet for marking all your measurements in the handout, which will be handy for the project and for future ones too. Our task was to take our measurements and jot them down – Hips, upper hips, waist and bust are the important ones for this now as I’m making a simple shift dress, Well at least I’m hoping too!

Grading the pattern – my hips are wider than my waist, which is seriously annoying sometimes. Abi showed me how to do this for the front and then I did it for the back. We then all cut out our patterns according to our sizes. 

Abi has sent us all home with strict instructions to pin the pattern pieces to the fabric for the next lesson. This includes ironing the pattern but absolutely NO CUTTING! I’m chomping at the bit, I will NOT CUT THE FABRIC

Next class we will cut the fabric and start sewing! 

I’ve chosen this beautiful Vintage blue cotton twill digitally printed fabric (see image below) from The Cloth Shop.

I can’t wait to wear this!
 

It’s a simplicity number for the pattern and it’s good value being the “easy-to-sew wardrobe elements” pack as I’m eyeing up the coat to do next. 

Great value with Simplicity’s 4789!
 

I’m going with the “simple” shift dress (option C) for classes. I just want to be able to finish and wear it!

I’ll continue to update you with my lessons as I go to each one!