Well I knew in my head that I would have to grade up the skirt of Sophia for sure. The Pleats were moved as well so they hopefully should sit perfectly. Giving myself a high for staying sane on that one! Thanks Mum!
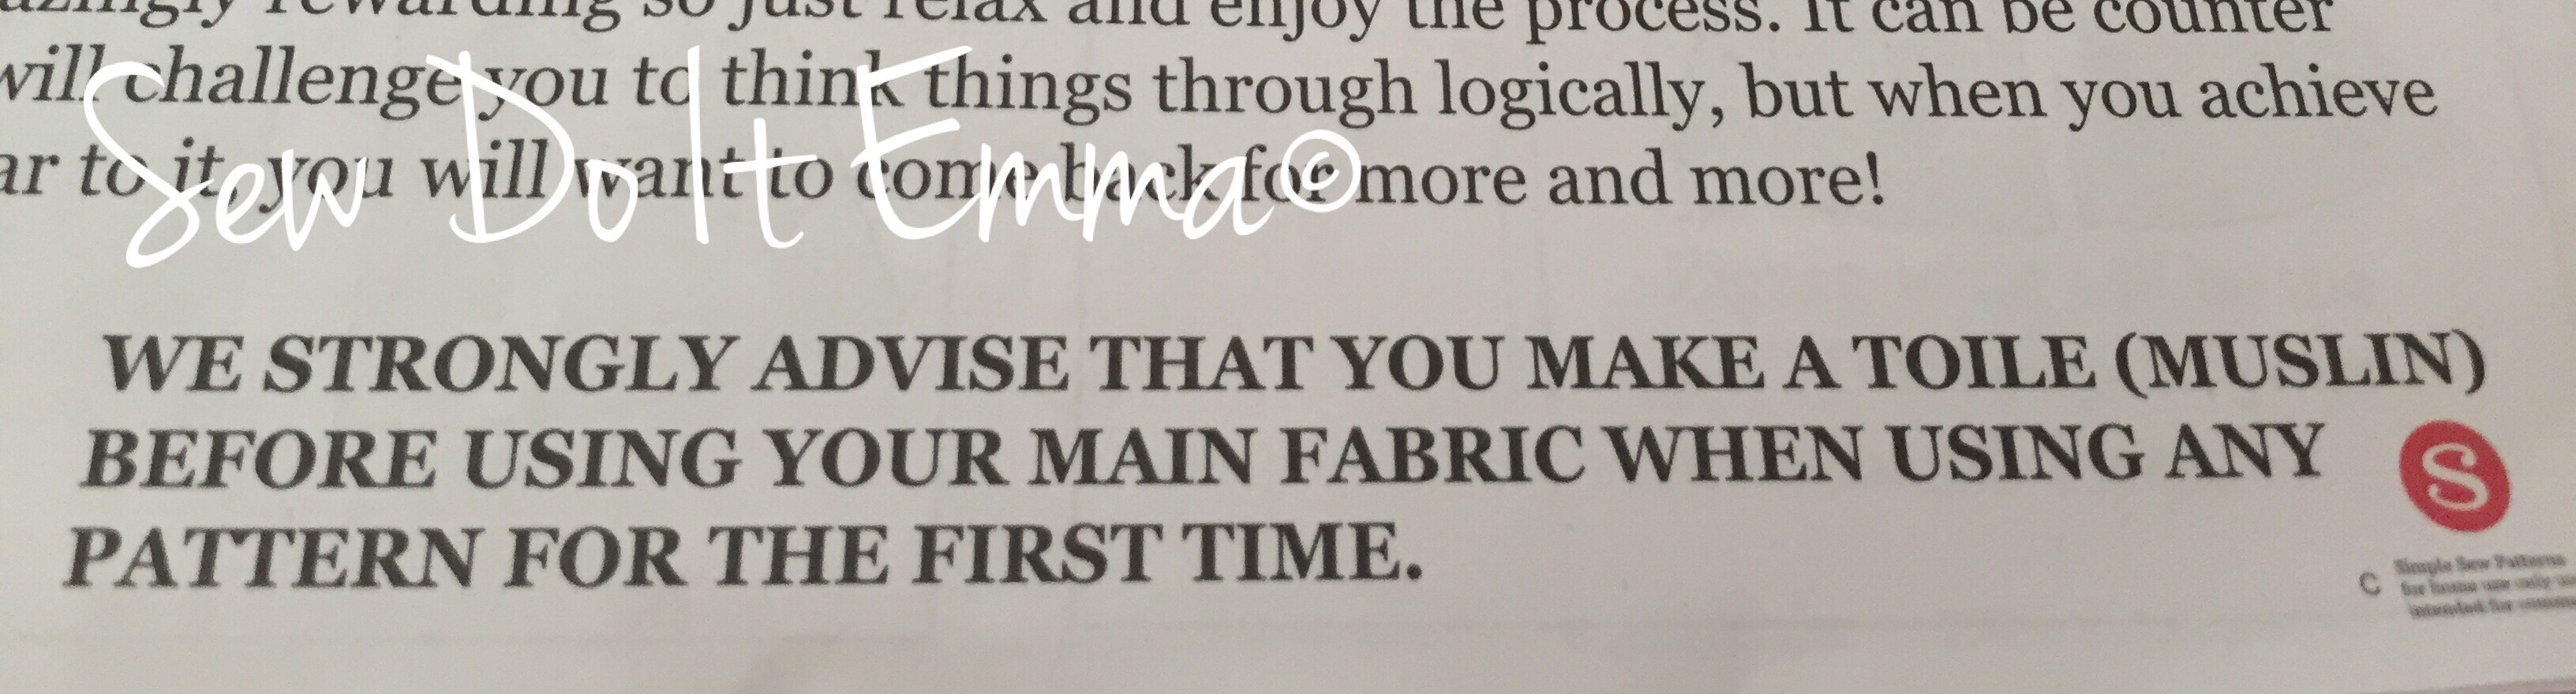
The instructions of the Sophia say to make a muslin toile before cutting any fabric, which I will do because I want to see where these pleats will lie now that I’ve moved them and added inches onto each edge.
For sure I will be following this instruction!Hopefully perfect pleats 😳
I remember doing some grading up for the green Butterick Dress and it seemed to be a tad easier, not only no pleats but the tutor on the class did most of the mathematical bits!!
The top of Sophia should be ok but I’m still going to make a toile, just to be sure! Haven’t adding any extra outwards but may add for length like Red W Sews did for hers but I will see what it’s like in toile form!
The pattern spoke to me as soon as I received it with the Love Sewing magazine. It’s so simple and ticks the boxes for a friends’ wedding, which is in four weeks time. Yes, I aim to make this top and skirt set in under 4 weeks and not have a nervous breakdown! I’m told it can be done. I’m just hoping at the end of a Ceilidh I will still be dressed!
The Pattern
The pattern is the 2 in 1 Sophia Top & Skirt #017 by Simple Sew.
oh Sophia, please stay together!
The Fabric
I’ve the had fabric for a wee while as I had a vision of the finished garment in my head and I have a sneaky feeling it might be because I actually saw the colour combination in the magazine.
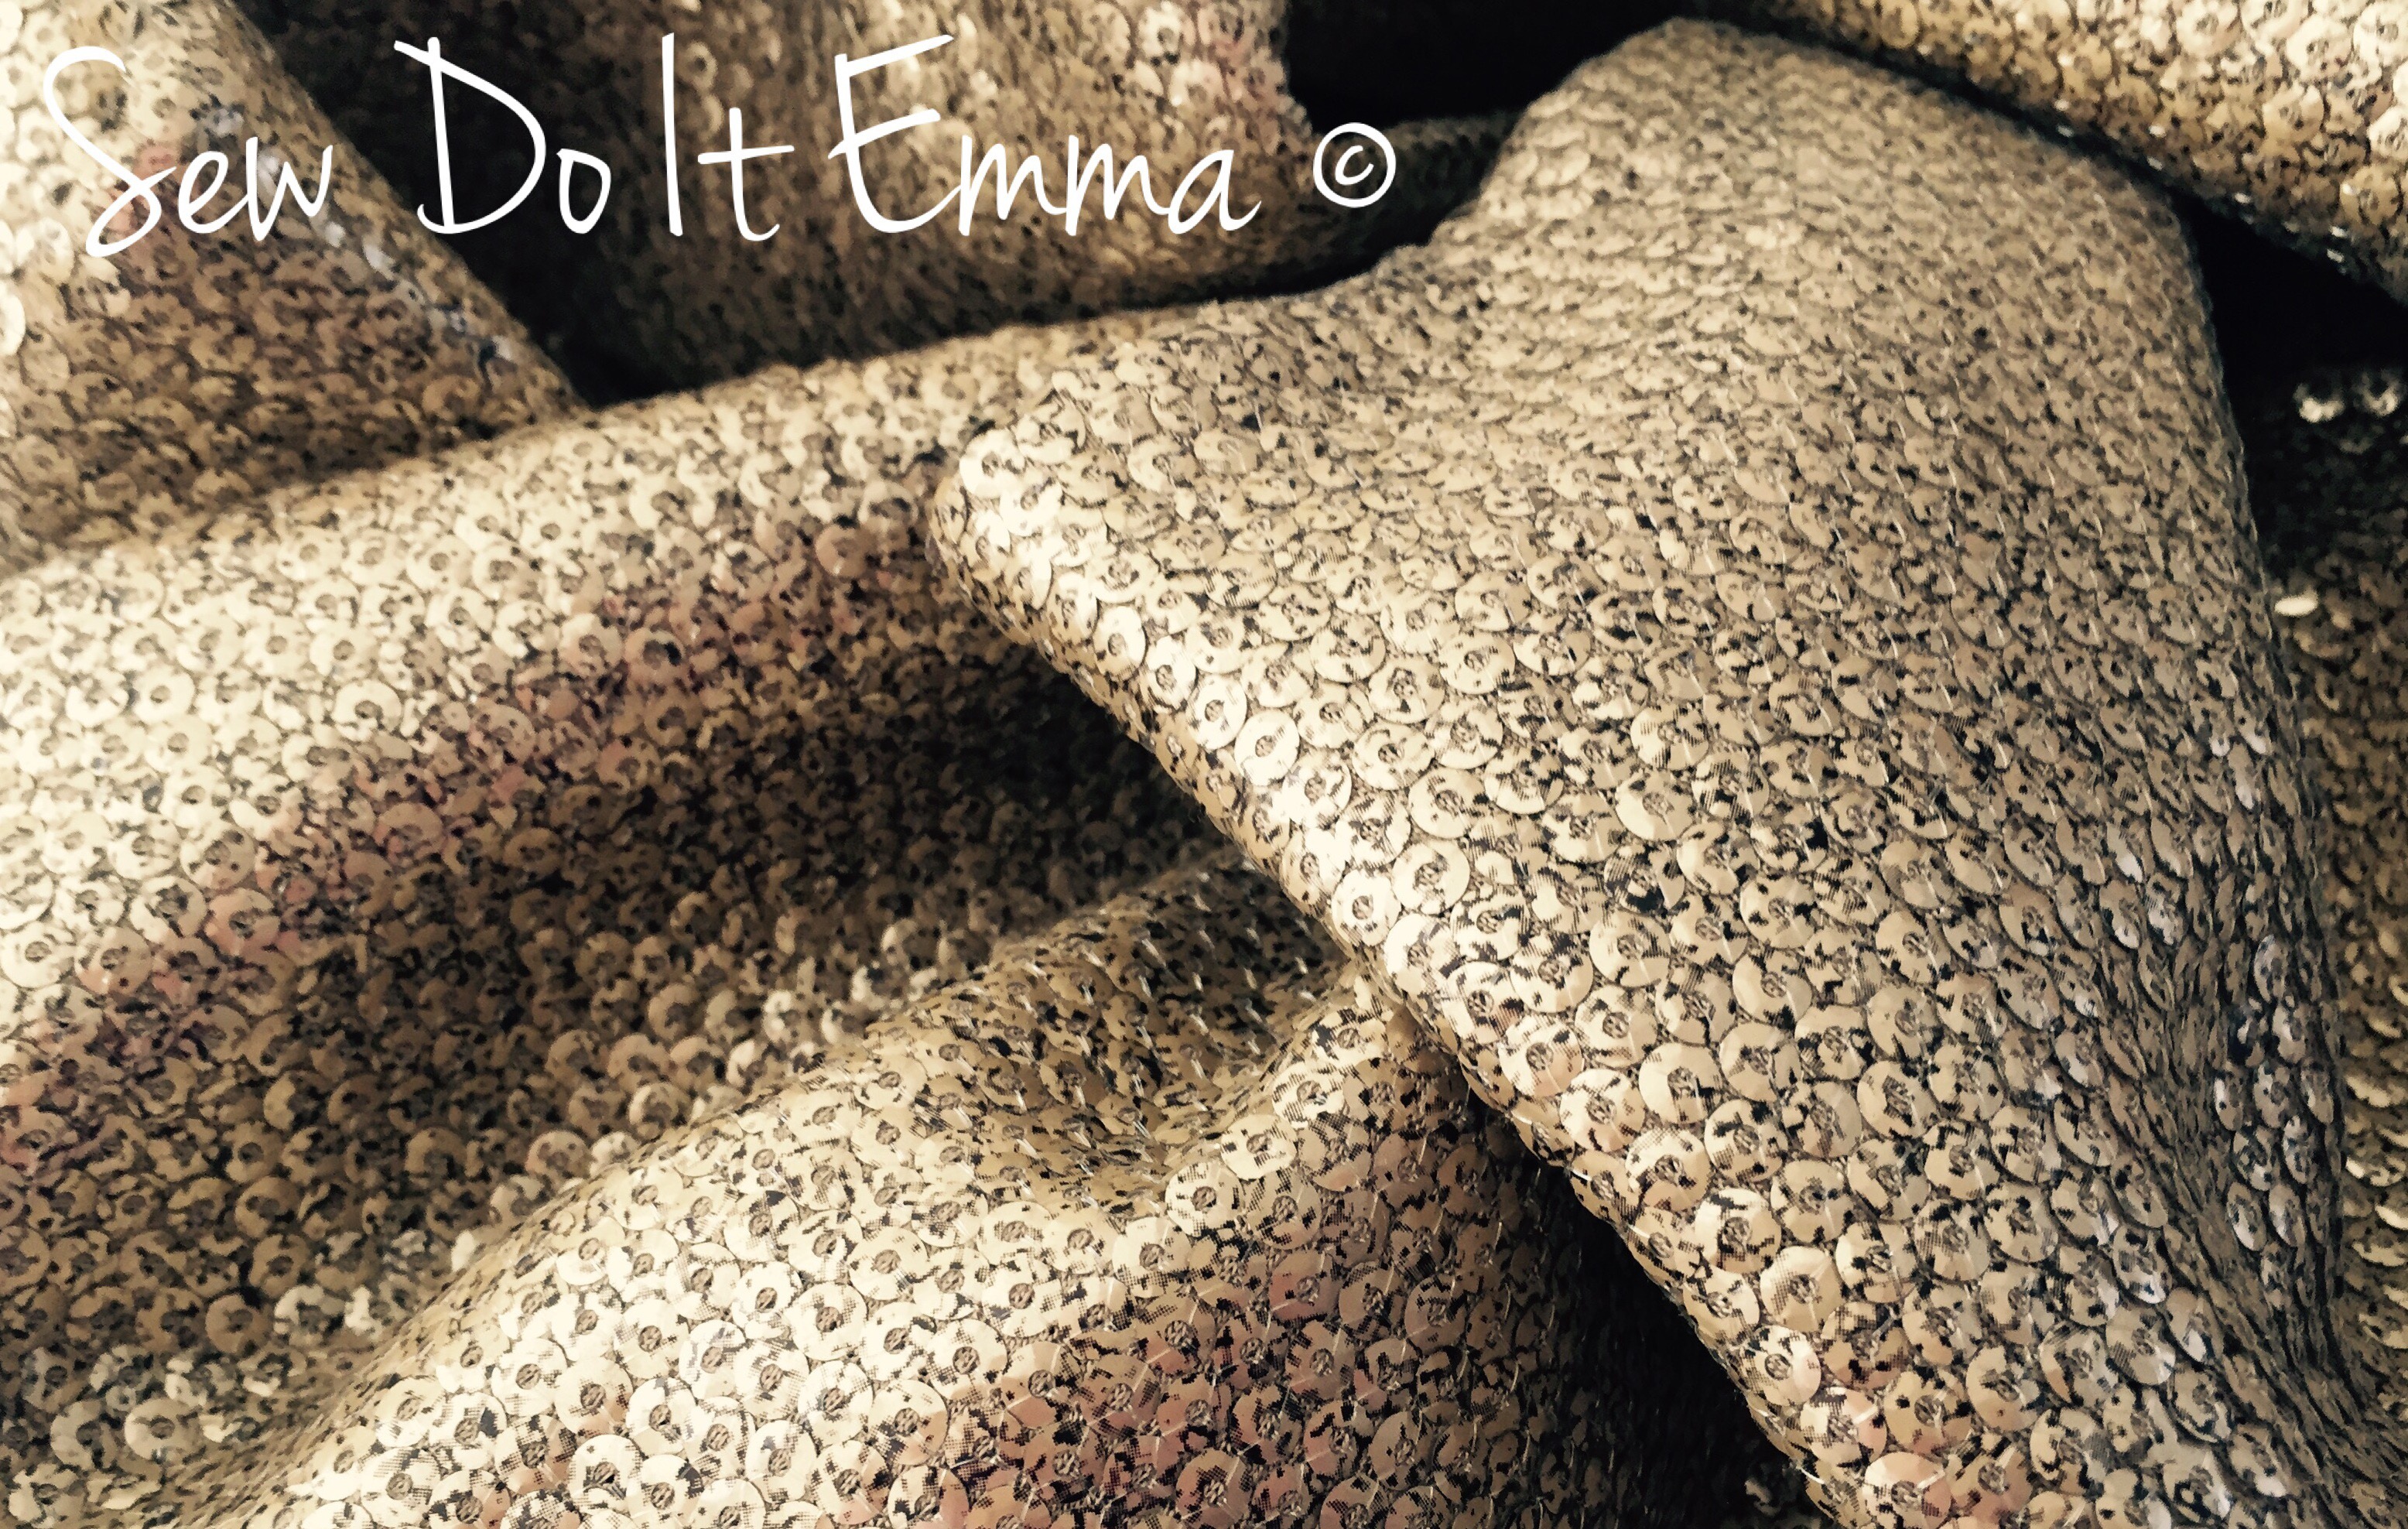
For the top fabric, I’m going to go with this sequin gold fabric from John Lewis. I’m intending to make the top slightly longer just to suit myself. It has some stretch so I’m planning to set up the overlocker for the first time ever and stitch the edges!
Glistening gold
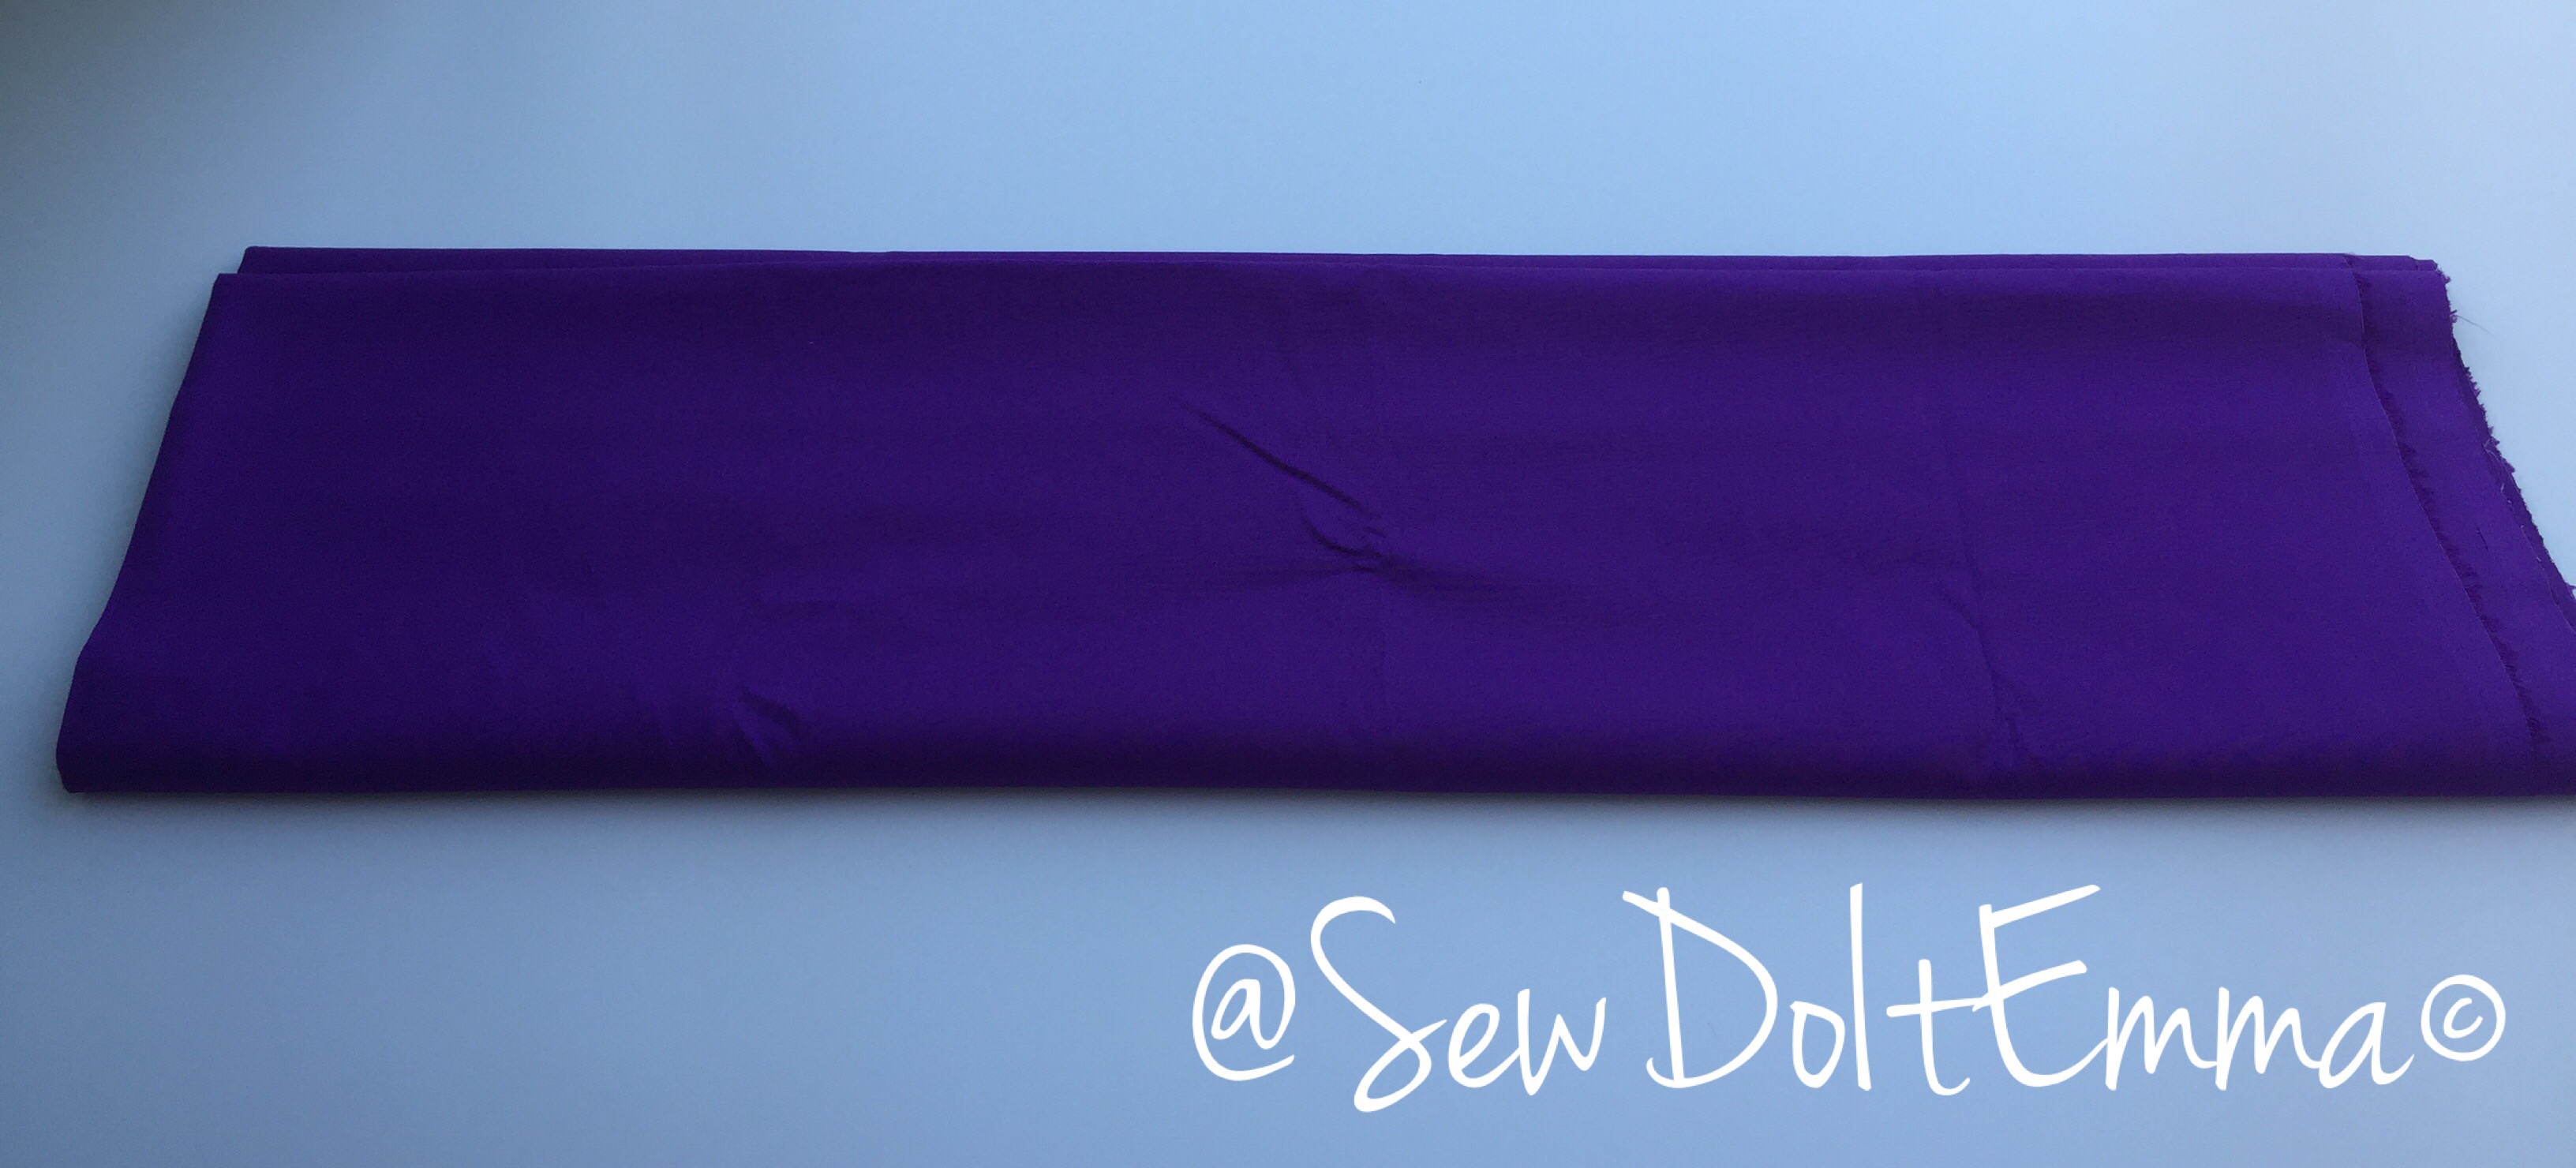
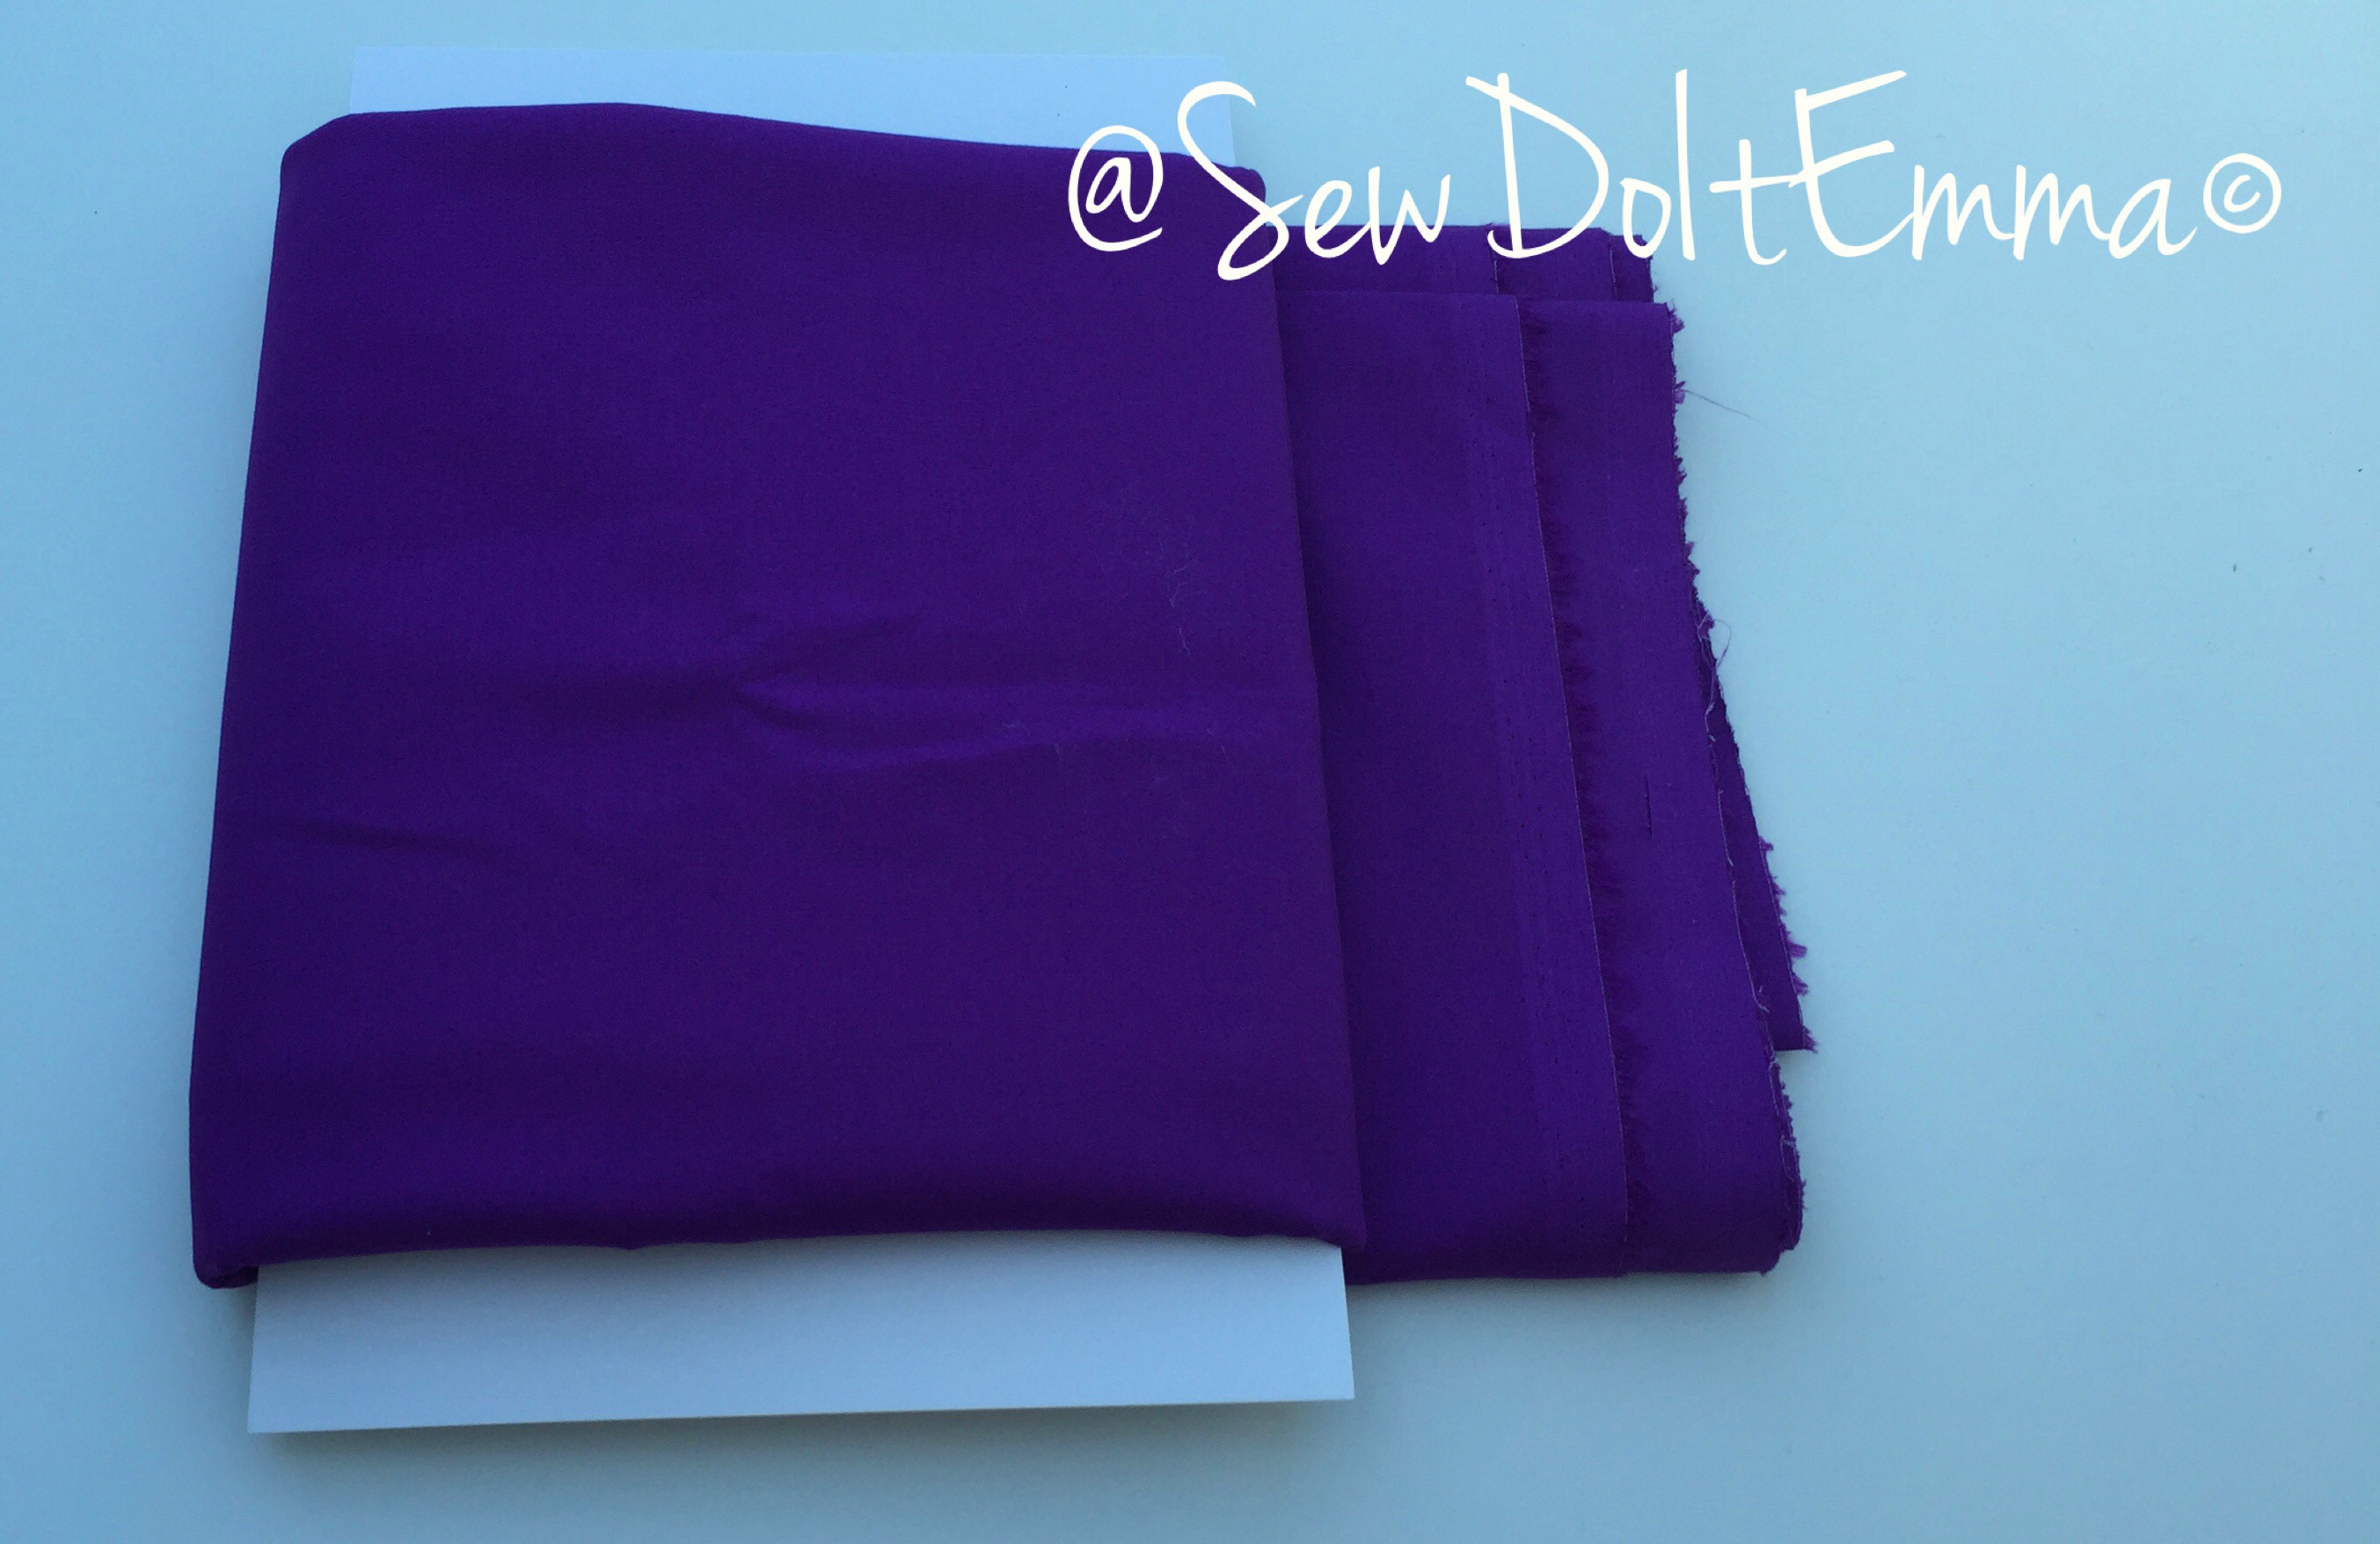
The skirt will be made using the lovely Damson Stretch cotton from the Cloth Spot.
Notice I tucked a little fasinator in the same photo. Not sure if this would look too much but it was a wee bargain in the sales! And also my hair situation is still yet to be finalised … Another drama!
Dancing in DamsonI’ve also lining too, even though the pattern states no lining I think it would be a better finish if it were lined.
So here goes … And I will update on a weekly basis as the dress (hopefully) comes together!
But before I head off into fabric dreams I would like to say a big thanks to RedWSews as she gave loads of tips via Instagram and her blog post documenting her Sophia, puts me at ease!
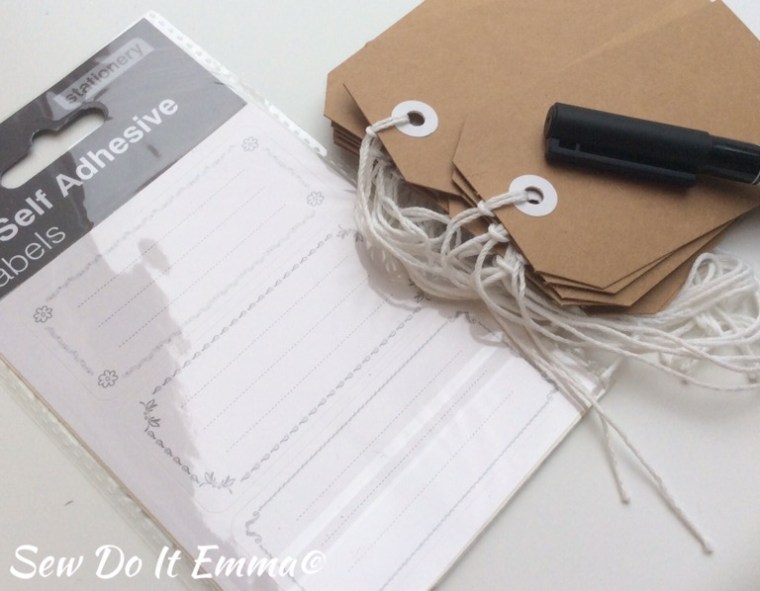
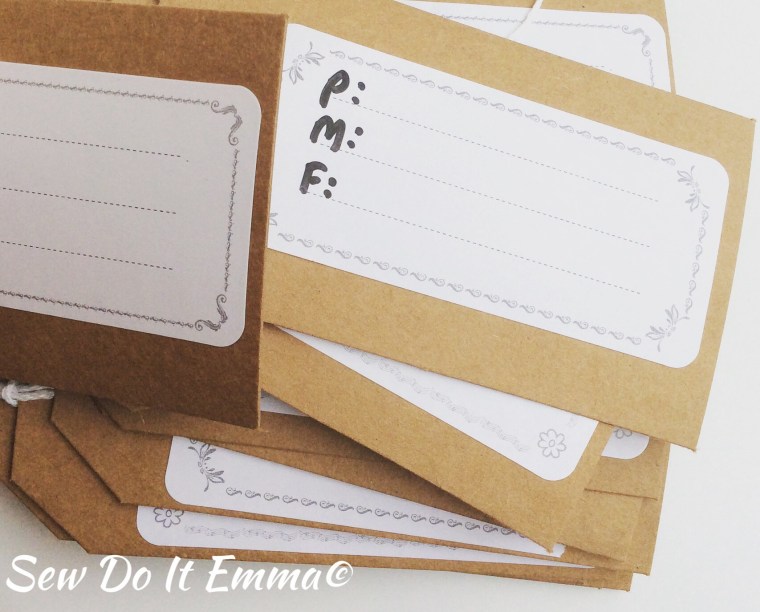
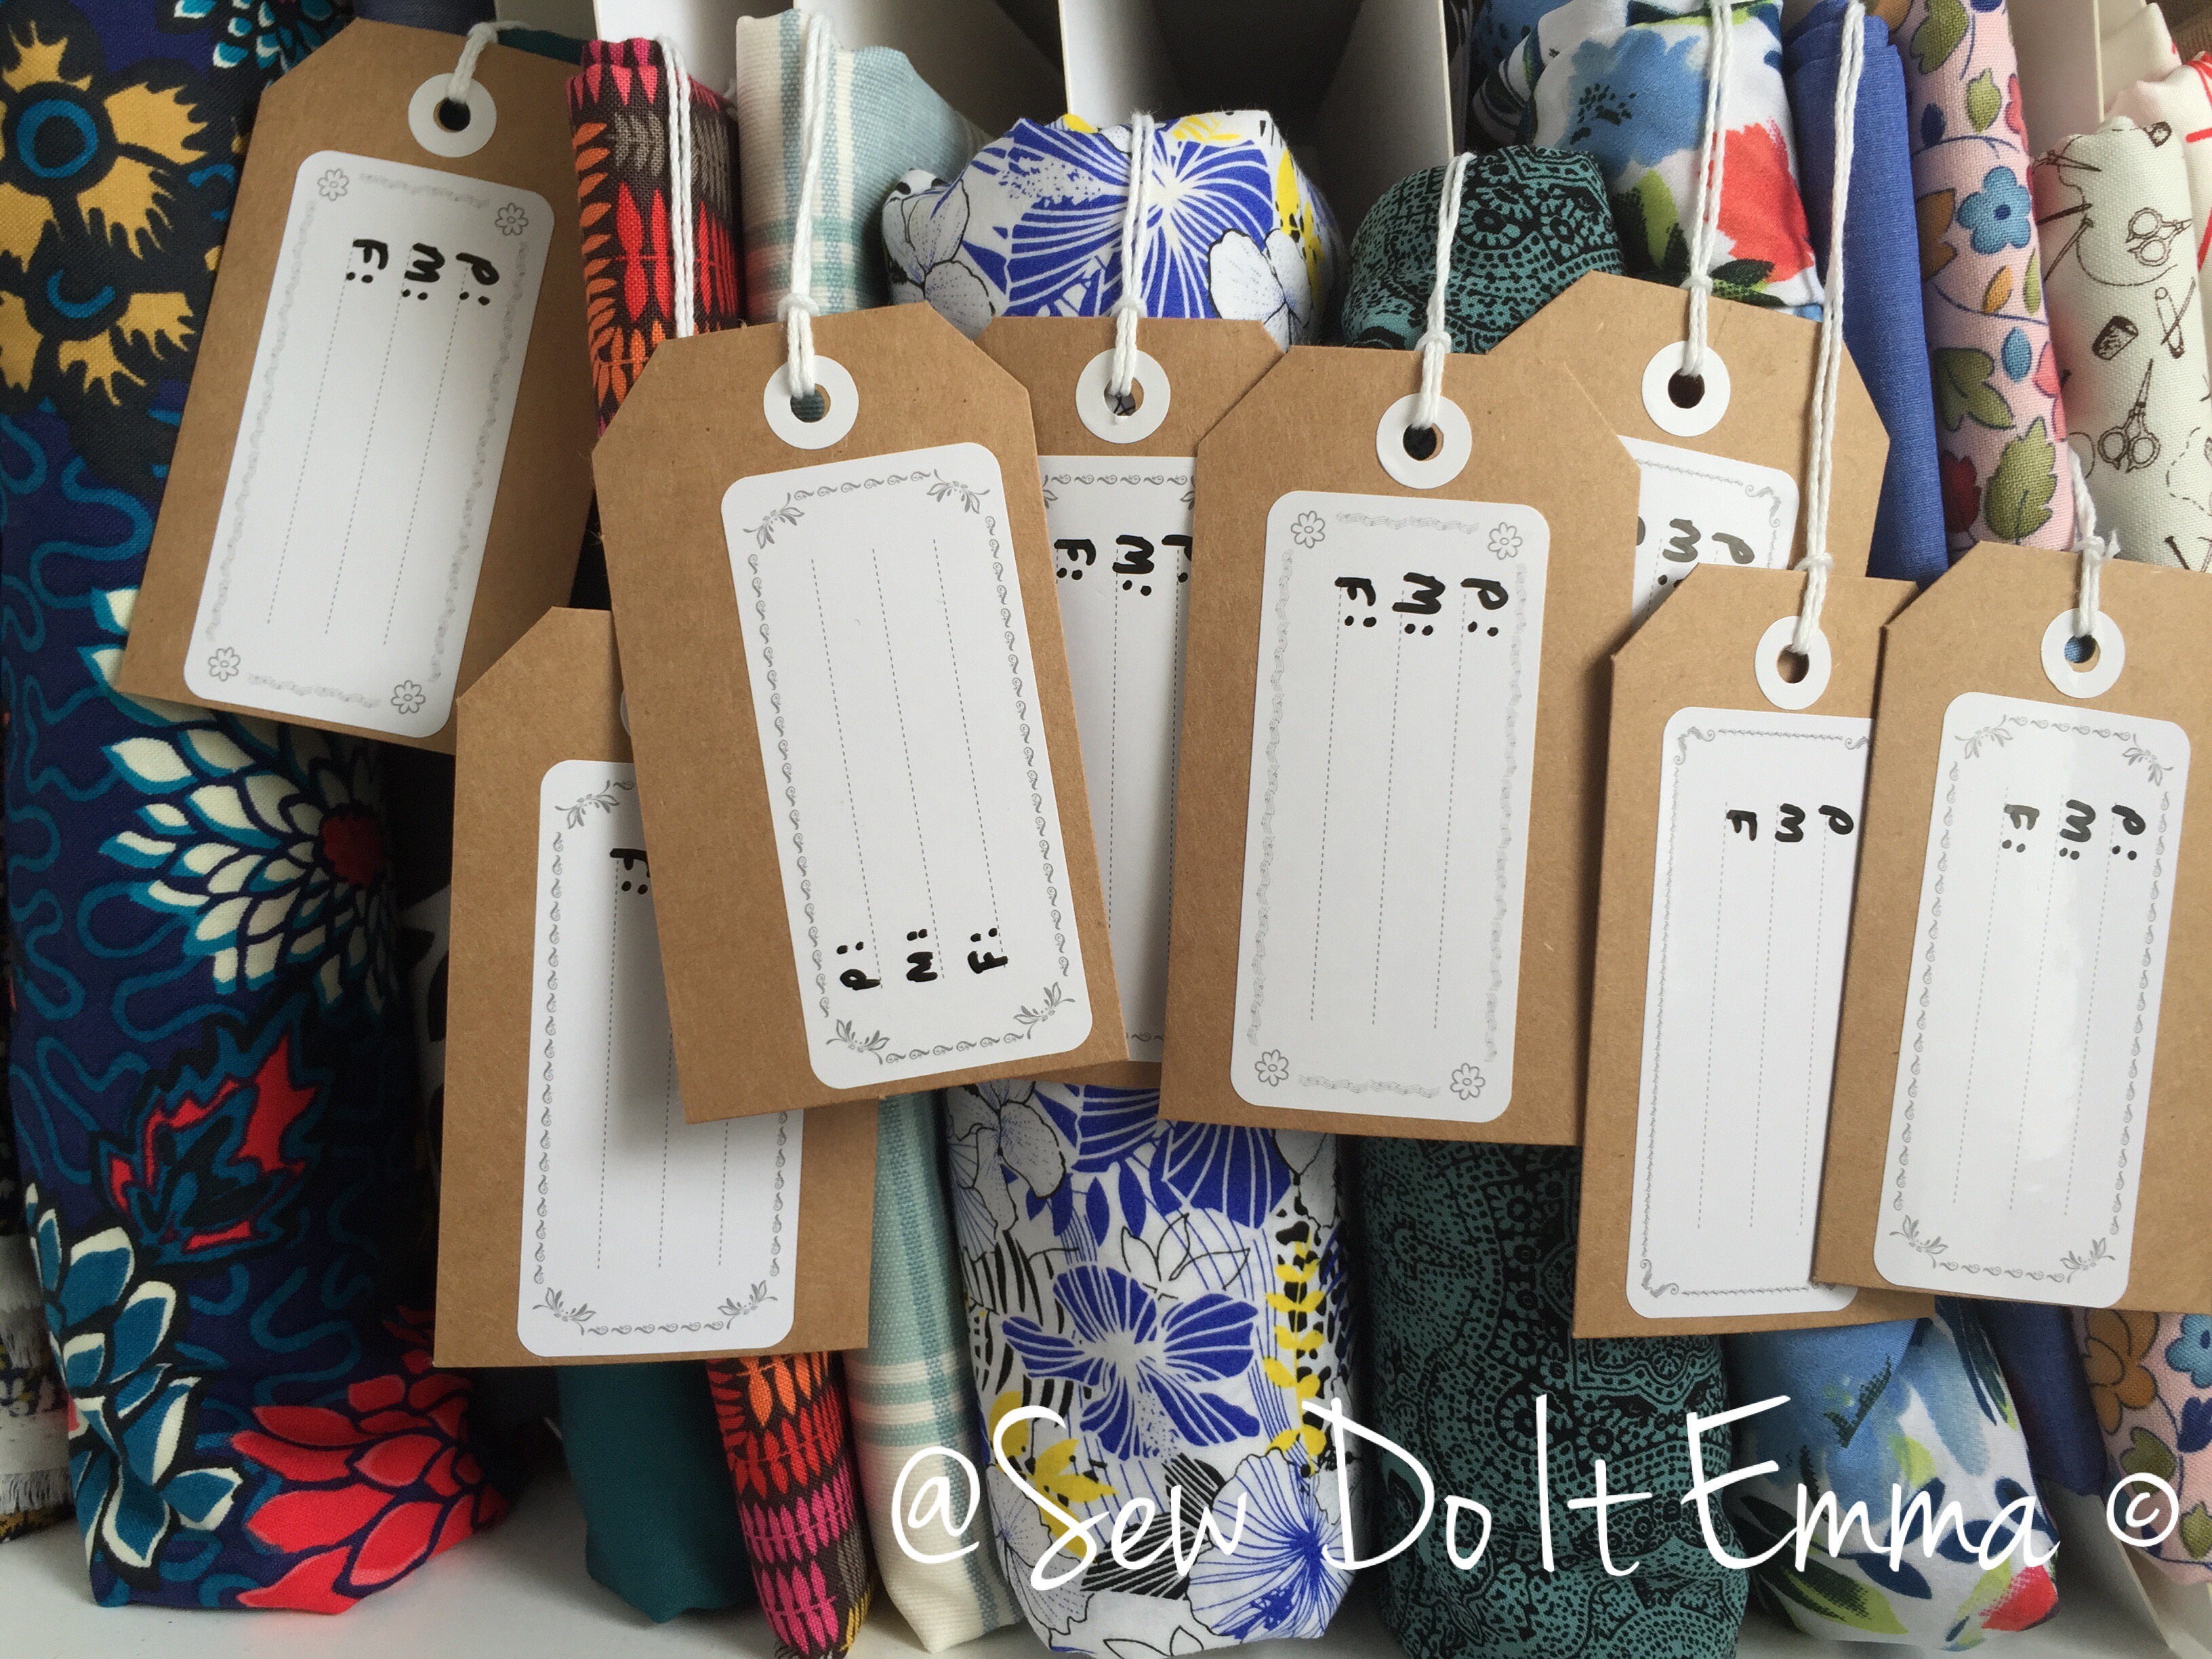
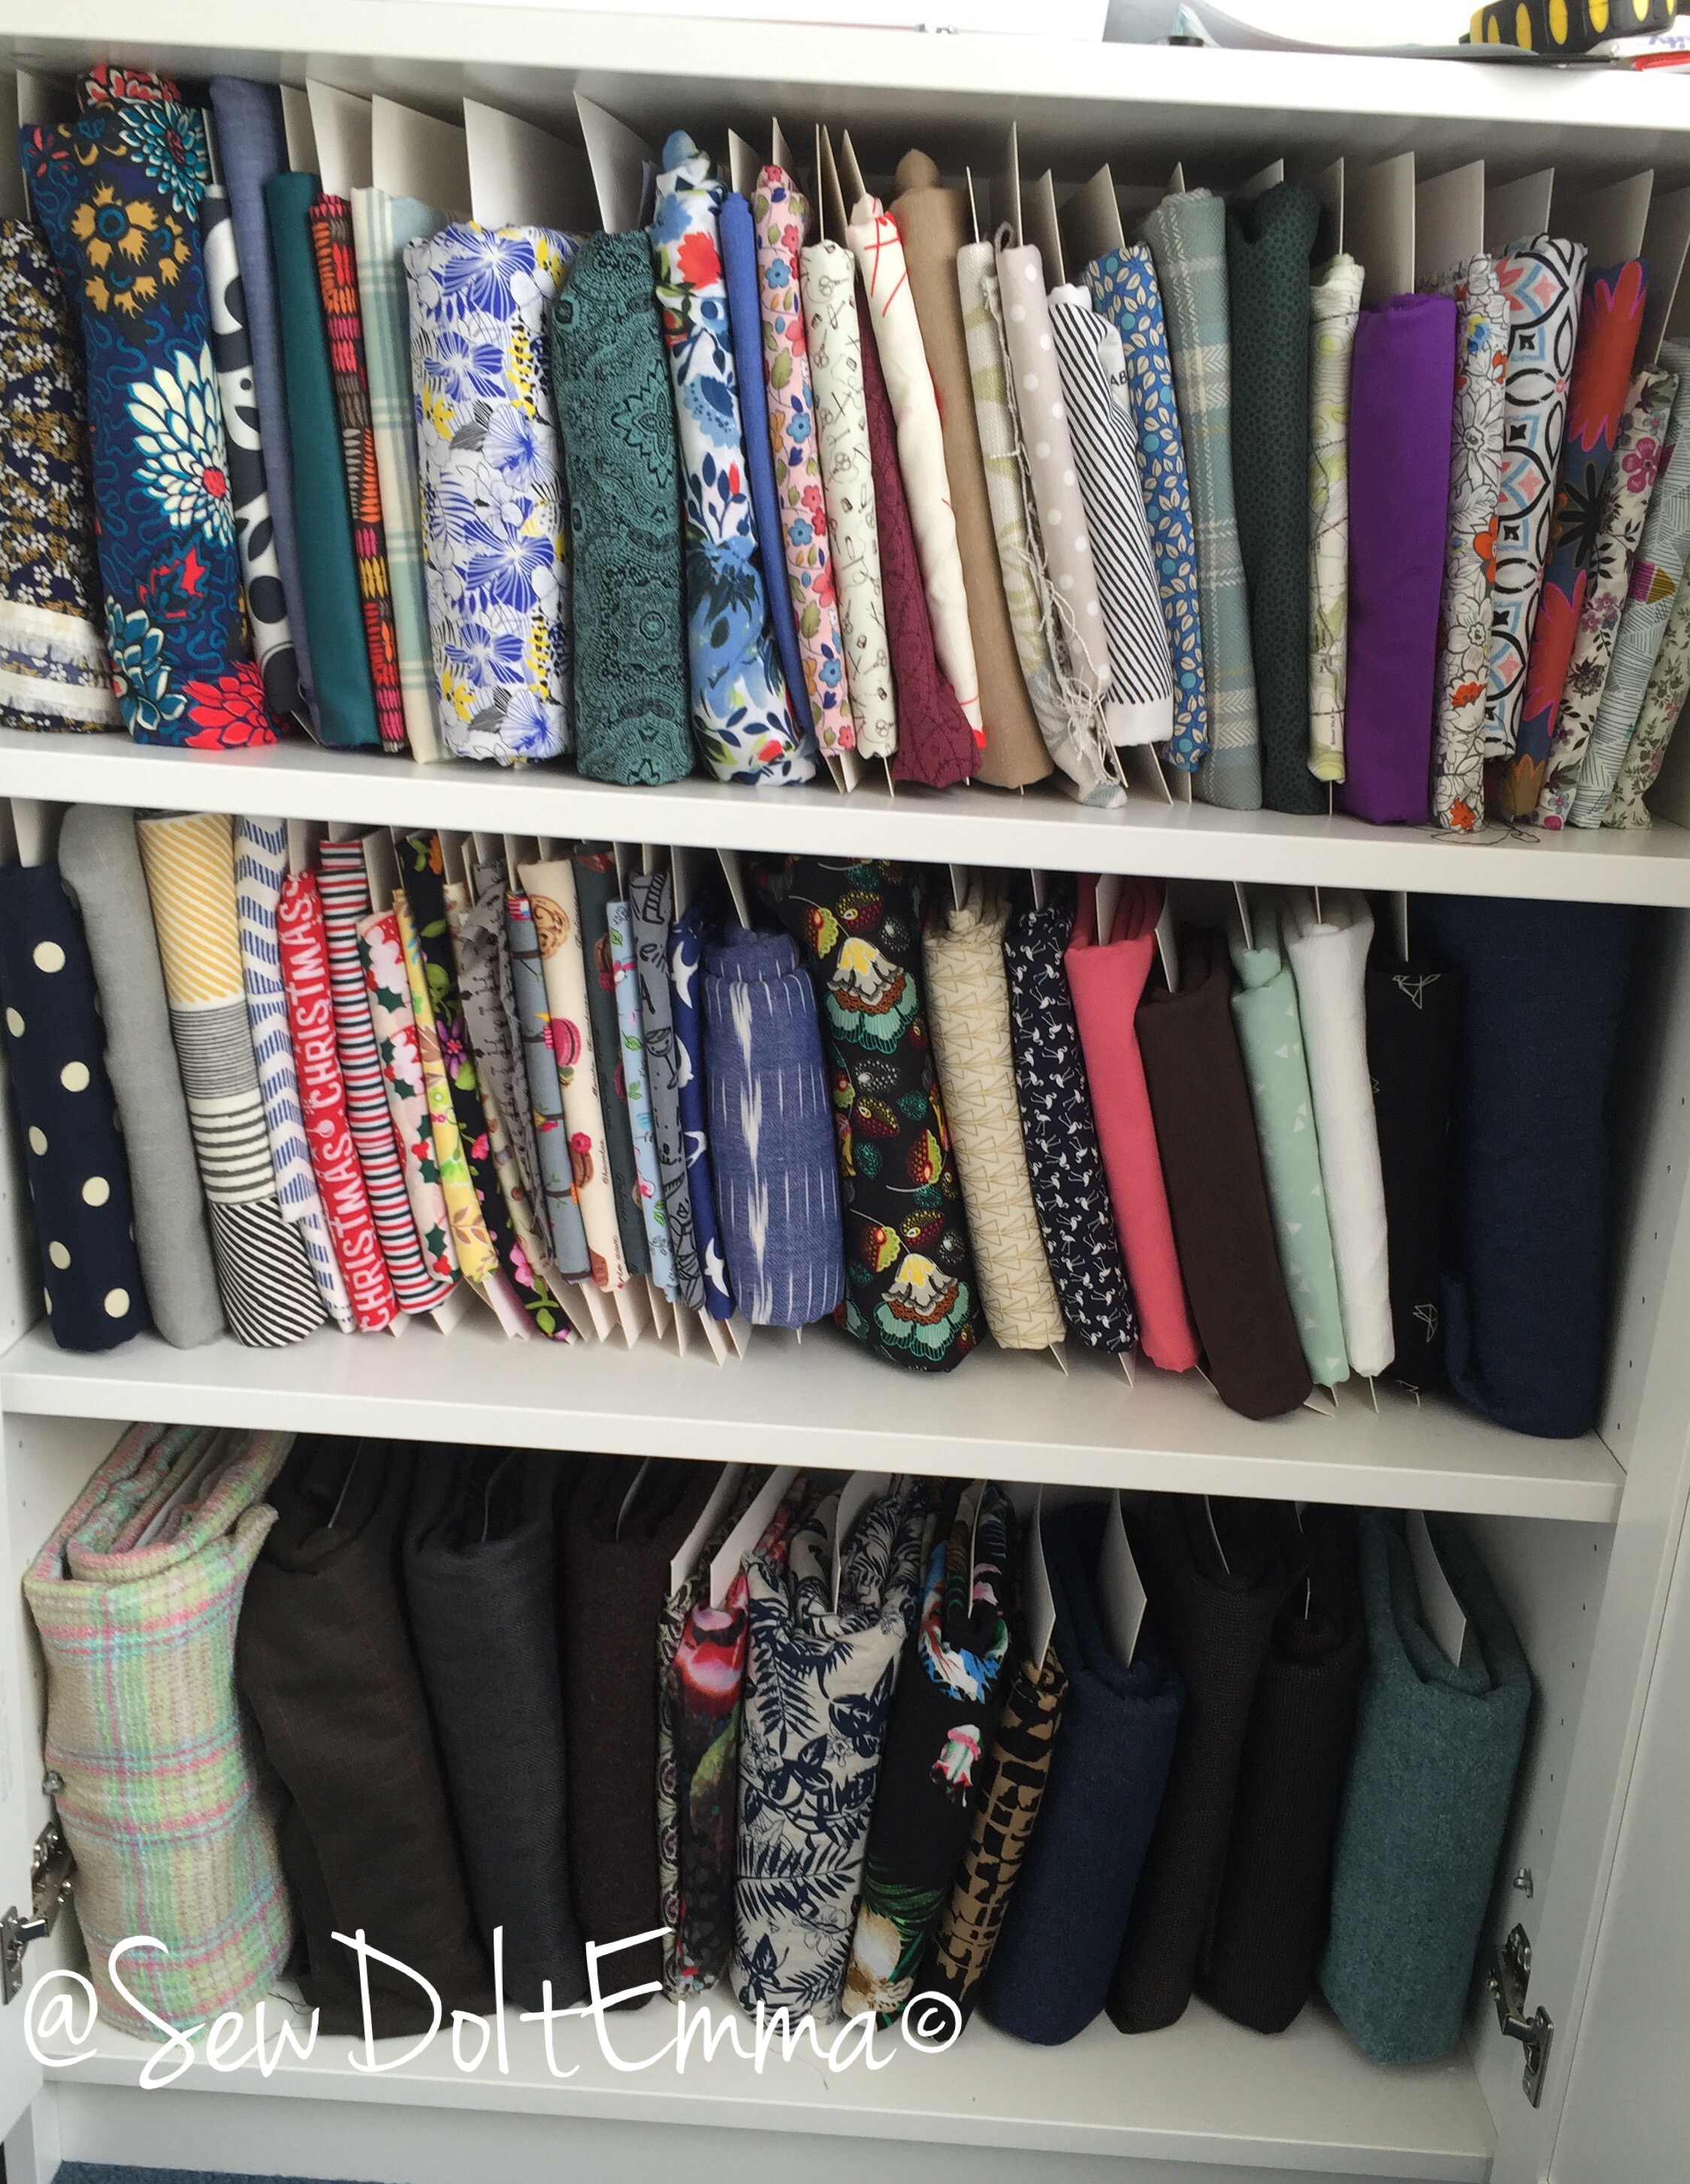
Well after sorting out all my pieces of fabric onto boards, it’s now time to label them so I can pick them out quickly.
I popped into one of my home bargain stores and picked up these labels. I’ll stick the self-adhesive ones onto the luggage labels. And then with a black marker I will write my code letters P M F – pattern (if the fabric has one allocated, but most of them do), meterage (how much fabric is on the board) and fabric (is it cotton, viscose, wool, jersey, etc).
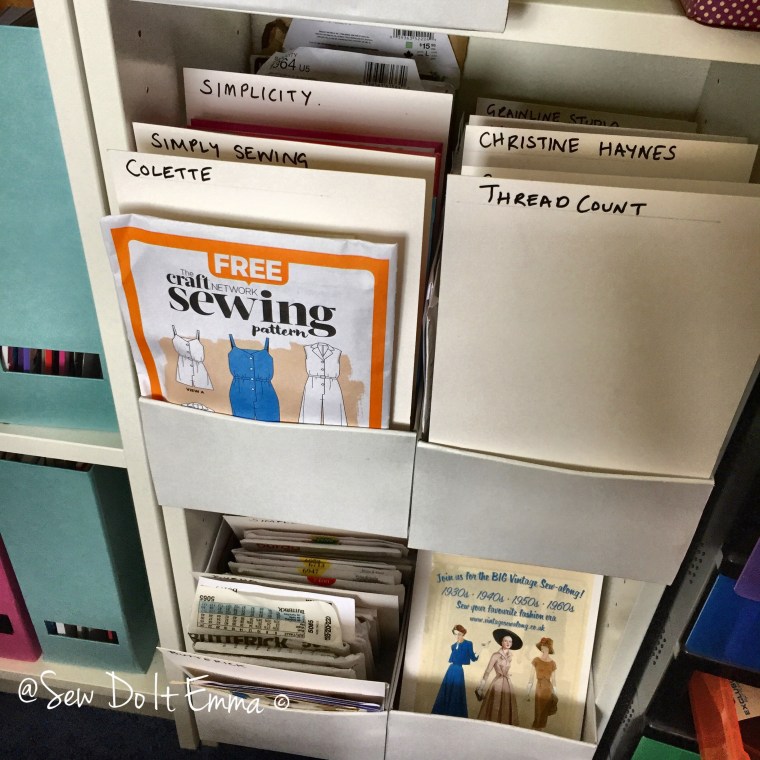
Next, we have my pattern collection. It’s really expanded over the year quite drastically! I’m blaming these pattern sales!
I had already organised the into categories: skirts, trousers, dresses, combos etc but then when I was doing dividers, it was much simpler to do them by the pattern house name (vogue, new look, simplicity, grainline studio, sew over it, simple sew and the list could go on and on!).
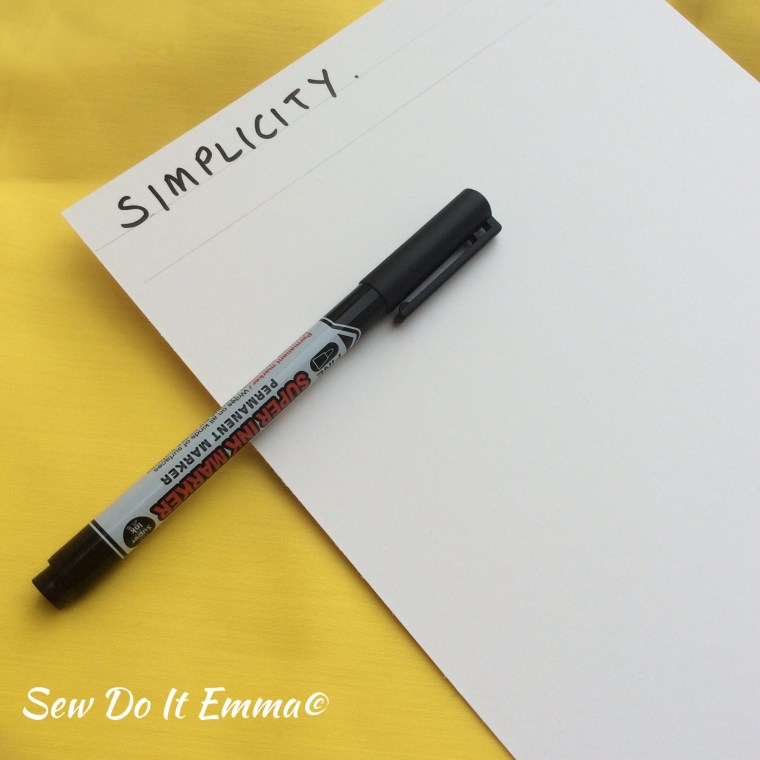
With the reminder of the boards, I took 1.5cm from the top of the board and made two marks. Then I drew a line and then wrote a pattern name.
First, mark 1.5cm down from the top of the board with the ruler and pencil, then draw a line where the marks are.
I then added the Pattern Houses by name.
It’s all coming together.
They work a treat as they fit in my white shoe box file system for the patterns and I can hunt quickly for them too!
I think I’m going to have to have a P.A to keep this system intact 😀
Until next time and remember – Measure twice, Cut once!
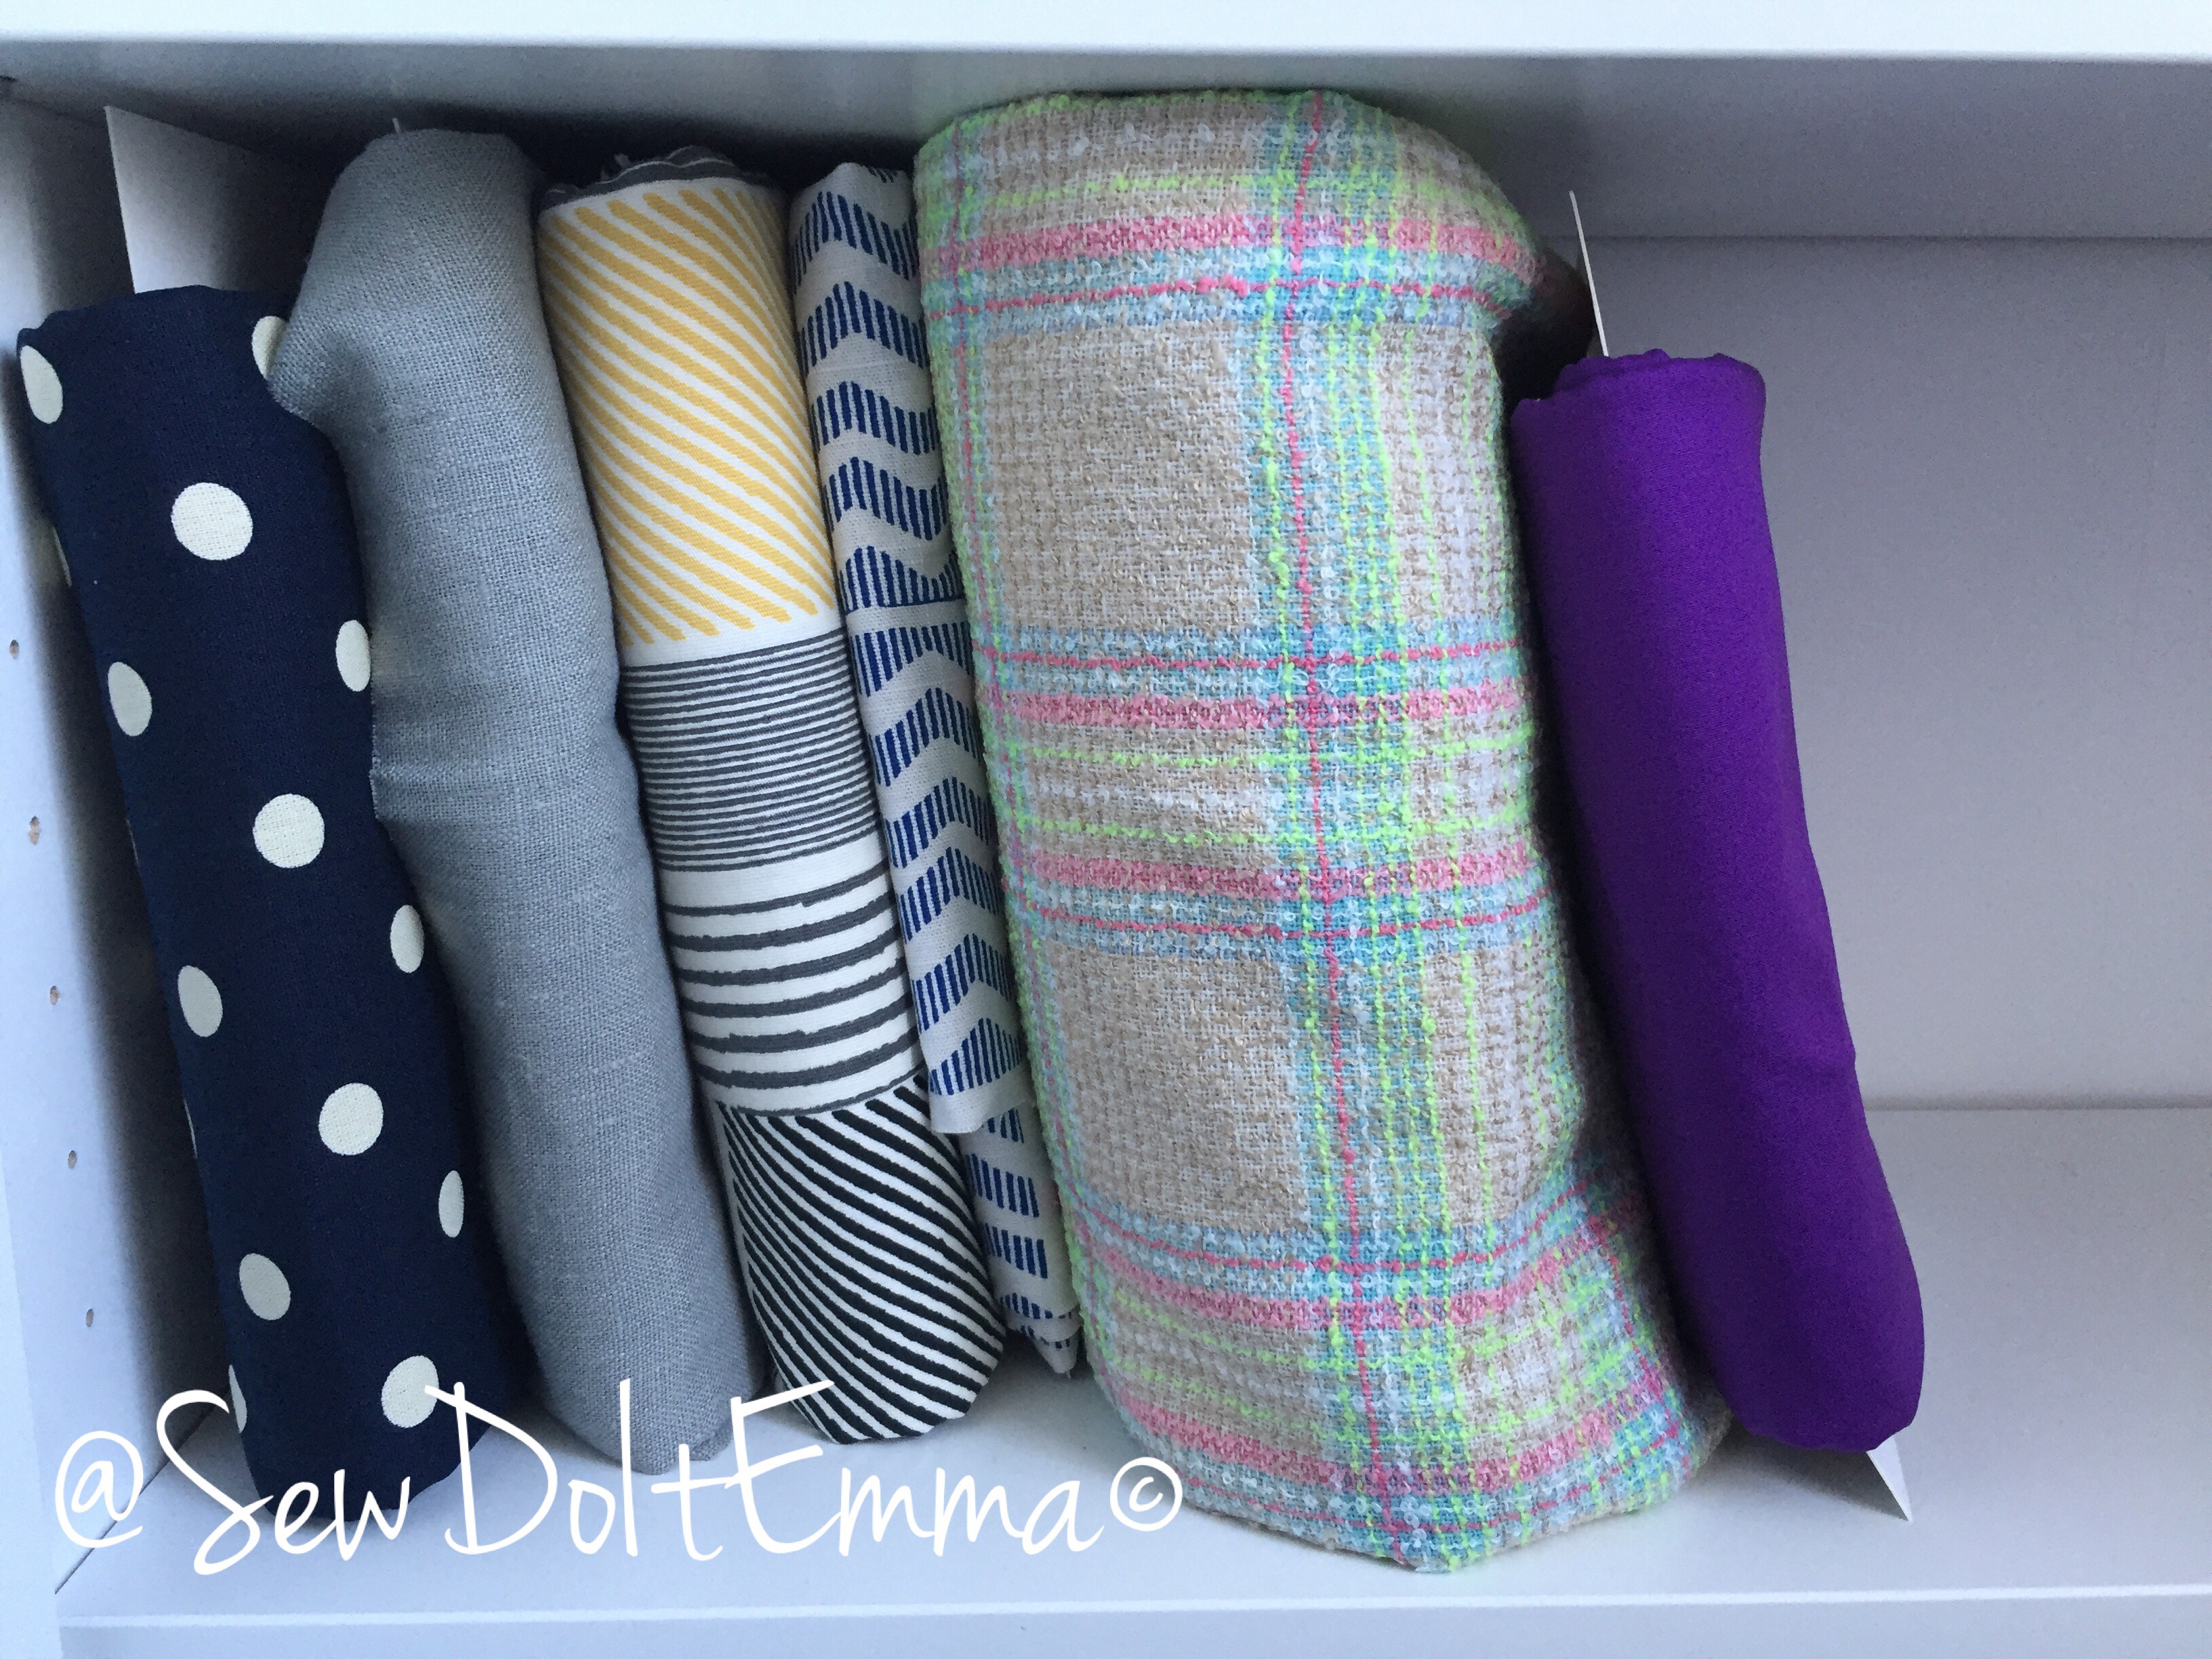
If you know me by following me on Instagram, you would notice I like to hoard fabric. I’m surprised to actually see how much i have now that I’ve organised it on to fabric boards.
Why fabric boards you ask, well I’ve tried piling metres of fabric on each other and it doesn’t work for me as it ends up on the floor in a messy heap. So using boards seems to be a great solution as it allows me to pull one fabric board out (well providing the shelf isn’t stuffed to the brim, it does require two hands at the moment).
I trolled the interweb to find a video/tutorial to guide me to what materials I should use and how to do it “pro” stylee! This YouTube video is great as it shows the fabric being wrapped around comic book boards, step by step. This blog post (which I found on pinterest) is great too!
I’ve put a wee tutorial under here, but it’s so simple to do if you want to show off your fabric stash to the max.
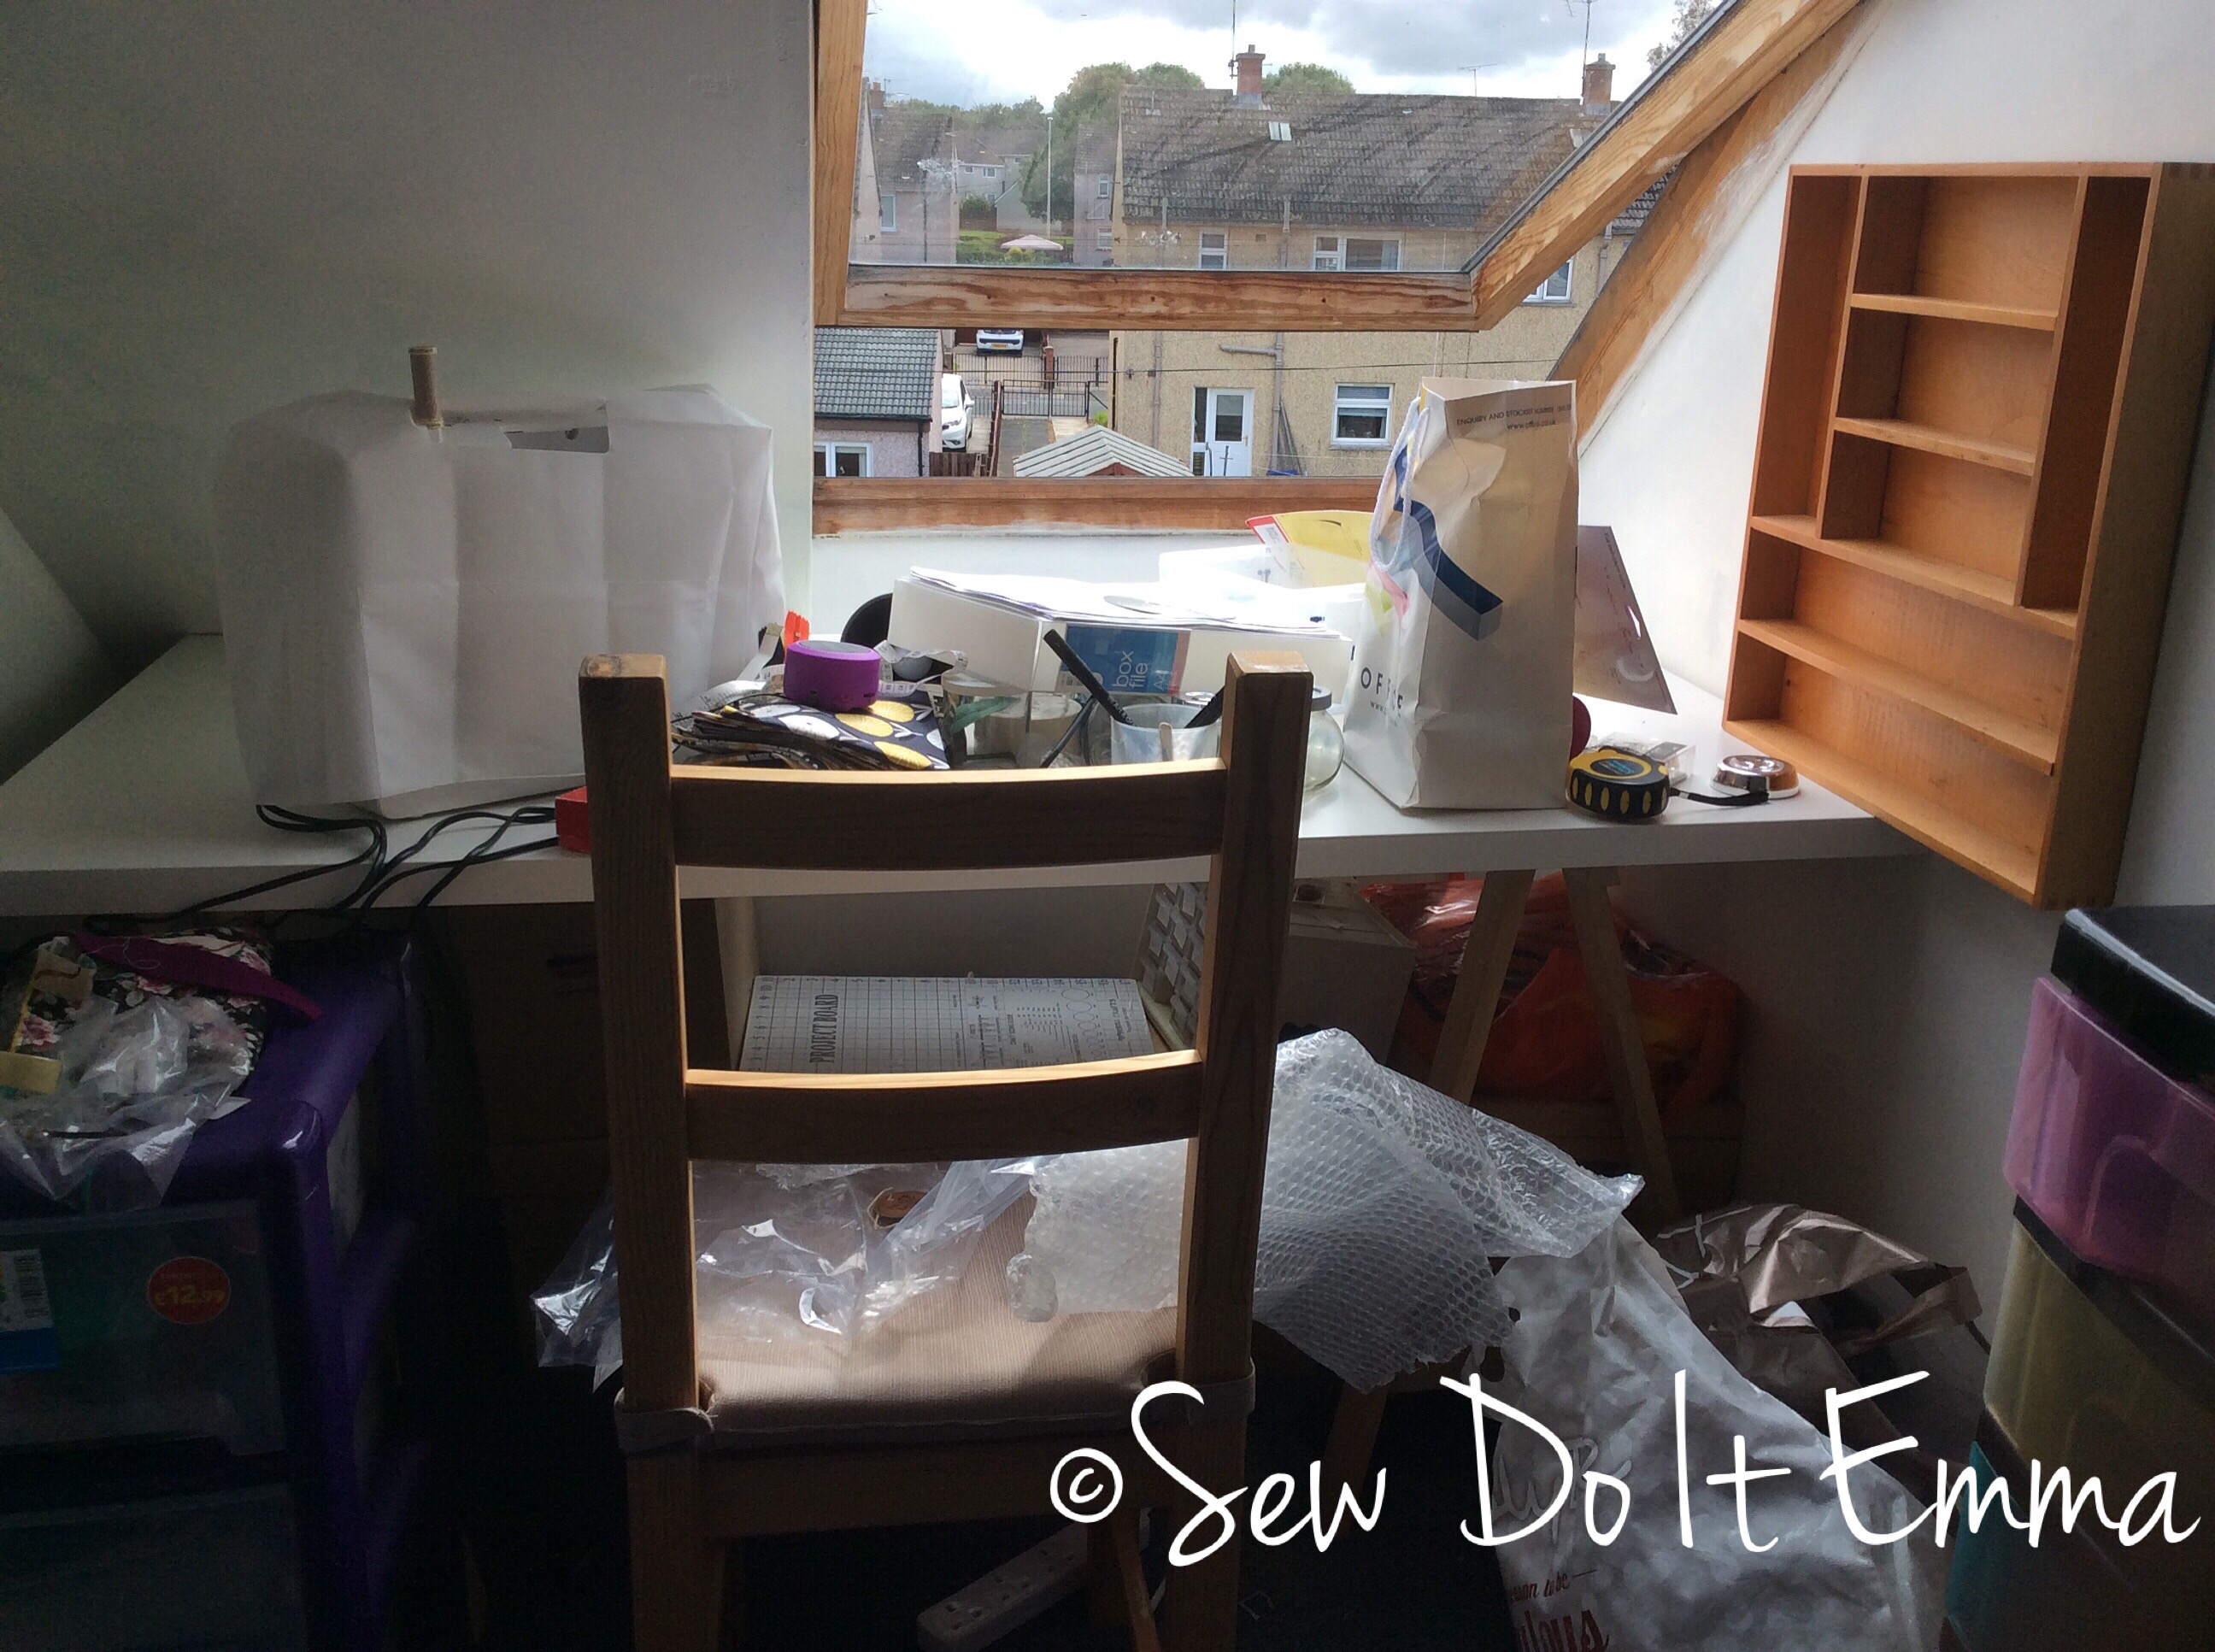
My sewing room needs to become functional and comfortable to use. It needs organising, so I can pull fabric and pattern out, yet put them back in their place when I’m done for the day. This “putting thing back” needs to become my ethos all over the house, but that’s another post for another time! And before Mr C quickly jumps in, I’ll change the subject!).
I’ve pulled a lot of ideas rather from Pinterest so “had to” create a mood board so I could scale down some ideas and think what I want from my SR.
Two tables would be useful, preferably the same as I join the together to cut out patterns and fabric. One would sit under the skylight as that would be ideal for using the naturally light, providing it’s not too bright to take photographs of my finish projects.
Before I get ahead of myself – the three main points that need to go into the sewing room are: atlier
I don’t want to spend a fortune so as you can see Ikea furniture it is and it’s the basic range as everything adds up very quickly!
The notice board will be handy for what project I’m currently working on and what the next few are. It should keep me focused. It will also a provide a place for all these business cards and fliers that I seem to collect!
I started this post 5 months ago but there have been some changes already and I can now share them!
The room has finally been painted and now shelving has been installed and is very quickly being filled up!
Trying to organise with billy shelvingThe desk is much bigger now and is now under the skylight for ultimate natural light!
My sewing space is still going through changes so don’t think these are final photos. I will post the final touches and a much tidier space very soon!
Do you have a sewing room? Do you have any tips on how to organise it? Have I missed anything, I’m sure I have!? Please feel free to comment below and give tips!
Seeing all these occasion dresses at work makes me wanna twirl in something elaborate, and I particularly like a bit of silk chiffon.
It’s lovely and floaty, but I’ve never worked with such delicate fabric. The thought of working with such gives me a slight buzz, I’m not quite such if it’s excitement or anxiety!
This post stems from looking at Pinterest and becoming inspired to make such a dress. After spotting a dress, I decided to make a Chiffon Board.
Above, is the dress that started the Chiffon trouble!
You could say I’m a hoarder of projects and i’ll admit that, I think I know my Husband will say that on my behalf also! What can I say, I just can’t help myself.
My sewing room is in a mess so before I start on any projects it has to be organised and finished. Yes, still getting refurbed – it’s taking a lot longer than planned.
Oh, big news! I have a second job and it’s in a fabric shop … my life struggle with fabric, patterns and projects is only going to get worse!
For the time being I’ll be looking into patterns for the chiffon dress – if you know of any please comment in below and any tips would be appreciated!
Yeap I splurged on more fabric. “Ooooops I did it again”!
But gorgeous still and at a metre each from Sew Sew Fabrics. I spotted their sale from an ad in the latest issue of Love Sewing magazine and couldn’t quite stop myself.
Now the hard task of thinking what project for each piece of fabric!
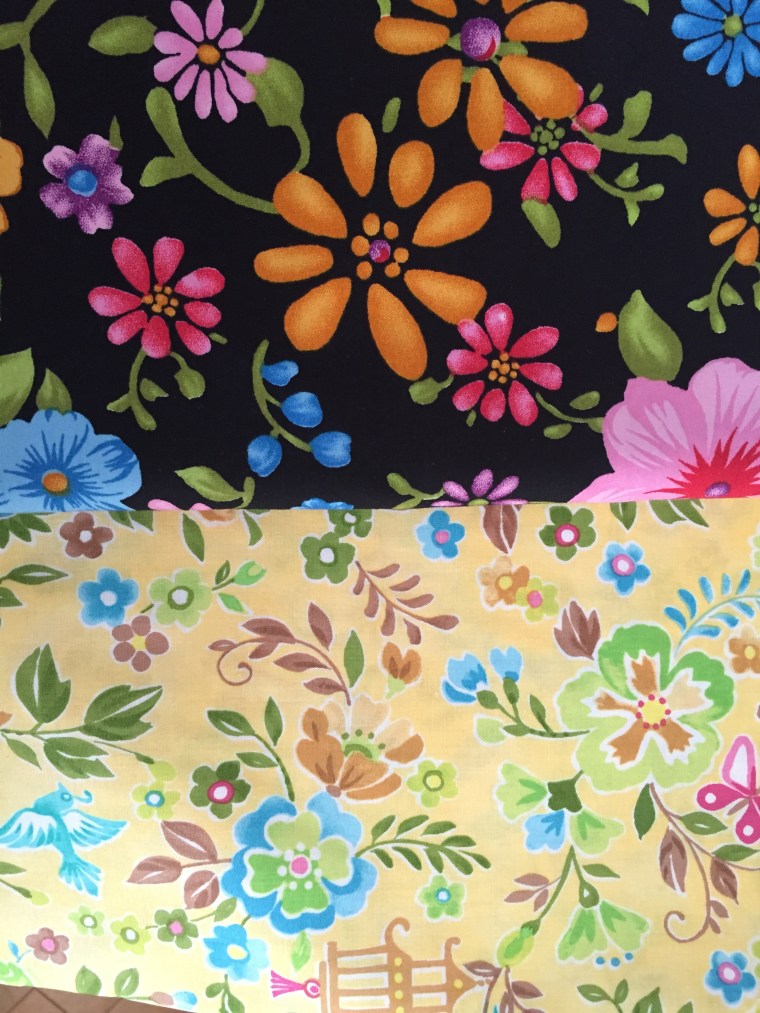
A little more in-depth view for all you fabric lovers!
Birdy Birdy!
Fabulous FloralSewing Spectacular!
Disclaimer: All views are my own and bought the fabric myself!
My past projects are being pulled and shared from the other blog: Emma’s Cakey Bakey Adventures.
So what have I done that I’ve mentioned on the other blog?
Dahlia Dress – Colette Pattern
Hydrangea Skirt – simplicity
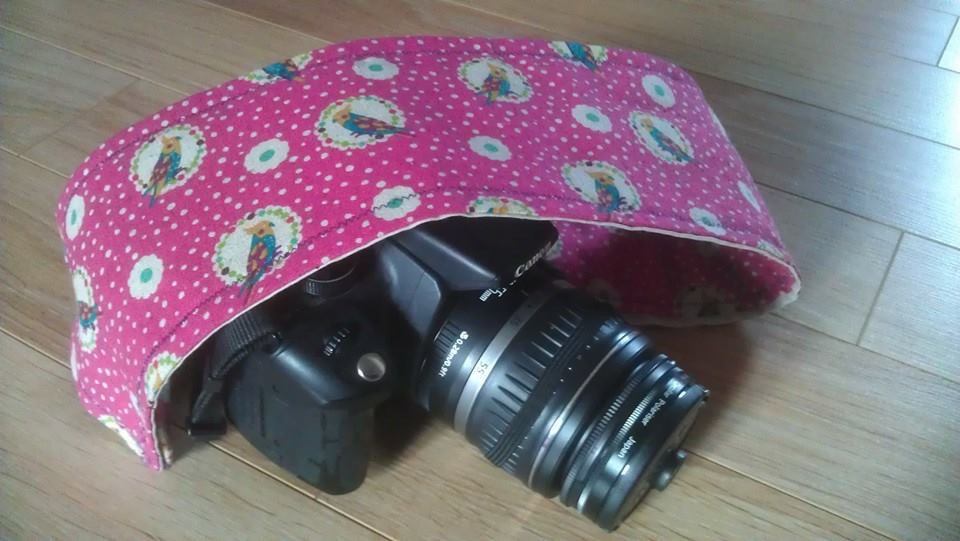
Camera Strap
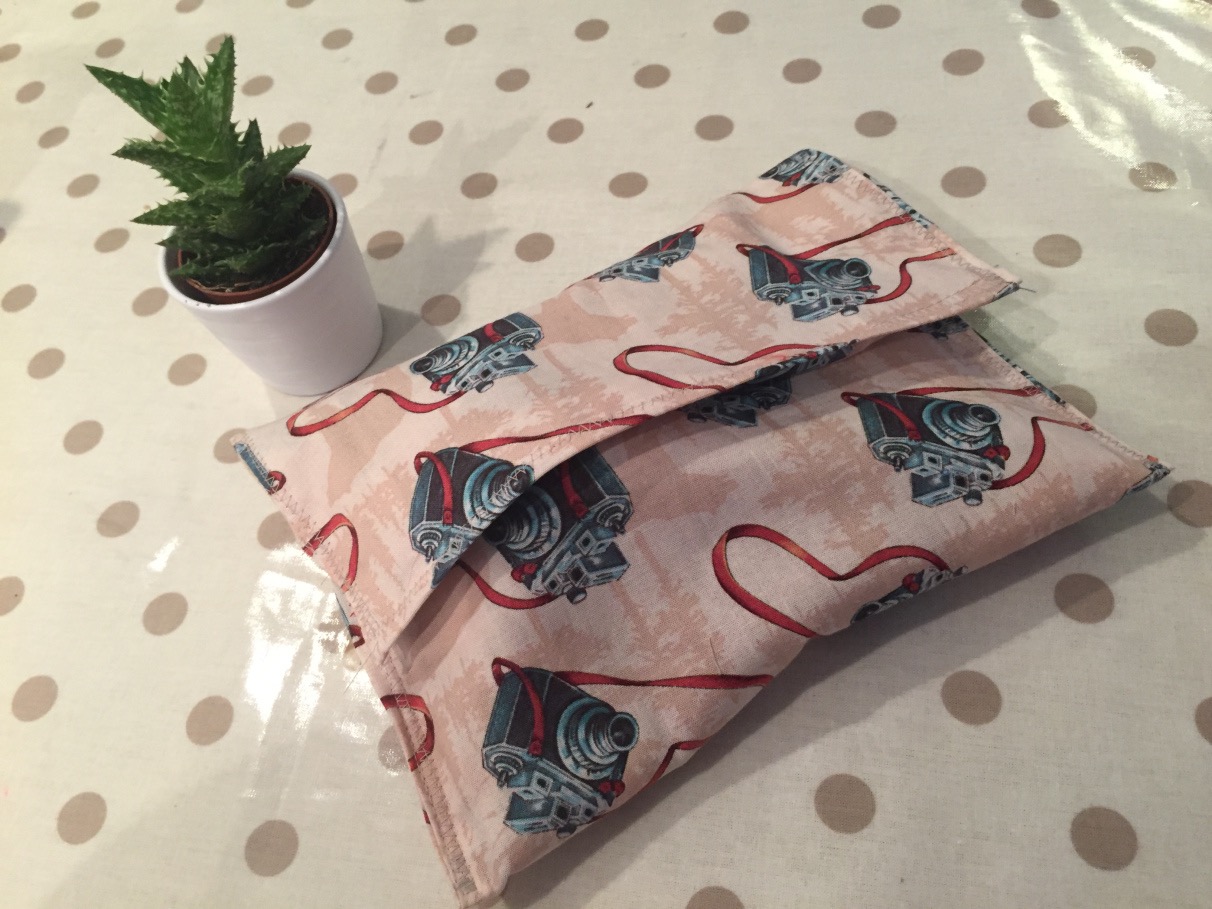
Camera Accessory case
Christmas dress
And not mentioned but still really should …
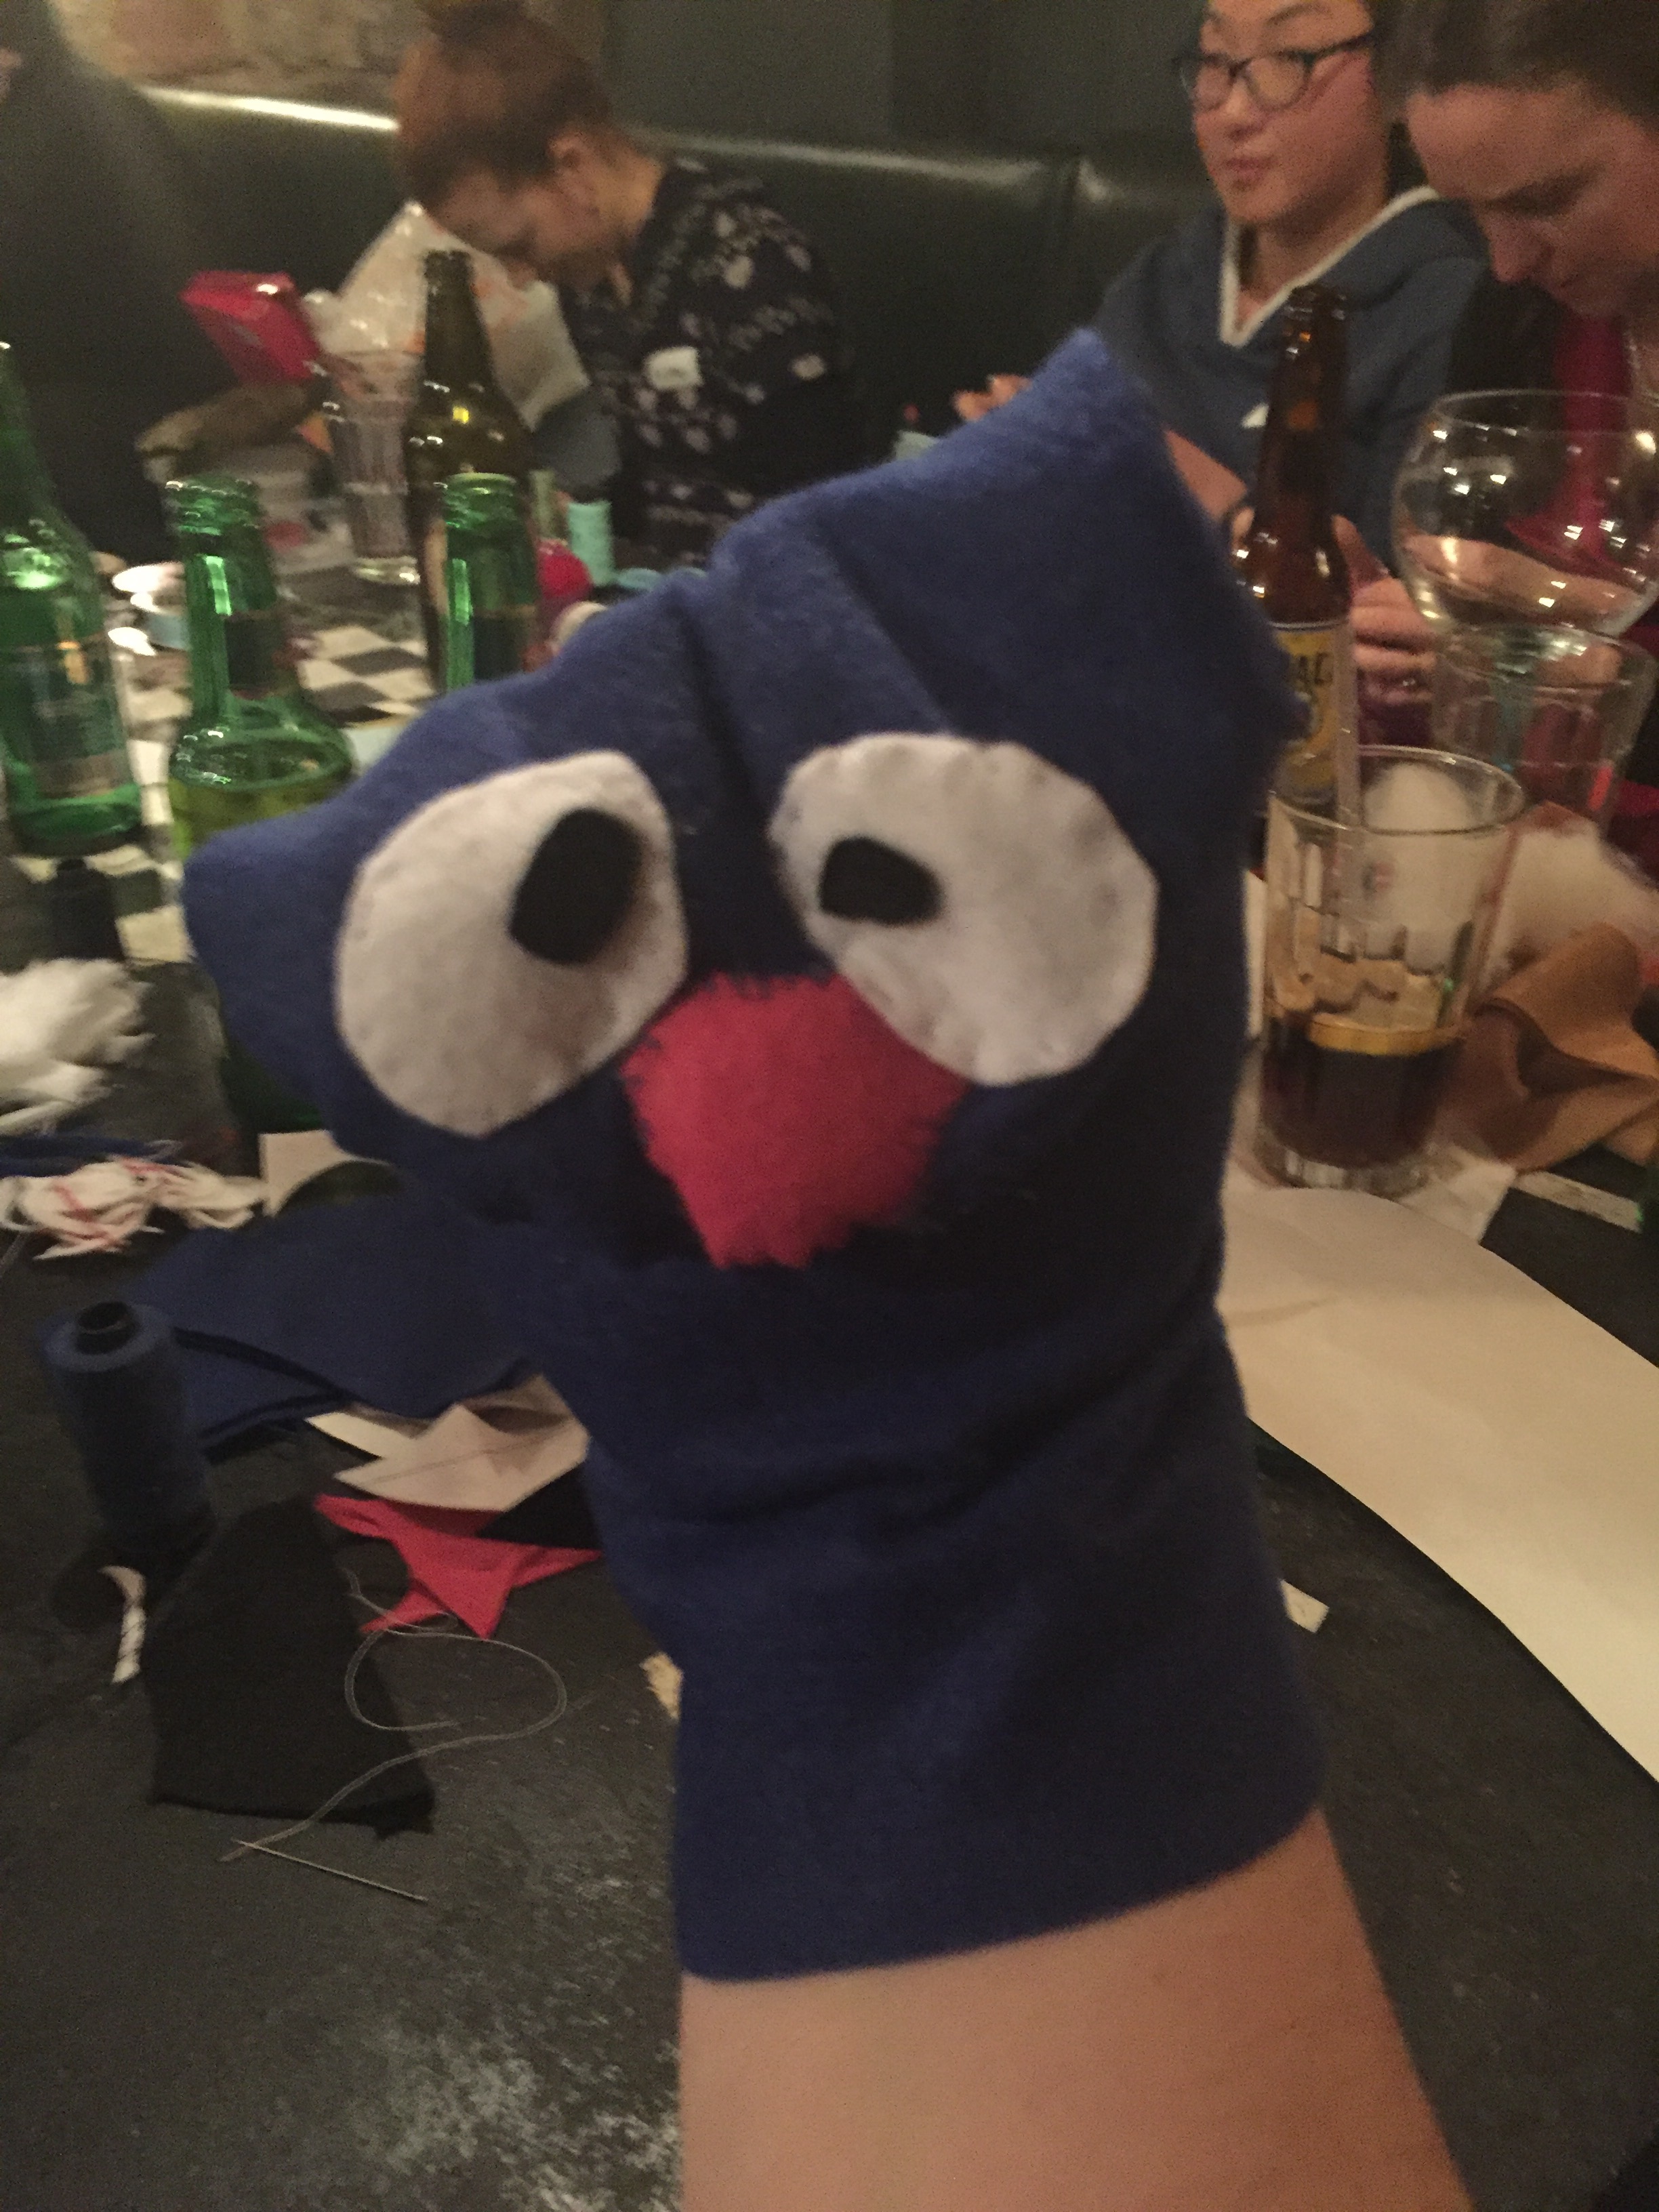
Groover the hand puppet!
And two other dresses that I’m using the same pattern as the Christmas dress
Plus a little teaser for the next dress!
I’ll try and give as much information as I can on the upcoming projects – such as the pattern, the fabrics, how long it took me, how difficult was it … If I miss something sewing related please ask me and I will share!
I wanted to create somewhere separate for my sewing projects (dramas) and shenanigans. Rather than just be mixed up with my other adventures, this blog will be all about sewing. I plan to review patterns, share projects, show off my finished articles and share my local sewing knowledge and finds.
With this blog, I want to push myself and build both my skills and confidence. Hopefully, I can give some of you some insight and influence to push on through these “oh I don’t think I can do this” projects too.
Come on and wind up that bobbin, push that foot down on that pedal and let’s create!